Painting a bike is an excellent way to refresh its appearance or customize it to reflect your personal style. Whether you’re restoring an old bicycle or upgrading your current ride, a new coat of paint can make a significant difference. However, achieving a professional finish requires careful preparation, the right materials, and proper techniques. Consequently, understanding the steps involved in painting a bike ensures the project is successful. Therefore, this comprehensive guide provides a step-by-step approach to painting a bike, covers common issues, offers maintenance tips, and discusses when to seek professional help. By exploring these aspects, you can transform your bike with a fresh, eye-catching paint job.
Preparing for the Painting Process
Proper preparation is crucial for achieving a smooth and lasting finish. Understanding the initial steps and ensuring you have the necessary materials will make the process more manageable. Therefore, exploring the preparatory steps is essential.
Gathering Necessary Materials
Before starting the painting process, gather all the necessary materials. Commonly required items include sandpaper (various grits), primer, paint (spray paint or automotive paint), clear coat, masking tape, and protective gear such as gloves and goggles. Additionally, having a bike stand or a stable work surface will facilitate the process. The quality of the materials used significantly impacts the final result, so investing in good-quality paint and primer is advisable. By gathering all necessary materials in advance, you streamline the painting process and ensure better results. Therefore, recognizing the importance of preparation is crucial.
Disassembling the Bike
Disassembling the bike is an essential step to ensure even and thorough paint coverage. Begin by removing all components, including wheels, handlebars, seat, pedals, and brakes. Use a bike stand or stable workbench to keep the frame secure during disassembly. Take pictures or label parts if needed to remember the assembly order for reinstallation. This disassembly allows you to access all areas of the frame, ensuring a uniform paint application. By carefully disassembling the bike, you prepare it for effective sanding and painting. Therefore, recognizing the importance of this step is essential for a successful paint job.
Sanding and Priming the Frame
Sanding and priming the bike frame are critical steps to ensure the paint adheres properly and lasts longer. Following these steps guarantees a smooth and durable finish. Therefore, exploring the sanding and priming process is critical.
Sanding the Frame
Sanding the bike frame removes the old paint or rust and creates a surface that allows the new paint to adhere properly. Begin with coarse-grit sandpaper (e.g., 120 grit) to remove old paint and smooth out imperfections. Gradually progress to finer grits (e.g., 220 grit) for a smoother finish. Use a sanding block for flat areas and abrasive pads for curves and tight spots. Sand evenly to avoid gouging the frame. Once sanded, wipe down the frame with a clean cloth to remove dust and debris. By thoroughly sanding the frame, you ensure better paint adhesion and a smoother finish. Therefore, recognizing the importance of sanding is crucial.
Applying Primer
Primer prepares the bike frame for painting by providing a consistent base layer that enhances paint adhesion and durability. Use a spray primer designed for metal surfaces, shaking the can thoroughly before application. Apply the primer in light, even coats, holding the can about 12 inches from the frame. Avoid heavy coats as they may cause drips or an uneven finish. Allow each coat to dry according to the manufacturer’s instructions before applying the next. Three coats of primer are typically sufficient for a solid base. By applying primer correctly, you create an ideal surface for the paint to adhere to. Therefore, understanding the priming process ensures a successful paint job.
Painting the Bike
Painting the bike involves careful application and patience to achieve a professional-looking finish. Following these steps guarantees proper paint coverage and durability. Therefore, exploring the painting process is essential.
Choosing the Right Paint
Selecting the right paint is crucial for achieving a durable and attractive finish. Spray paint designed specifically for metal surfaces or automotive paint is highly recommended. These paints offer better adhesion and resistance to environmental elements. Choose a color that complements your style and consider the finish type (glossy, matte, or metallic) that you prefer. Investing in high-quality paint ensures a longer-lasting and more vibrant result. By choosing the right paint, you set the stage for a successful and aesthetically pleasing paint job. Therefore, recognizing the importance of paint selection is crucial.
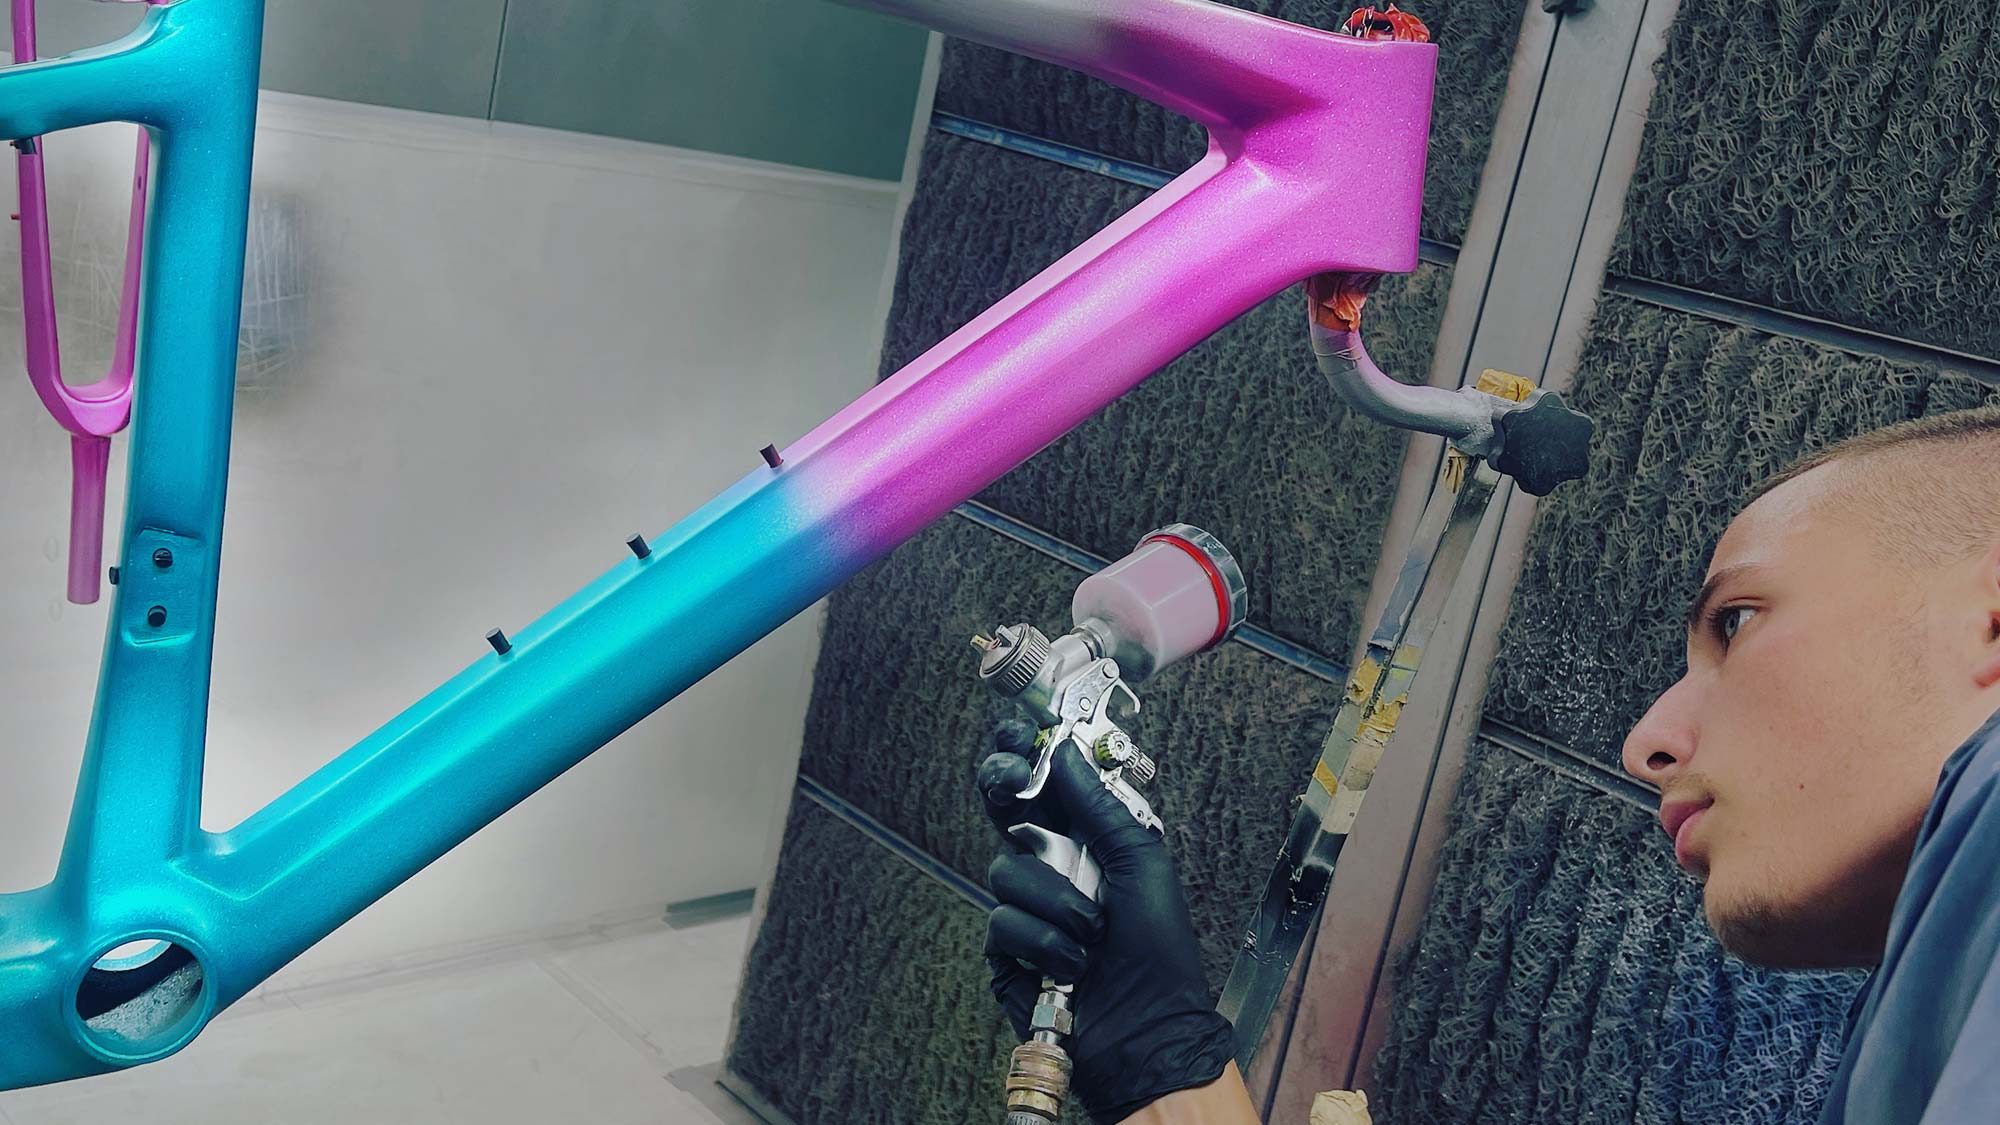
Applying the Paint
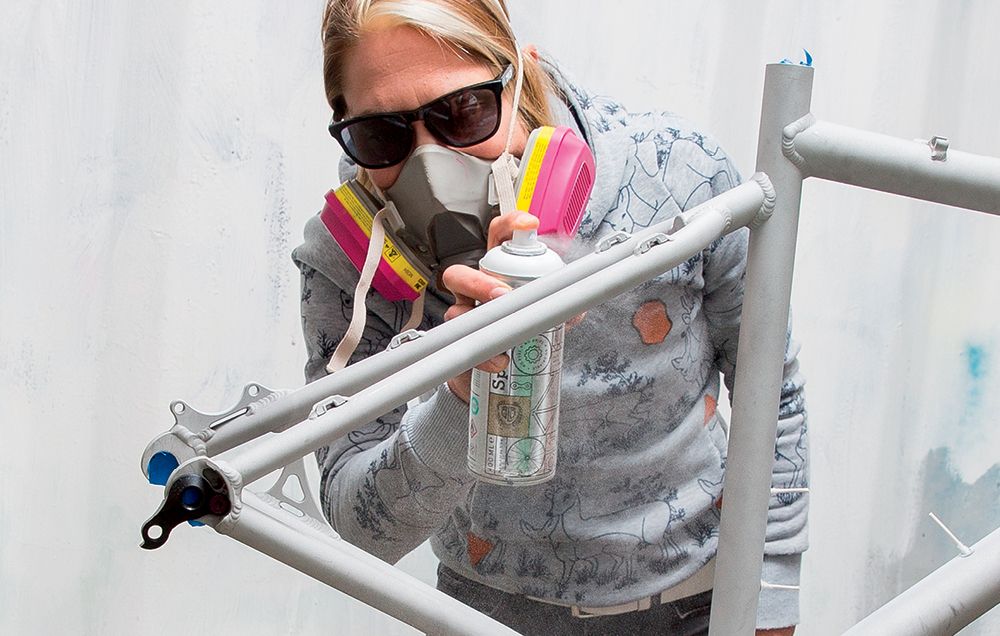
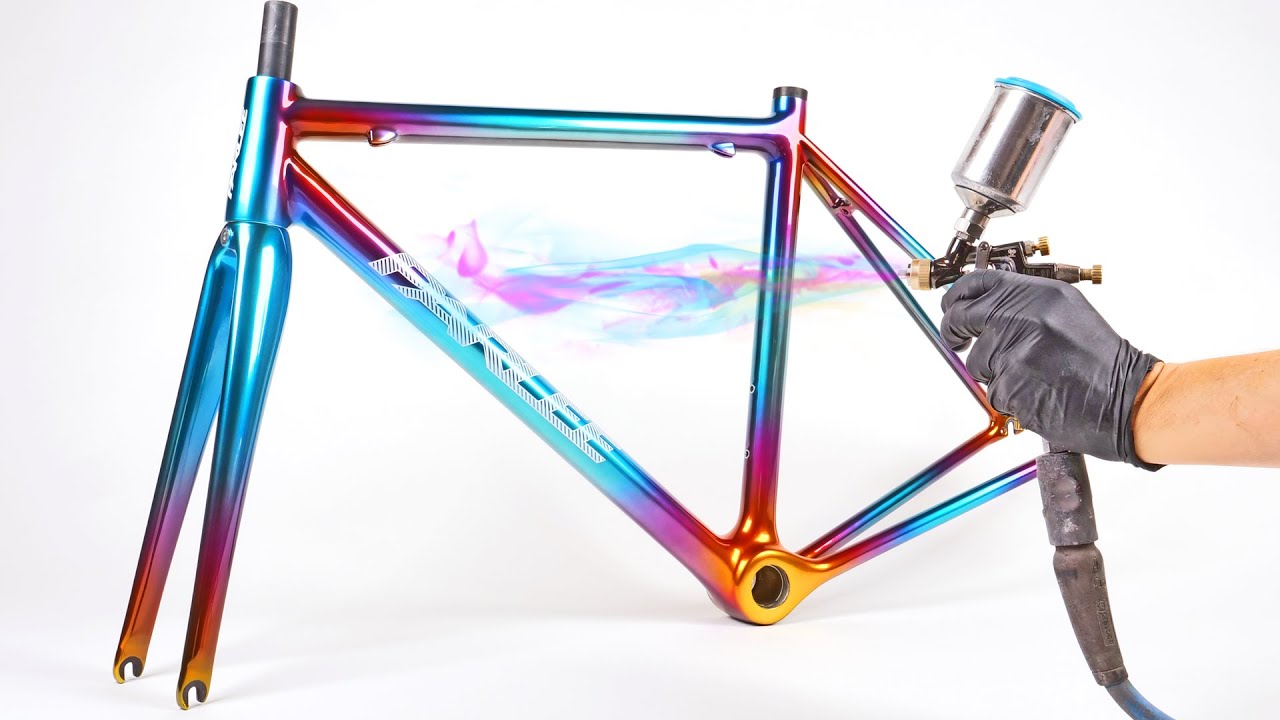
When applying the paint, work in a well-ventilated area and wear protective gear, including a mask and gloves. Shake the paint can thoroughly before use. Apply light, even coats, holding the can about 12 inches from the frame. Start with a light mist coat to create a tacky surface for subsequent layers. Allow each coat to dry according to the manufacturer’s instructions before applying the next. Patience is key; avoid rushing as heavy coats can cause drips and uneven coverage. Generally, three to four coats of paint are sufficient for a solid and even finish. By applying the paint carefully, you achieve a professional-looking result. Therefore, understanding the painting process ensures a successful outcome.
Applying a Clear Coat
Applying a clear coat protects the paint and gives the bike a polished finish. Following these steps guarantees a durable and glossy result. Therefore, exploring the clear coat application process is essential.
Benefits of a Clear Coat
A clear coat serves as a protective layer over the paint, enhancing its durability and resistance to scratches and environmental elements. It also adds a glossy finish that enhances the bike’s appearance. The clear coat protects the underlying paint from UV rays, moisture, and wear, ensuring the color remains vibrant. By understanding the benefits of a clear coat, you appreciate its role in maintaining your bike’s paint job. Therefore, recognizing the importance of a clear coat is crucial for long-lasting results.
Applying the Clear Coat
When applying the clear coat, follow the same procedure as with the paint application. Work in a well-ventilated area and wear protective gear. Shake the clear coat can thoroughly and apply light, even coats, holding the can about 12 inches from the frame. Allow each coat to dry as per the manufacturer’s instructions before applying the next. Typically, three coats are sufficient for a protective and glossy finish. Avoid over-spraying, as heavy coats can lead to runs and unevenness. By applying the clear coat correctly, you enhance the durability and appearance of the paint job. Therefore, understanding the clear coat application process ensures a professional finish.
Reassembling the Bike
Reassembling the bike after painting requires careful attention to detail to avoid damaging the new paint job. Following these steps guarantees proper and safe reassembly. Therefore, exploring the reassembly process is essential.
Allowing Proper Drying Time
Before reassembling the bike, ensure the paint and clear coat have fully cured. This may take several days depending on the paint type and environmental conditions. Handling the bike too soon can damage the finish, leading to frustration and additional work. Check the manufacturer’s instructions for recommended drying times and adhere to them strictly. By allowing proper drying time, you preserve the quality of the paint job. Therefore, recognizing the importance of curing is crucial for a successful reassembly.
Reassembling Components
Start reassembling the bike by first reinstalling the major components such as the wheels, handlebars, seat, and pedals. Use protective materials like cloth or foam around the frame to avoid scratches and dents during reassembly. Refer to the pictures or labels taken during disassembly to ensure correct placement of components. Tighten bolts and screws carefully to avoid damaging the new paint. Regularly check the alignment and functionality of the components as you proceed. By carefully reassembling the bike, you maintain the quality of the new paint job and ensure all parts function correctly. Therefore, understanding the reassembly process ensures a successful completion.
Troubleshooting Common Issues
Despite following the steps meticulously, you may encounter issues during the painting process. Understanding common problems and their solutions ensures smooth completion. Therefore, exploring troubleshooting tips is essential.
Paint Drips and Runs
Paint drips and runs can occur if the paint is applied too heavily or too close to the surface. If you notice drips, allow the paint to dry completely before addressing them. Sand the affected area gently with fine-grit sandpaper (e.g., 320 grit) to smooth out the run. Clean the area and reapply light coats of paint as needed. To avoid future drips, maintain a consistent distance from the frame and apply light coats. By addressing drips and runs promptly, you ensure a smooth and even finish. Therefore, recognizing solutions to this issue is important.
Uneven Coverage
Uneven paint coverage can result from inadequate sanding, improper priming, or inconsistent spray technique. If you notice uneven coverage, lightly sand the affected areas and clean them thoroughly. Reapply primer if necessary, followed by additional coats of paint. Ensure that each coat is applied evenly and allowed to dry completely before the next. Consistency in technique and patience are key to achieving uniform coverage. By addressing uneven coverage, you achieve a professional-looking paint job. Therefore, recognizing the importance of even application is essential.
Maintenance and Care Tips
Regular maintenance and proper care of your newly painted bike ensure its longevity and vibrant appearance. Understanding these maintenance practices helps prevent issues and extend the paint’s lifespan. Therefore, exploring maintenance and care tips is essential.
Regular Cleaning
Regularly cleaning your bike helps maintain the appearance and durability of the new paint job. Use a mild soap and water solution to clean the frame, avoiding harsh chemicals that can damage the paint. Gently scrub with a soft brush or sponge, paying attention to areas prone to dirt buildup. Dry the bike thoroughly with a clean cloth to prevent water spots. By maintaining regular cleaning, you preserve the paint’s shine and protect it from environmental elements. Therefore, recognizing the importance of cleaning is crucial.
Protecting the Paint
Protecting the new paint from scratches and chips extends its lifespan and keeps the bike looking fresh. Use protective clear tape or vinyl decals on areas prone to wear, such as the chainstay or downtube. When parking the bike, choose locations that minimize the risk of scratches or impact. Store the bike indoors or use a cover to protect it from weather conditions. By taking these protective measures, you enhance the durability of the paint job. Therefore, understanding the importance of protection is essential.
When to Seek Professional Help
While painting a bike is a manageable DIY project, some situations require professional assistance. Knowing when to seek help ensures the paint job’s quality and longevity. Therefore, exploring scenarios warranting professional help is crucial.
Complex Paint Designs
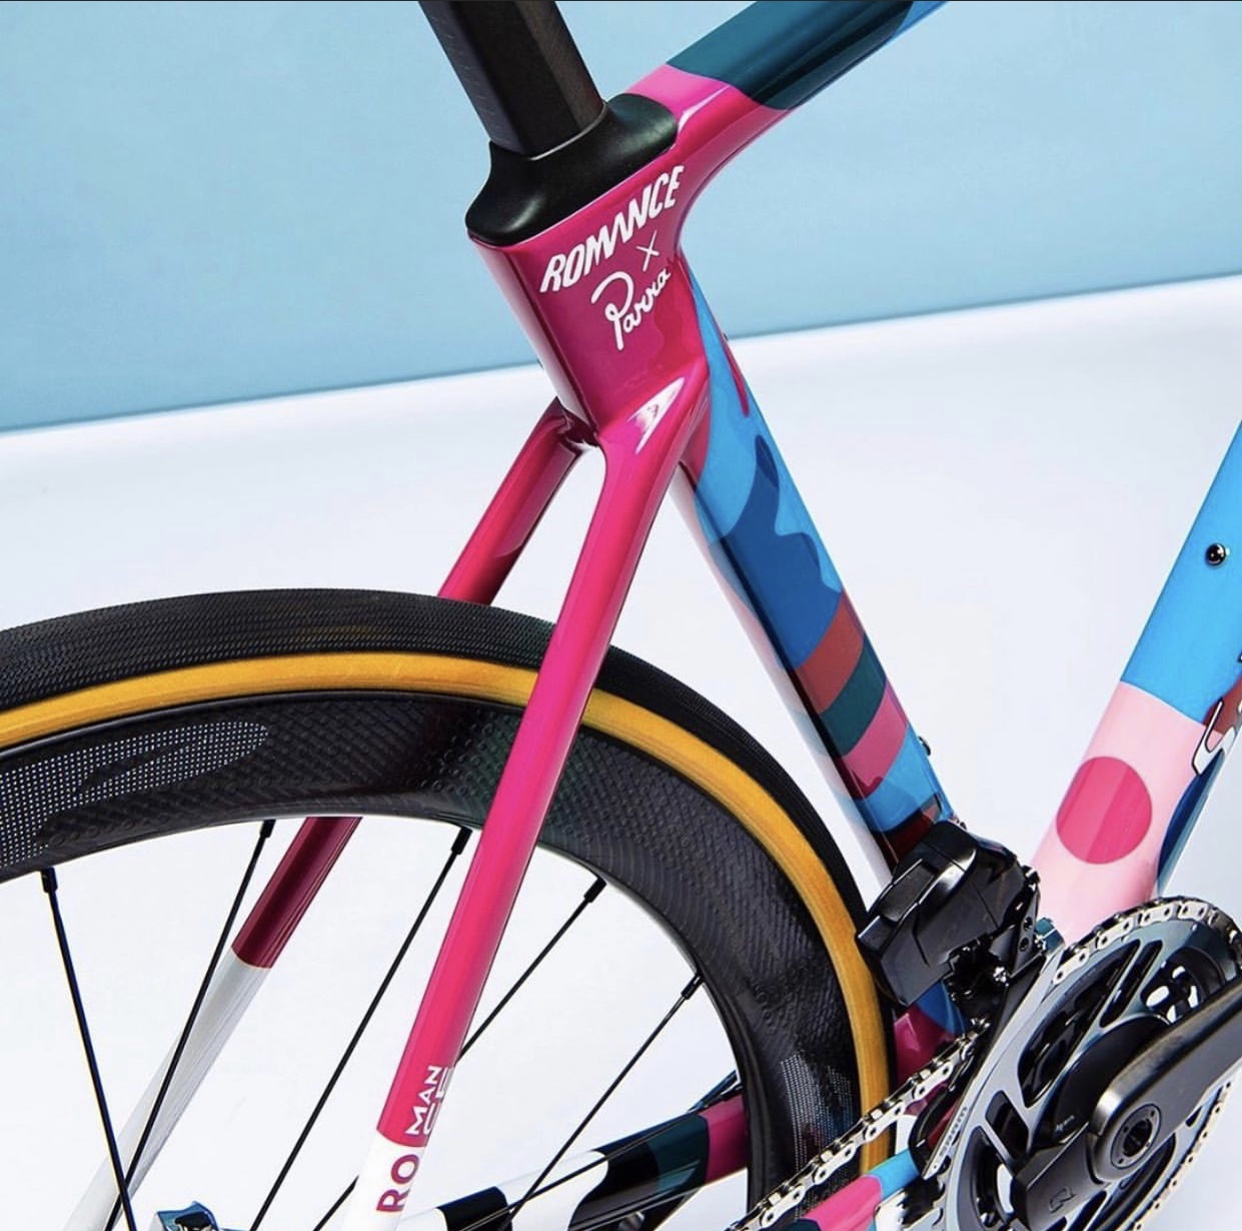
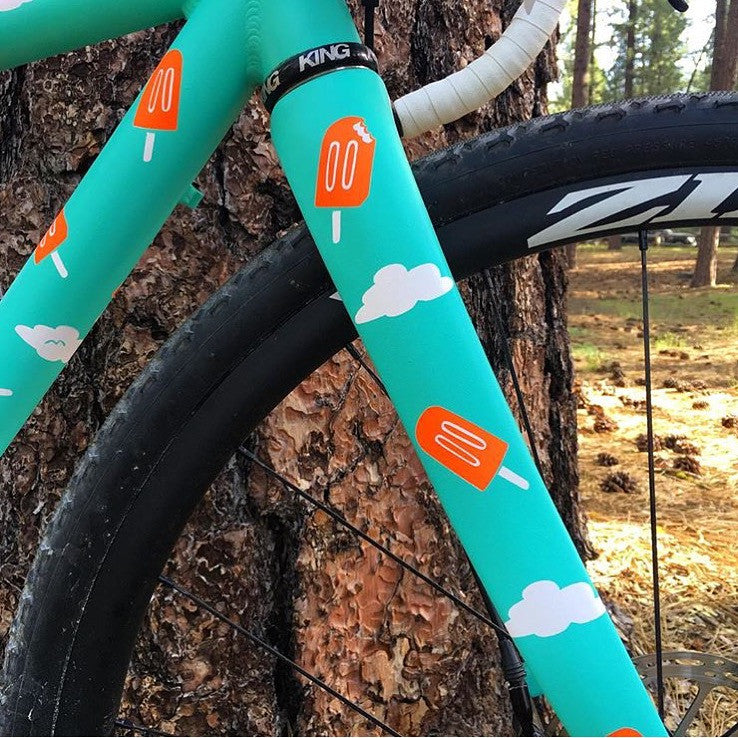
If you want a complex paint design or custom graphics, seeking professional help is advisable. Professional painters have the expertise, equipment, and materials to achieve intricate designs and high-quality finishes. Attempting complex designs without the necessary skills can lead to unsatisfactory results and wasted materials. By consulting a professional for complex designs, you ensure a stunning and professional-looking bike. Therefore, understanding the value of professional assistance for intricate work is crucial.
Extensive Frame Damage
If your bike frame has extensive damage, such as deep rust or significant dents, professional assistance may be required. Professionals can handle frame repairs and ensure the surface is properly prepared for painting. They have the tools and expertise to address damage effectively, ensuring the final paint job looks flawless. Attempting to repair extensive damage without the right knowledge can lead to further issues and compromised safety. By seeking professional help for extensive damage, you ensure the frame is in top condition before painting. Therefore, recognizing the importance of expert intervention for substantial repairs is essential.
Common Misconceptions About Painting a Bike
Addressing common misconceptions about painting a bike provides clarity and fosters a better understanding of the process. Dispelling these myths ensures accurate knowledge. Therefore, exploring common misconceptions is important.
Misconception: Spray Paint is Inferior
A common misconception is that spray paint is inferior to other paint types for bike frames. High-quality spray paints designed for metal surfaces or automotive use offer excellent adhesion, durability, and vibrant finishes. They are widely used in bike painting for their ease of application and professional results. By using quality spray paint and proper techniques, you can achieve a long-lasting and visually appealing finish. Therefore, understanding the effectiveness of spray paint ensures better results.
Misconception: Any Primer Will Do
Another misconception is that any primer can be used for bike frames. Using a primer specifically designed for metal surfaces ensures better adhesion and durability of the paint. General-purpose primers may not bond well with metal and can result in poor paint performance. By using the right primer, you set a solid foundation for the paint job. Therefore, dispelling this myth emphasizes the importance of selecting appropriate materials.
Conclusion: Achieving a Professional-Looking Bike Paint Job
Painting a bike is a rewarding DIY project that refreshes its appearance and allows for customization. Proper preparation and understanding of the necessary materials and steps ensure a smooth and lasting finish.
Following a detailed, step-by-step approach to sanding, priming, painting, and clear coating guarantees a professional-looking result. Troubleshooting common issues promptly addresses potential problems, ensuring the paint job’s quality.
Regular maintenance and proper care extend the paint’s lifespan and keep the bike looking vibrant. Recognizing when to seek professional help for complex designs or extensive damage ensures the best possible outcome.
Addressing common misconceptions about painting a bike provides clarity and encourages more cyclists to undertake their projects. By embracing these aspects, you can confidently paint your bike and enjoy a refreshed, unique ride.
Therefore, whether restoring an old bicycle or upgrading your current one, mastering the art of bike painting enhances your skills and satisfaction. Enjoy the transformation and personal touch that a freshly painted bike offers, knowing you have achieved a professional and durable finish!