Introduction to Bike Chain Maintenance
The Importance of a Properly Functioning Chain
A properly functioning chain is crucial for a smooth and efficient cycling experience. Understanding the importance of your bike chain and regular maintenance can prevent unexpected breakdowns and improve overall performance. A chain that is too loose, damaged, or dirty can cause gear slipping, increased wear on other components, and even accidents. Therefore, knowing how to fix a bike chain is an essential skill for any cyclist.
The bike chain is responsible for transferring power from the pedals to the rear wheel. This makes it a critical component of your bicycle’s drivetrain. Neglecting chain maintenance can lead to a decrease in efficiency, making it harder to pedal and reducing your overall speed. Additionally, a poorly maintained chain can cause damage to the gears and derailleurs, leading to costly repairs.
Regular inspection and maintenance of the bike chain help extend its lifespan and ensure smooth operation. This involves cleaning, lubricating, and adjusting the chain as needed. By taking the time to perform these tasks, you can enjoy a more reliable and enjoyable riding experience. Furthermore, understanding the mechanics of your bike chain can empower you to make timely repairs, preventing small issues from becoming major problems.
In summary, a well-maintained bike chain is essential for optimal performance and safety. Regular attention to the chain can prevent breakdowns, enhance efficiency, and prolong the life of your bike. This guide will provide you with the knowledge and steps needed to fix a bike chain, ensuring you’re prepared for any issue that may arise.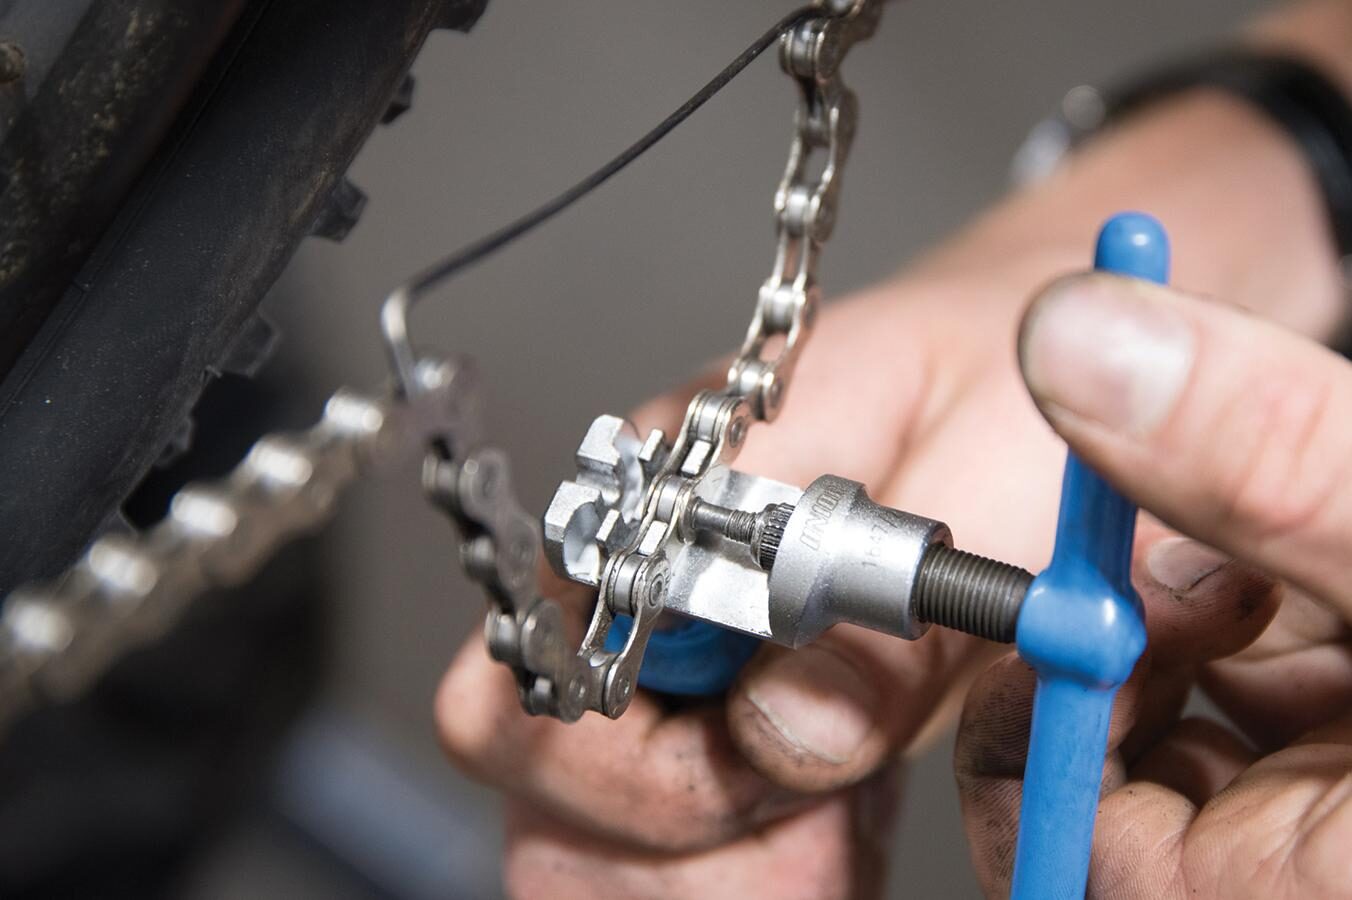
Diagnosing Chain Issues
Identifying Common Problems
Before attempting to fix a bike chain, it’s important to diagnose the issue accurately. Identifying common problems can guide you in determining the appropriate solution. One of the most frequent issues is a loose or sagging chain. This occurs when the chain has stretched over time or if the derailleur is not maintaining proper tension. A loose chain can lead to gear skipping and inefficient power transfer.
Another common issue is a broken or separated chain link. This can happen due to excessive force, such as when shifting gears under load or from general wear and tear. A broken link needs immediate attention, as it can cause the chain to derail, leading to potential accidents. Additionally, stiff or seized chain links can cause rough shifting and increased friction, making the ride less smooth.
Chain wear, often referred to as chain stretch, is another problem to watch for. Over time, the pins and bushings in the chain wear down, causing the chain to elongate. This wear can be measured with a chain checker tool. A worn chain can damage the cassette and chainrings, so it’s essential to replace it before it causes more extensive damage.
Rust and corrosion are also common issues, particularly if the bike is exposed to moisture or not lubricated regularly. Rust can weaken the chain, making it more prone to breaking under stress. Cleaning and lubricating the chain can prevent rust and extend its lifespan.
Understanding these common problems helps you diagnose the specific issue with your bike chain. Accurate diagnosis ensures that you apply the correct fix, preventing further damage and restoring the chain’s functionality. Regular inspection and maintenance can help identify these issues early, making repairs easier and more effective.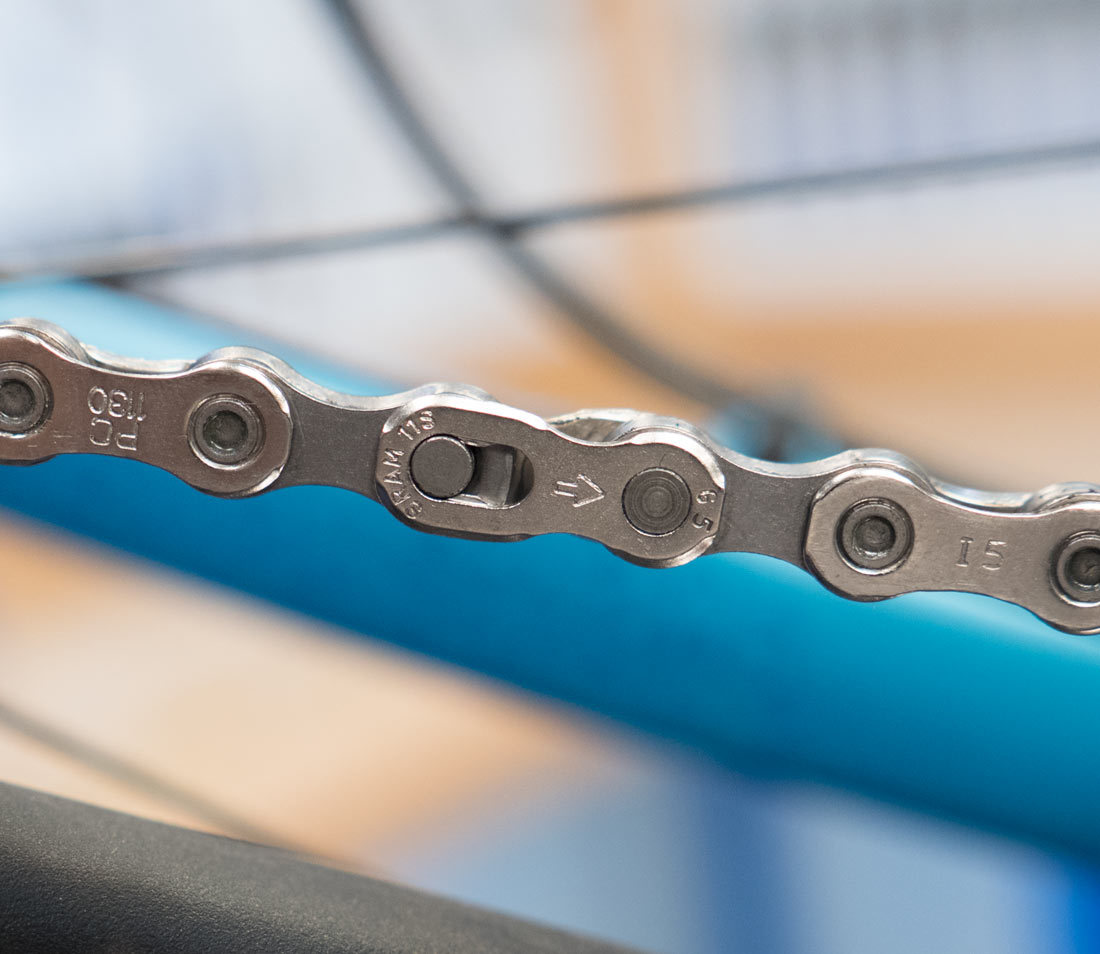
Tools Required for Chain Repair
Basic Tools and Equipment
Fixing a bike chain requires a few basic tools and equipment. Having the right tools on hand can make the repair process smoother and more efficient. The primary tool you will need is a chain tool, also known as a chain breaker. This tool is essential for removing and re-installing chain links. It allows you to push the pins out of the chain links, making it possible to remove damaged sections or shorten the chain.
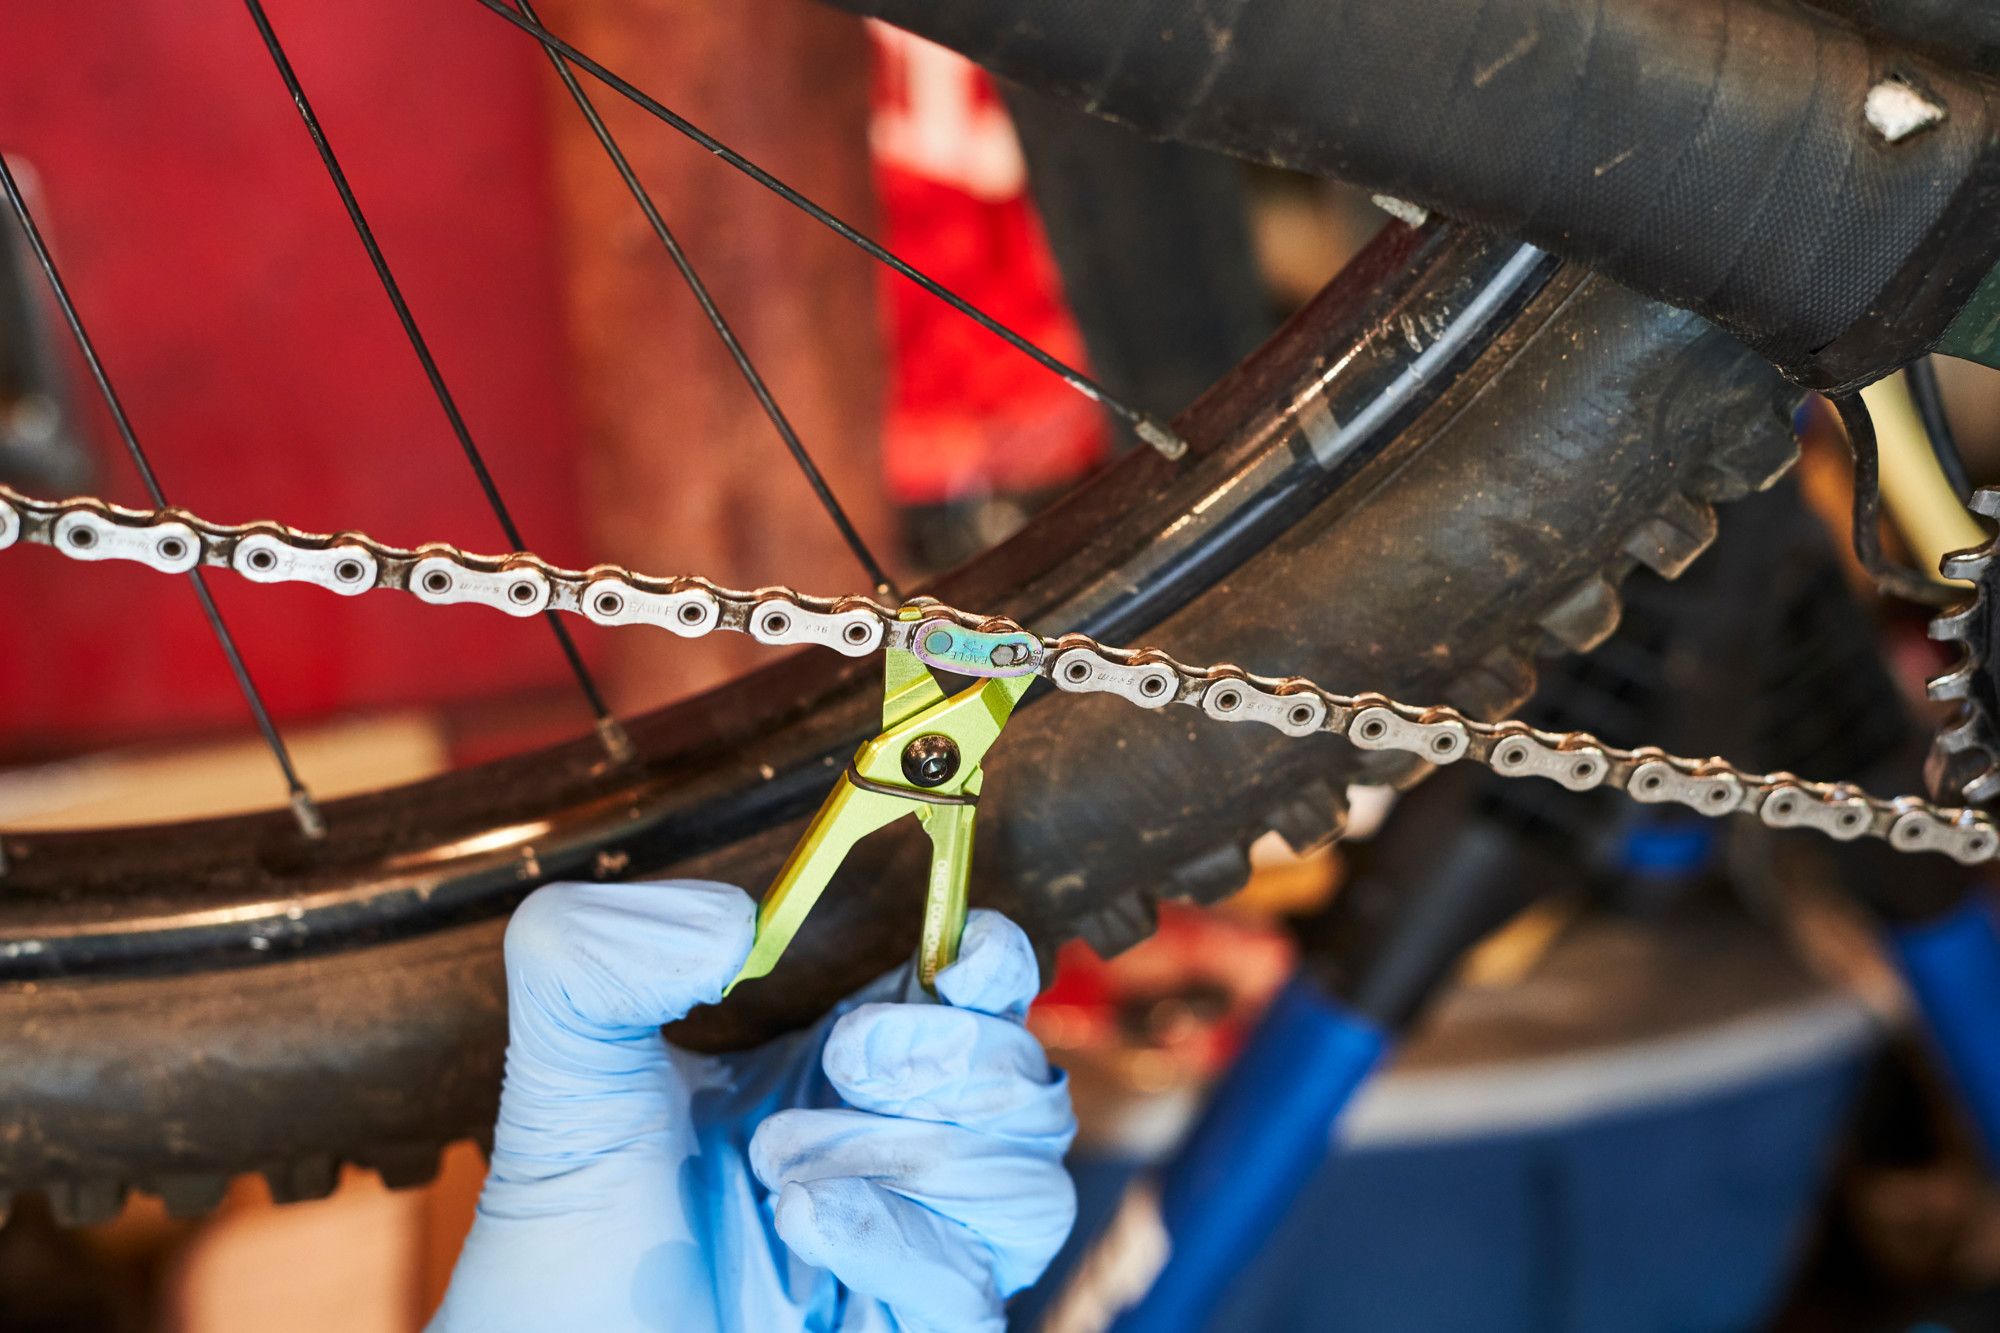
Another important tool is a set of needle-nose pliers. These pliers are useful for handling small parts and making precise adjustments. A chain checker tool is also helpful for measuring chain wear. This tool fits into the links and provides an indication of how much the chain has stretched. Regular use of a chain checker can help you determine when it’s time to replace the chain before it causes damage to other components.
You will also need a master link or quick link, especially if you plan to replace a damaged section of the chain. These links make it easier to reassemble the chain without the need for a chain tool. Lubricant is another essential item. A good-quality bike chain lubricant reduces friction, prevents rust, and ensures smooth operation. A clean rag and a brush are useful for cleaning the chain before applying lubricant.
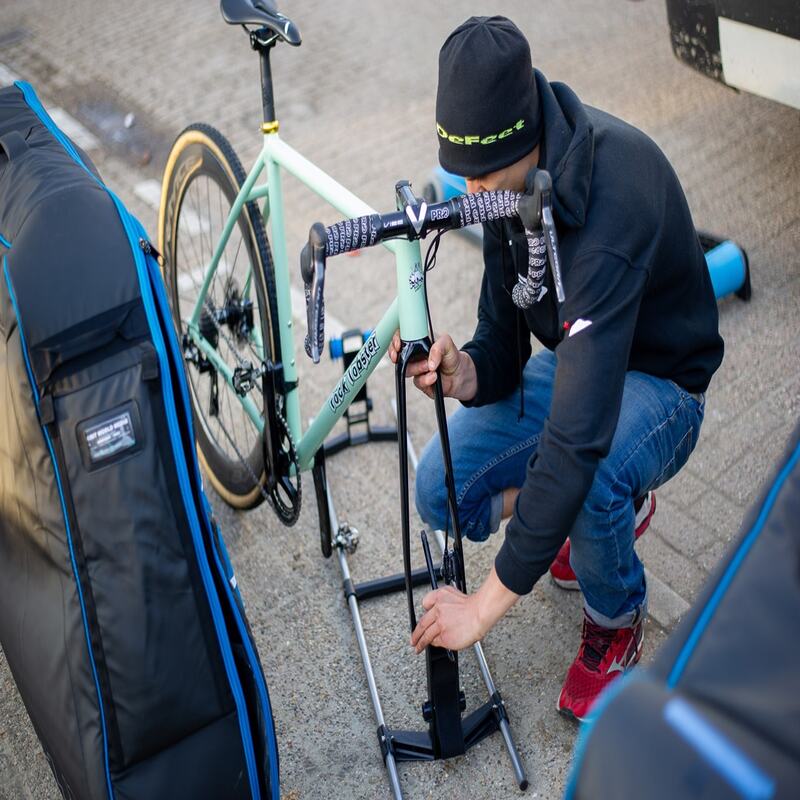
Finally, a bike stand or a way to elevate the bike makes the repair process more convenient. If you don’t have a bike stand, you can flip the bike upside down so that it rests on the seat and handlebars.
Having these basic tools and equipment ensures that you are well-prepared to fix any chain issues that arise. Proper tools not only make the job easier but also help prevent further damage to the chain and other components. Investing in quality tools is a worthwhile expense for any cyclist, ensuring you are equipped to handle regular maintenance and emergency repairs.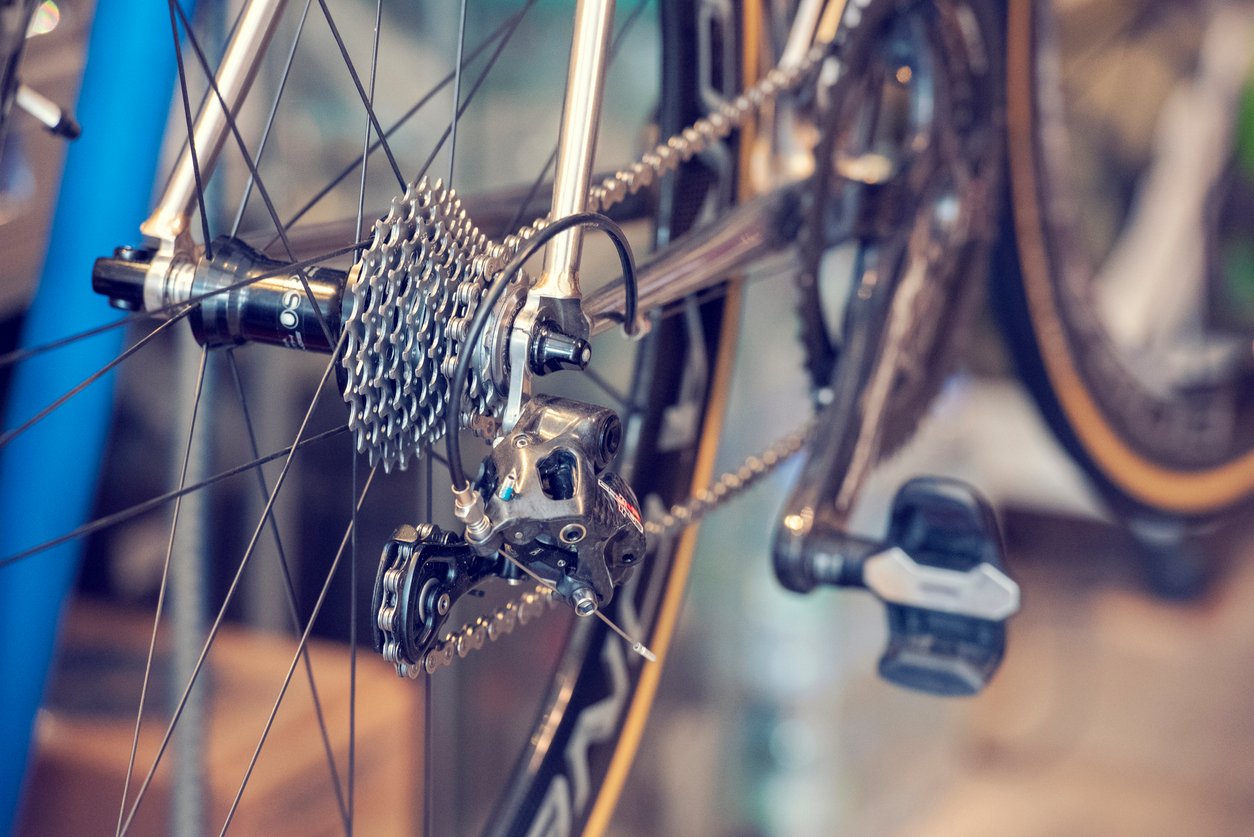
Step-by-Step Guide to Fixing a Bike Chain
Removing the Damaged Chain
The first step in fixing a bike chain is to remove the damaged section. Begin by shifting the bike into the smallest chainring and the smallest cog. This reduces tension on the chain, making it easier to work with. If your bike has a master link, use needle-nose pliers to disconnect it. If not, use the chain tool to push the pin out of one of the links.
Position the chain tool over the link you want to remove, ensuring the tool’s pin aligns with the chain pin. Slowly turn the handle of the chain tool to push the pin out of the link. Be careful not to push the pin completely out, as this can make reassembly more difficult. Once the pin is halfway out, you can separate the chain, removing the damaged section.
If you’re replacing a broken link, measure the new chain segment against the old one to ensure the correct length. Use the chain tool to push a pin out of the new chain segment, leaving it ready to connect to the existing chain. Keep track of the orientation of the chain, ensuring that it aligns correctly when reassembled.
Removing the damaged chain is a crucial step in the repair process. Accurate measurement and careful handling of the chain and tools ensure that the chain remains functional and aligned. Taking your time during this step can prevent mistakes and make the subsequent steps smoother.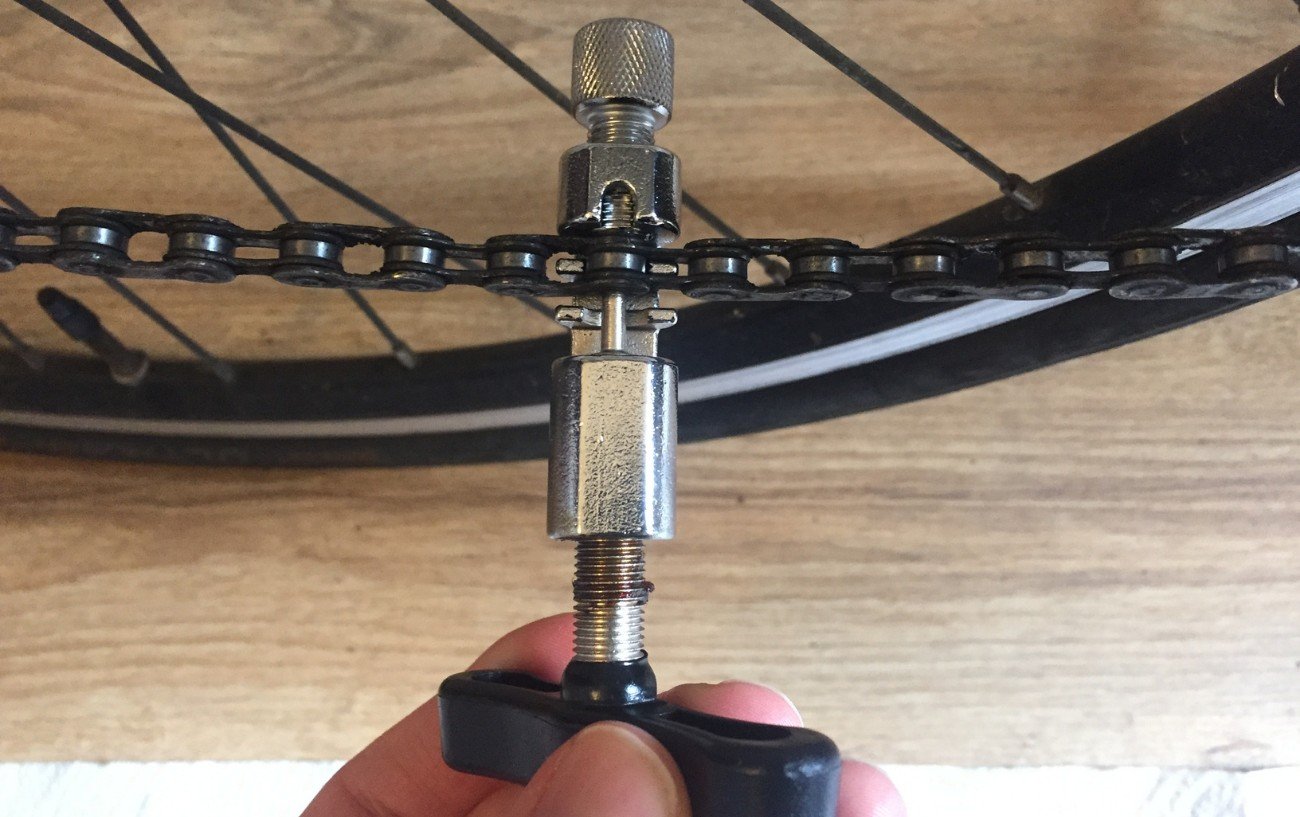
Repairing or Replacing Chain Links
Once you’ve removed the damaged section, the next step is to repair or replace the chain links. If you’re using a new chain segment, align it with the existing chain. Use the chain tool to push the pin back into place, connecting the new segment to the chain. Ensure the pin is fully seated, securing the link firmly. If your chain uses a master link, connect the new segment by snapping the master link into place with needle-nose pliers.
For repairs, inspect the chain links to ensure they are properly aligned and free from damage. If you encounter a stiff link, use the chain tool to slightly adjust the pin’s position, loosening the link. A properly adjusted link should move freely without resistance.
It’s essential to check the entire length of the chain for any additional issues. Look for signs of wear and ensure each link moves smoothly. Once you’ve completed the repair or replacement, test the chain by turning the pedals and shifting through the gears. This ensures that the chain is properly aligned and functioning as intended.
Repairing or replacing chain links requires precision and attention to detail. Ensuring that the new segment fits seamlessly with the existing chain prevents further issues and ensures smooth operation. Taking the time to inspect and test the chain after repairs guarantees a reliable and efficient ride.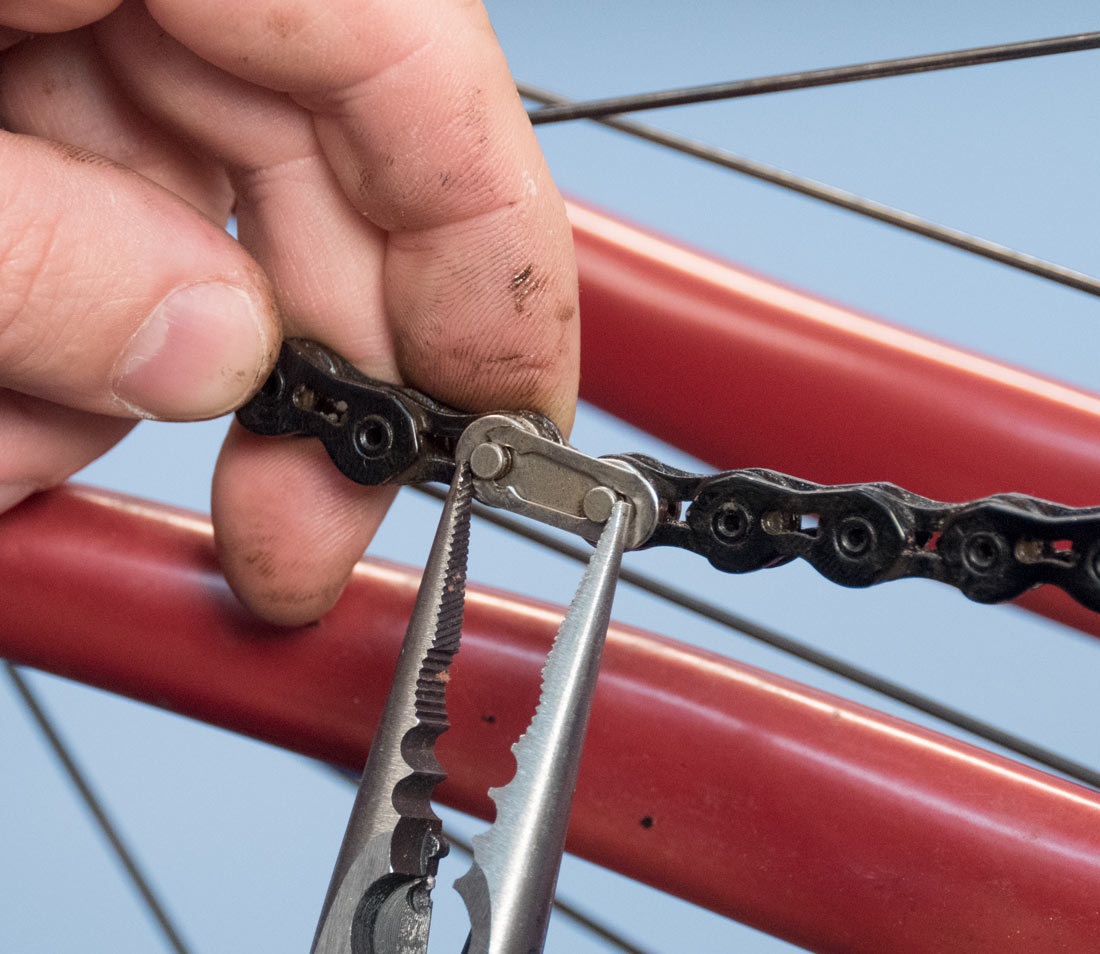
Maintenance Tips for Longevity
Regular Cleaning and Lubrication
Proper maintenance is essential for extending the life of your bike chain. Regular cleaning and lubrication prevent rust, reduce friction, and improve performance. Start by wiping down the chain with a clean rag to remove dirt and debris. For a deep clean, use a brush and a degreaser to scrub the chain, removing any built-up grime.
After cleaning, thoroughly dry the chain with a rag. Apply a high-quality bike chain lubricant, ensuring each link is coated. Wipe off any excess lubricant to prevent attracting dirt. Perform this maintenance routine regularly, especially after riding in wet or dusty conditions.
Timely Replacement of Worn Chains
Regularly check your chain for signs of wear using a chain checker tool. If the chain has stretched significantly, it’s time to replace it. Replacing a worn chain prevents damage to other components like the cassette and chainrings, saving you from more expensive repairs in the long run. Keep an eye on your mileage and replace the chain according to the manufacturer’s recommendations.
Conclusion: Ensuring a Smooth Ride
Fixing a bike chain is an essential skill for any cyclist. Understanding how to diagnose common issues, using the proper tools, and following a step-by-step repair process ensures you’re prepared for any chain-related problems. Regular maintenance, including cleaning, lubrication, and timely replacement, extends the life of your chain and enhances your riding experience.
By taking the time to fix and maintain your bike chain, you ensure a smoother, more efficient ride. This not only improves your performance but also enhances your overall enjoyment of cycling. Equipped with the knowledge and skills from this guide, you can confidently tackle any chain issues, keeping your bike in optimal condition for every adventure.