Removing the crank arm from a bike is a necessary skill for maintenance and repairs. Whether you’re upgrading your bike components, replacing worn-out parts, or doing a full bike rebuild, knowing how to remove crank arms can be invaluable. In this guide, we’ll break down the process into simple steps. Furthermore, we’ll provide insights about tools, safety, and tips for success. Each step ensures you avoid damage to your components while making the task manageable.
Understanding the Basics of Crank Arms
Before we plunge into the removal process, it’s essential to grasp what crank arms are. Crank arms are components that connect the pedals to the bike’s bottom bracket. They play a pivotal role in converting your pedaling motion into forward momentum. Generally, most bikes have either one or two crank arms, depending on the number of chainrings they have. With this foundational knowledge, let’s explore the tools required for this task.
Necessary Tools for Removal
To successfully remove a crank arm, you’ll need several essential tools. First, a crank puller is indispensable. This specialized tool helps detach the crank arm from the bottom bracket. Additionally, having a suitable socket wrench is critical for removing the crank bolts. Many crank arms have either a square or a hexagonal shape, so be sure to find the right size. Also, a good set of Allen keys will be useful, particularly if Allen screws secure your crank arms.
Next, having a clean rag and some grease on hand is a wise idea. After you remove the crank arm, cleaning and lubricating the threads can prevent future issues. Finally, consider acquiring a torque wrench for reinstallation, ensuring you apply the correct tightening torque. By gathering all these tools, you prepare yourself for a seamless crank arm removal process. Make sure your workspace is conducive to such mechanical tasks, as organization can lead to efficiency and success.
Understanding Different Crank Arm Types
Crank arms vary, and identifying your type is crucial before beginning any removal process. Most bikes will utilize either square taper or external bearing crank arms. Square taper crank arms nestle into a tapered bottom bracket, offering a snug fit. Conversely, external bearing crank arms rely on bearings situated outside the crank itself, making the design somewhat more complex.
Moreover, some bikes feature a press-fit bottom bracket, which requires further care when removing components. For example, knowing which type of crank arm you have helps you choose the right crank puller. Therefore, before you start disassembling, take a moment to inspect your bike closely. Familiarizing yourself with the crank arm type is a necessary precursor to the mechanical process. With this knowledge, you can proceed confidently to the crank arm removal task.
Preparing Your Bike for Crank Arm Removal
Stabilizing Your Bike
Before starting, ensure your bike is stable. A bike repair stand can provide the necessary support, making the process easier. If you don’t have one, flipping the bike upside down works too. However, make sure to protect the handlebars and seat from scratches. Stabilizing your bike ensures that you can work safely and comfortably. A stable bike allows you to focus on the task without worrying about stability issues.
Inspecting the Crank Arm
Take a moment to inspect the crank arm before proceeding. Look for any visible damage or wear. This inspection can help identify problems that may need addressing post-removal. Additionally, assessing the condition of the crank arm enables you to decide whether it should be replaced. Performing this inspection might save you time later. If you see significant wear, it’s best to have a replacement ready before you start.
Steps for Removing the Crank Arm
Step 1: Remove the Pedal
Begin by removing the pedal from the crank arm. To do this, locate the pedal wrench and turn the pedals counterclockwise. If the pedal seems stuck, apply gentle pressure while trying to turn it. Always remember that the left pedal has left-hand threads, meaning it turns clockwise to loosen. This detail is crucial for successful removal. Take your time—if necessary, clean any dirt around the pedal for smoother removal.
Step 2: Loosen the Bolt
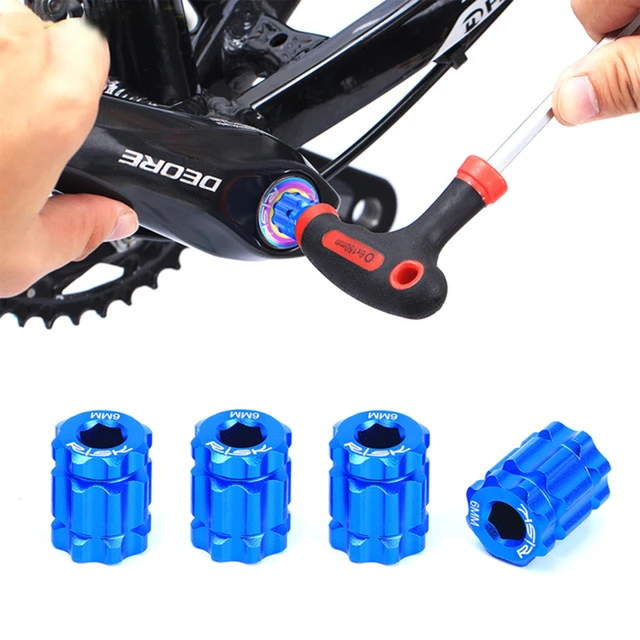
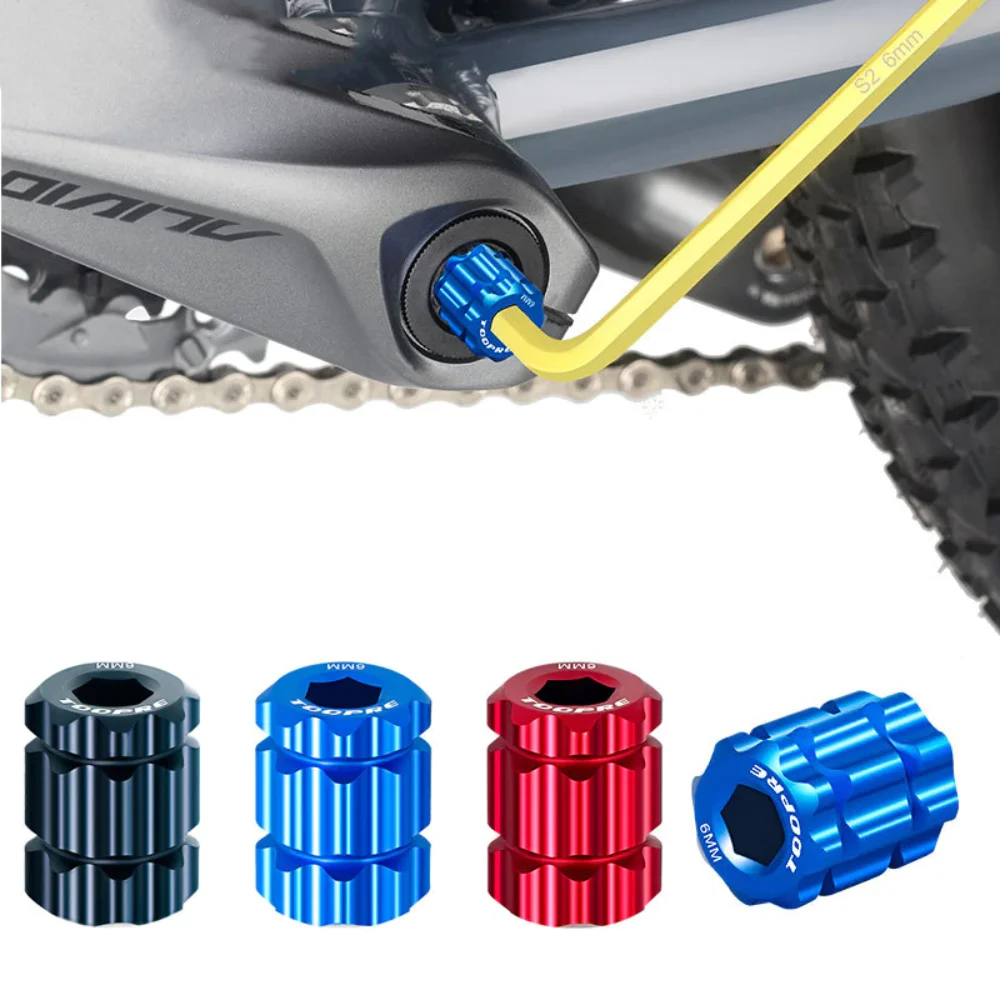
Next, locate the bolt securing the crank arm to the bottom bracket. Use your 5mm Allen wrench to loosen this bolt. Make sure not to fully remove the bolt yet—you will need it for the crank puller. If the bolt feels tight, a little penetrating oil can help. Waiting a few minutes allows the oil to work. Once loose, this step becomes much easier.
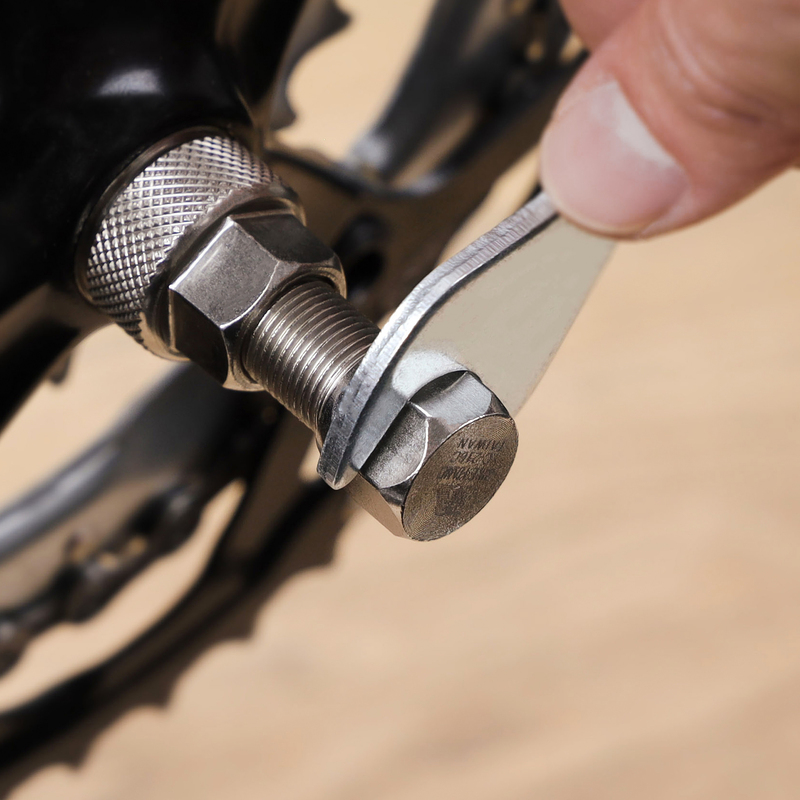
Step 3: Install the Crank Arm Puller
After loosening the bolt, it’s time to install the crank arm puller. Align the puller’s threads with the bolt hole in the crank arm. Firmly screw the puller into place. Ensure a snug fit to prevent slipping during removal. Understanding the crank arm puller’s function is vital here. It exerts pressure on the crank arm, allowing it to detach smoothly from the bottom bracket.
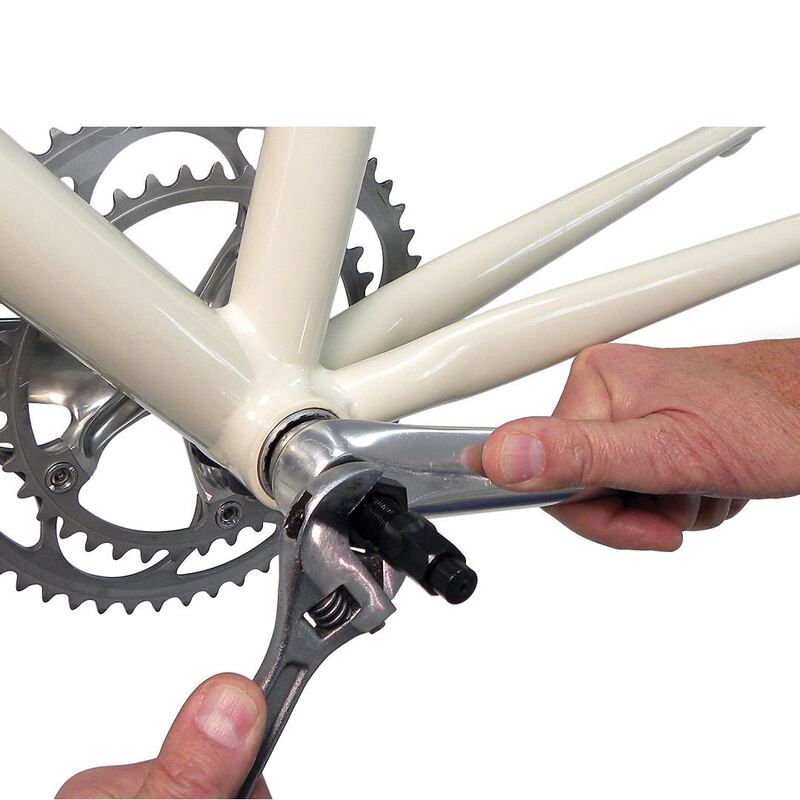
Step 4: Remove the Crank Arm
Once the puller is securely installed, begin tightening the puller’s central screw. This action will push the crank arm away from the bottom bracket. You might feel some resistance, which is normal. Continue tightening until the crank arm pops off the bottom bracket. This step demands patience; don’t rush it. Ensuring a proper fit will lead to a successful removal process.
Step 5: Inspect and Clean
With the crank arm removed, take a moment to clean and inspect the area. Use a degreaser to remove any accumulated dirt and grime. A clean surface allows new components to fit better and function smoothly. Once cleaned, inspect the bottom bracket for wear or damage. Pay attention to any unusual sounds or movements. If you find any issues, addressing them now will enhance your bike’s overall performance later.
Common Problems when Removing Crank Arms
Stubborn Crank Arms
You may encounter stubborn crank arms during the removal process. This issue often arises from years of wear and lack of maintenance. If you find yourself struggling, remember that patience is key. Applying penetrating oil can work wonders, allowing the arm to loosen over time. Make sure to let the oil sit for a few minutes. This waiting period can save you from damaging the crank arm or bottom bracket.
Stripped Threads
Sometimes, you may strip the threads of the crank arm or bottom bracket. This setback often occurs if excessive force is applied. To prevent this issue, always use the right tools and techniques. If stripped threads occur, tap the crank arm screw hole back to life. Alternatively, consider using a thread repair kit. Repairing the threads will help you avoid a costly replacement.
Reinstalling the Crank Arm
Aligning the Crank Arm
After addressing any issues, it’s time to reinstall the crank arm. Make sure that you align the crank arm correctly with the bottom bracket. The holes should line up precisely for a secure fit. Misalignment can lead to performance problems later. Taking the time to align properly ensures you enjoy a smooth cycling experience afterward.
Securing the Crank Arm
Once aligned, secure the crank arm by tightening the bolt. Use your torque wrench to apply the recommended torque, ensuring it is secure. Reference the manufacturer’s guidelines for specific torque specifications. This detail is crucial, as overtightening may lead to damage. Conversely, an insufficiently secured crank arm can become loose during your ride.
Maintenance Tips for Crank Arms
Regular Inspections
To prolong the life of your crank arms, make regular inspections a habit. Look for signs of wear, rust, or damage. Early detection of issues allows for timely repairs, enhancing your bike’s performance. Keeping an eye on your crank arms can save you time and money. Consistent vigilance contributes to a more enjoyable riding experience.
Cleaning and Lubrication
In addition to inspections, cleaning and lubricating the crank arm can make a significant difference. Use a degreaser for the cleaning process, ensuring no dirt remains. After cleaning, apply a light coat of lubricant to the threads. This procedure helps in smoother installations and removals in the future. Keeping your crank arms in top condition will enhance performance and lifespan.
Conclusion
In summation, removing and reinstalling bicycle crank arms requires the right tools, preparation, and technique. Always ensure your workspace is clean, organized, and safe to avoid mishaps. Adopting best practices in maintenance not only aids your bike’s performance but also prolongs its lifespan. Following the steps outlined above, you can enhance your bike maintenance skills incrementally.
Furthermore, always remember to periodically check the condition of your crank arms and bottom bracket for wear or damage. Proactive maintenance will save time and money in the long run. By investing some effort and care, you’ll improve your riding experience significantly. Happy cycling, and may your adventures be smooth and enjoyable!