Biking is an enjoyable and efficient way to travel. However, flat tires can interrupt your ride. Knowing how to replace a bike tube prepares you for those flat tire emergencies. This article covers the entire process step by step.
Understanding the Bike Tube
What is a Bike Tube?
A bike tube serves a crucial role in the functioning of your bicycle. It is an inflatable rubber tube that fits inside the tire. Its primary job is to hold air, allowing the bike to ride smoothly and efficiently. When the tube loses air or becomes damaged, the bike cannot function as intended. Therefore, recognizing its condition is vital for maintaining your bicycle.
Types of Bike Tubes
Various types of bike tubes exist based on their intended usage. You can find tubes for mountain bikes, road bikes, and hybrids, among others. Each type has different sizes and materials for specific purposes. For instance, mountain bike tubes tend to be sturdier. On the other hand, road bike tubes are lighter and more vulnerable to punctures. Choosing the right tube will enhance the performance of your bicycle. Always consult your bike’s specifications before purchasing a replacement tube.
Tools and Equipment
Essential Tools for Tube Replacement
Before starting, gather the necessary tools for replacing a bike tube. The most important items include tire levers, a new tube, a pump, and a patch kit. Tire levers help you pry the tire away from the rim easily. The new tube is, of course, essential for your bike to function again. If you are particularly adventurous, you might also want a patch kit for minor repairs. With these tools in hand, you are well on your way to replacing that pesky tube.
Safety Gear
While replacing a bike tube is a straightforward task, safety should always be a priority. It is wise to wear gloves to protect your hands from sharp objects or dirt. In addition, you should work in a well-lit area, especially if it’s dark outside. Adequate lighting helps you see what you’re doing more clearly. Moreover, using reflective clothing can keep you visible to others if you’re on the roadside.
Removing the Flat Tire
Deflating the Tire
First, you need to deflate the tire completely. Locate the valve stem on the wheel, which is where the air is added. If your valve has a cap, be sure to remove it. Next, you can release the air by pushing down on the valve stem. If you have a Schrader valve, gently push on the pin within the valve. For a Presta valve, simply unscrew the top and push down. Ensure all the air escapes; this makes it much easier to remove the tire.
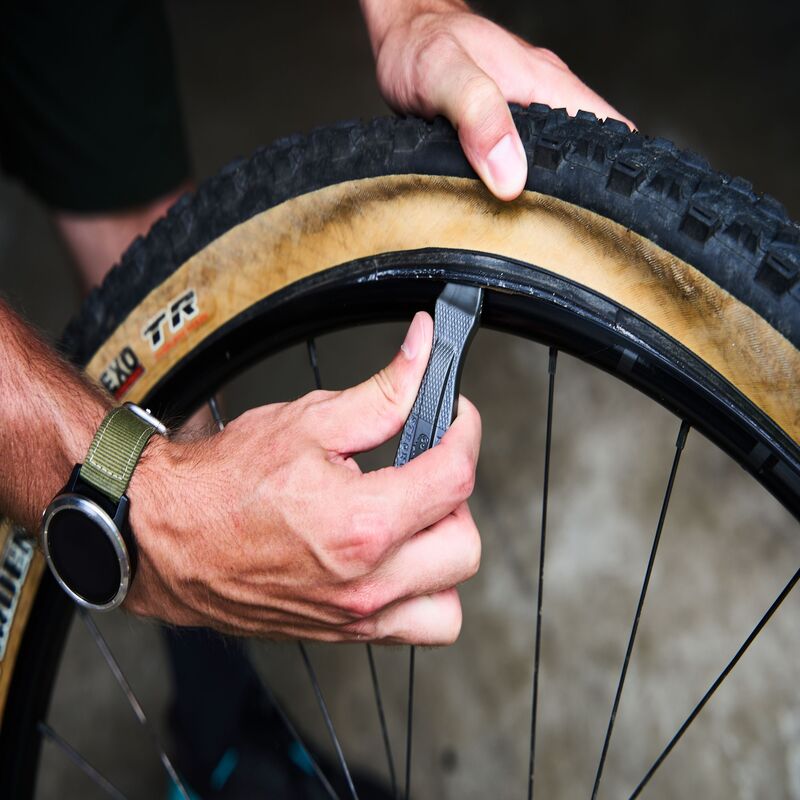
Using Tire Levers
Once the tire is deflated, it’s time to take it off. Insert a tire lever under the edge of the tire and pry it away from the rim. You may need a second tire lever for this step. Place the second lever a few inches away from the first and pry again. Carefully, continue this process around the tire until one side is fully off the rim. This method avoids damaging the rim and minimizes effort.
Inspecting the Tube and Tire
Examining the Inner Tube
Once the tire is off, you can focus on the tube. Examine the inner tube for punctures and other damage. You may feel air escaping if the tube is indeed punctured. A visual inspection is important as well; look for holes or abrasions on the surface. Mark any punctures with a piece of chalk. This will help you find and patch them if necessary. Always consider the age of the tube; an older one may need replacing even if it looks okay.
Checking the Tire
The tire itself also requires an inspection. Examine the inside for sharp objects like glass or nails. Even a small piece can cause a new tube to puncture quickly. Look at the tread as well; bald patches may indicate that the tire itself needs replacing. Taking the time to thoroughly inspect both the tire and tube pays off in the long run. A well-maintained bike ensures a safer and more enjoyable ride.
Installing the New Tube
Preparing the New Tube
Before installing the new tube, inflate it slightly. This helps maintain its shape while you fit it in the tire. You don’t want to fully inflate it yet, just enough to add some structure. Check your new tube for any defects, such as holes or uneven surfaces. If everything looks good, you can start the installation. Make sure to line up the valve stem with the hole in the rim.
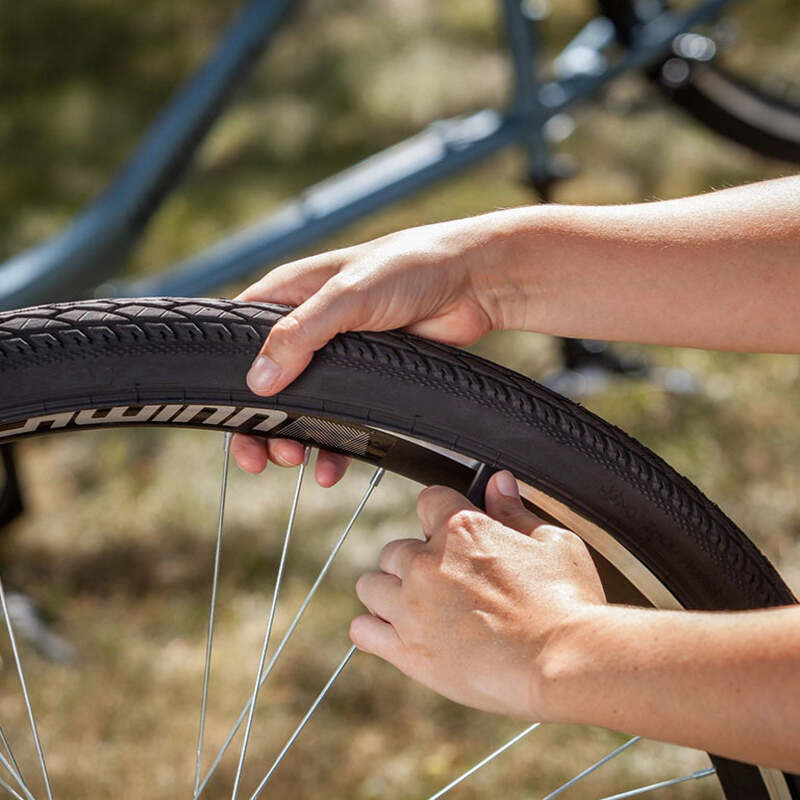
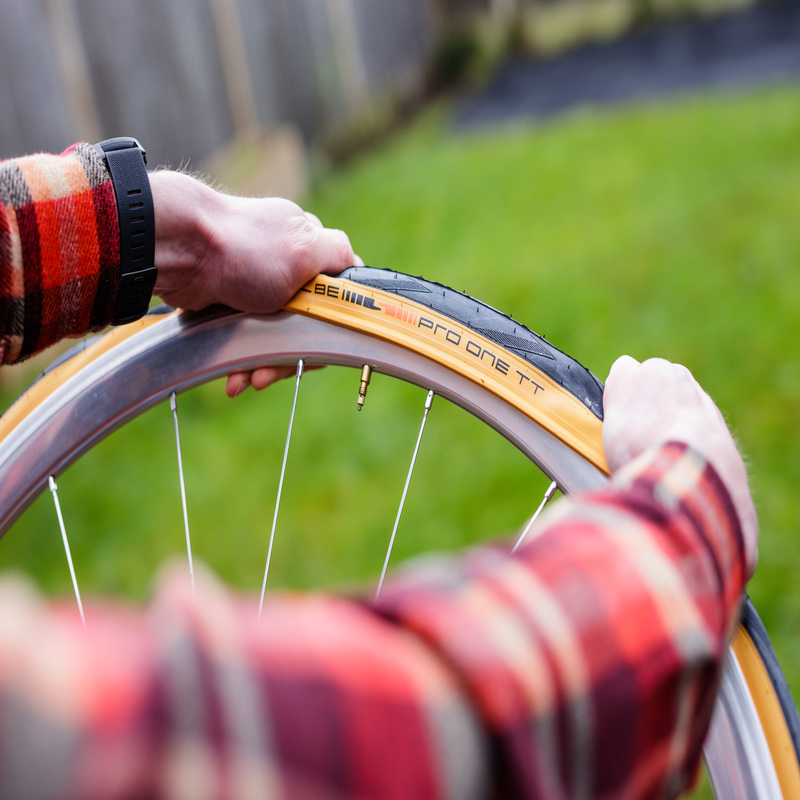
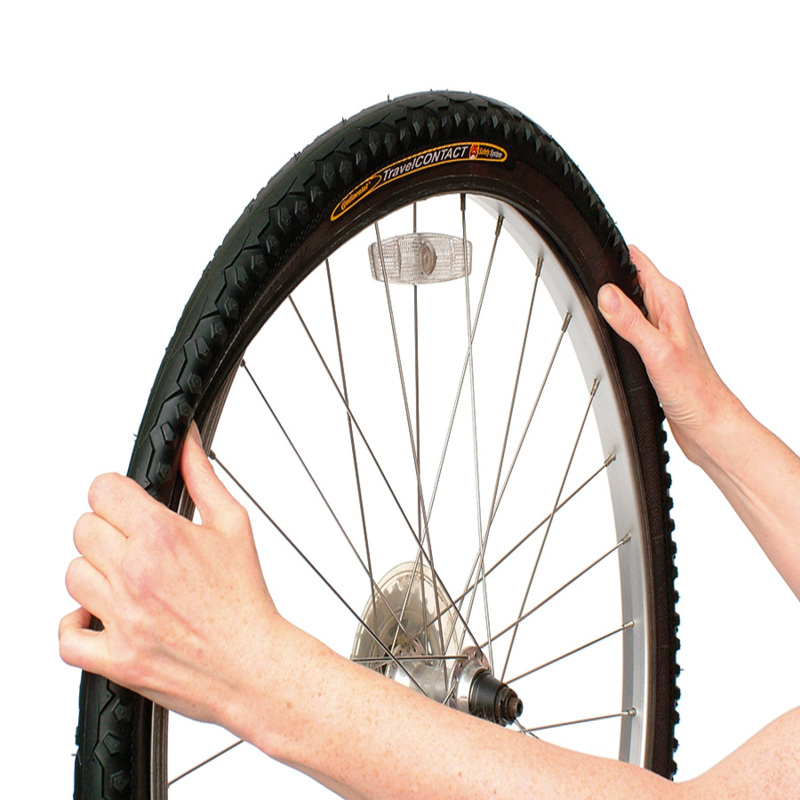
Fitting the Tire Back On
With the new tube partially inflated and positioned correctly, begin fitting the tire back on. Starting at the valve, push the tire bead over the rim. Use your hands rather than tools to avoid pinching the tube. Gradually continue along the tire until you reach the opposite side. If the tire is stiff, a tire lever may be necessary. However, use it cautiously to prevent damaging the new tube.
Inflating the Tire
Choosing the Right Pressure
Inflating the tire correctly is an essential step. Refer to the sidewall of the tire for the appropriate pressure range. Different tires have different requirements, so do not guess. Too much pressure can lead to blowouts, while too little can cause pinch flats. Make sure you use a reliable pump, preferably one designed for your type of bike.
Using a Bike Pump
Once you determine the ideal pressure, connect the pump to the valve. For Schrader valves, press down firmly and lock it in place. For Presta valves, press the lever down to secure it. Start pumping air into the tube slowly. Stop and check the pressure every few pumps to avoid overinflating. After reaching the correct pressure, disconnect the pump and replace the valve cap.
Final Inspections
Checking the Tire and Tube
Now that you’ve inflated the tire, it’s time for a final inspection. Rotate the wheel and listen for any hissing sounds that might indicate leaks. Feel around the tire and tube for any abnormalities. Ensuring everything is secure is important before taking your bike for a ride. A quick visual inspection at this stage can save you time and trouble later.
Cleaning Up
Once you have finished replacing the bike tube, be sure to clean up your workspace. Gather up any tools you used and put them back in their designated spots. Check for any debris from the old tube or tire around you. Dispose of the old tube responsibly, as discarded rubber can be harmful to the environment. Leaving your area tidy helps maintain your focus for future repairs.
Conclusion
Knowing how to replace a bike tube is an essential skill for any cyclist. It saves time and helps you get back on the road quickly. Proper equipment, safety measures, and techniques allow for efficient tube replacement. Always inspect your wheels and tubes regularly to minimize the chances of a flat. By taking these proactive steps, you ensure a more enjoyable biking experience. Happy cycling!
With this guide, you can confidently replace a bike tube. Understanding the types of tubes and necessary tools is essential. Following these steps will help you handle flats efficiently. Ultimately, knowing how to replace a tube allows you to enjoy cycling without fear. This skill not only enhances your experience but also empowers you as a cyclist. Embrace the journey, and ride confidently!