
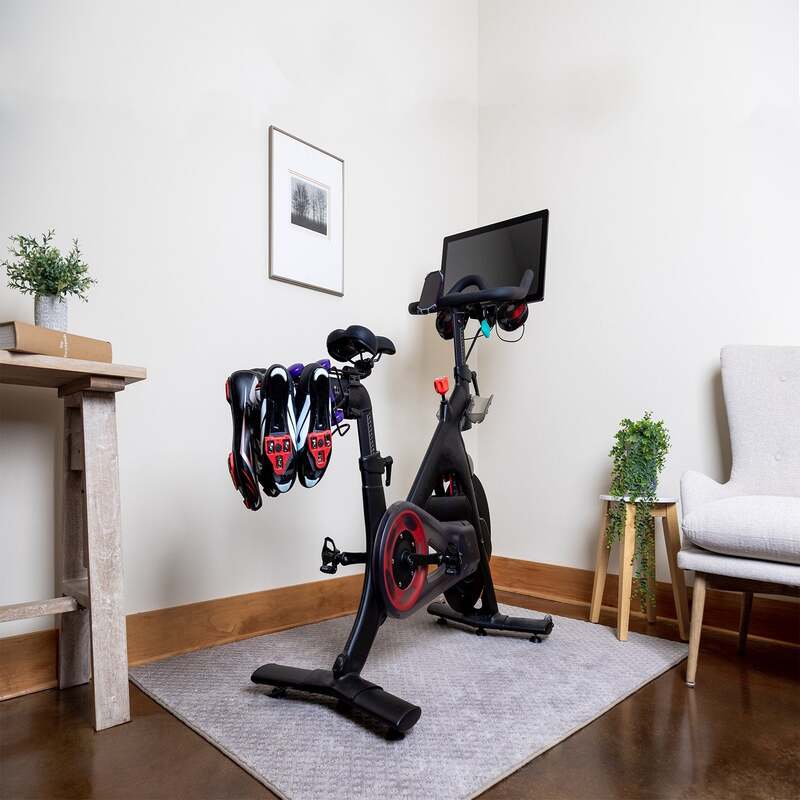
Moving a Peloton bike can be a daunting task. However, with careful disassembly, it can be more manageable. How to disassemble a peloton bike for moving? This guide will take you through each step of the disassembly process. It will provide clear instructions and detailed tips. We will cover all necessary aspects to make sure you handle your bike with care and efficiency.
Preparation for Disassembly
Before you start disassembling your Peloton bike, gather all required tools. Tools needed include Allen wrenches, a Phillips head screwdriver, and soft cloths. Additionally, having zip ties and labels on hand can be beneficial. These will help keep track of smaller components.
Gather Necessary Tools
Make sure you have all the tools ready before you begin. Allen wrenches are essential for removing screws and bolts on the bike. A Phillips head screwdriver also assists in disassembly. Soft cloths help protect parts from scratches. Zip ties can keep loose cables secure and out of the way. Labels are useful to mark where each part belongs.
Clear Your Workspace
Clearing your workspace is another vital step. Choose a location with ample space to move around. This makes it easier to access and remove bike components. Make sure the floor is clean and free of debris. Remember to protect the floor with a mat to prevent damage. Keeping parts organized will make reassembly much easier.
Disassembling the Handlebars and Screen
Begin the disassembly with the handlebars and screen. These are among the most delicate parts of the Peloton bike. Taking extra caution here is crucial. Removing these parts first will make handling the bike frame easier.
Detach the Handlebars
Start by loosening the screws that hold the handlebars in place. Use the correct size Allen wrench to do this. Carefully lift the handlebars from the frame once the screws are loose. Be sure to keep the screws in a labeled container. This will ensure you don’t lose them for reassembly. Wrapping the handlebars in a soft cloth will protect them during the move.
Remove the Screen
Next, focus on the screen attached to the handlebars. The screen is fragile and requires careful handling. Use a Phillips head screwdriver to remove the screws securing the screen. Gently lift the screen away from the handlebars. Place it in a safe, padded container for transport. Remember to label the screws and other small components.
Disassembling the Seat and Pedals
After securing the handlebars and screen, move on to the seat and pedals. These parts are relatively straightforward to remove. However, they still require attention to detail. Proper disassembly will ensure a smooth reassembly process later.
Unfasten the Seat
Begin by loosening the screws or bolts that hold the seat in place. Use an appropriate size Allen wrench for this. Once loose, gently slide the seat off the seat post. Place the seat in a protected area. It’s important to label the bolts and screws. This labeling will assist you later during reassembly.
Remove the Pedals
Pedal removal requires a pedal wrench or Allen wrench. Turn the wrench counter-clockwise to loosen the pedals. Always start with the right pedal, then move to the left pedal. Be cautious as pedals can be tight and may require some force. Store the pedals in a secure bag or container. Label them correctly to avoid confusion later.
Disassembling the Frame, Flywheel, and Base
Now we proceed to the more substantial components. This includes the frame, flywheel, and base. Handling these parts requires more effort and care. Make sure you have a helper if needed. This will make the process easier and safer.
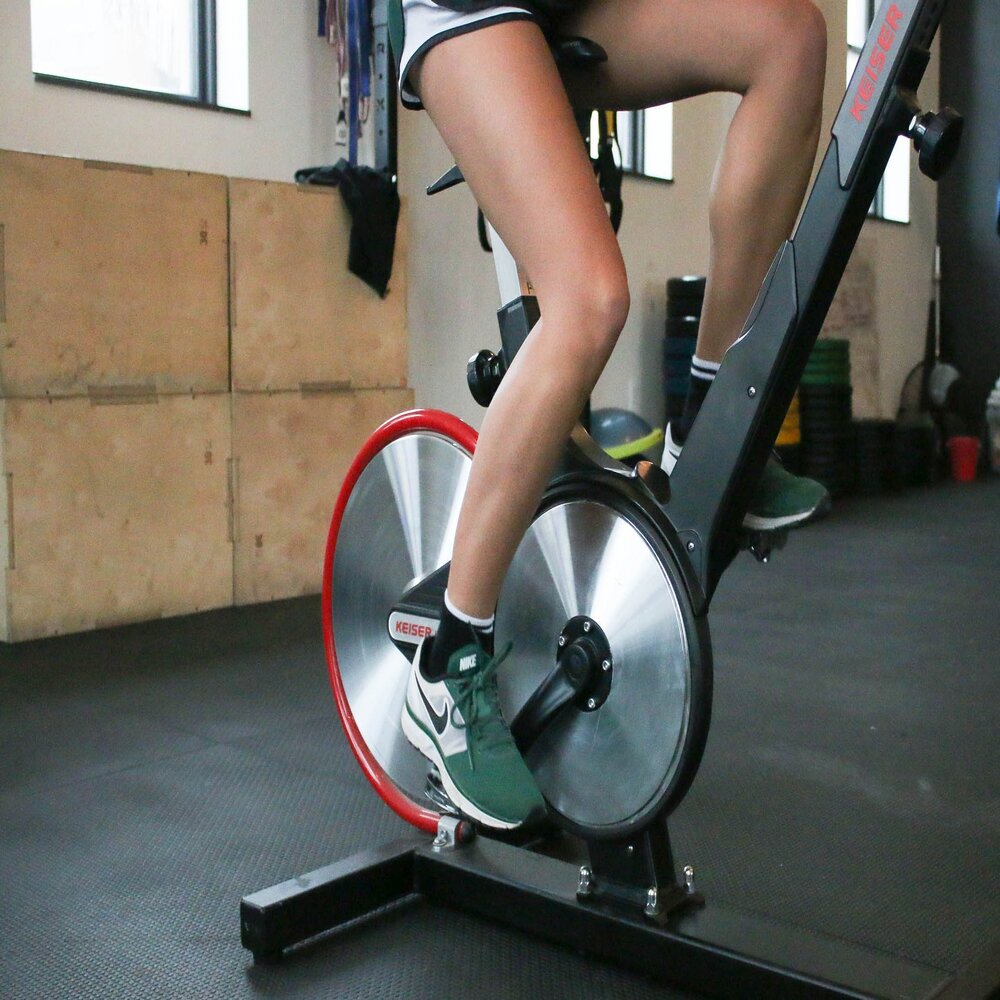
Disassemble the Flywheel
The flywheel is one of the heaviest parts of the bike. Carefully unscrew the bolts using an Allen wrench. You’ll need to support the flywheel while doing this. Once loose, lift it off carefully and place it on a soft surface. Protect it with padded materials. Label any bolts and screws to ensure they are identifiable later.
Detach the Frame from the Base
Finally, detach the frame from the base. This step may require some assistance. Loosen the bolts that connect the frame to the base with an Allen wrench. Gently lift the frame from the base once the bolts are removed. Place the frame on a soft surface to prevent scratches. Keep the base upright and stable during transport. Label all screws and smaller parts.
Reassembling the Peloton Bike in Your New Location
Once you reach your new location, reassemble the bike. Follow the disassembly steps in reverse order. This ensures that all parts go back to their original positions. Taking your time here will prevent any mistakes.
Assemble the Frame and Base
Start by reattaching the frame to the base. Align the frame with the base and insert the bolts. Use an Allen wrench to tighten the bolts properly. Ensure the frame is stable before moving to the next step.
Reattach the Flywheel
Next, position the flywheel back onto its mount. Insert the bolts and tighten them securely. Make sure the flywheel is free to spin without obstruction. This ensures it functions properly when you start using the bike again.
Reassembling the Seat and Pedals
Continue by reinstalling the seat and pedals. This process is straightforward if you kept your screws and parts labeled.
Secure the Seat
Slide the seat back onto the seat post. Insert and tighten the screws or bolts. Make sure the seat is level and secure. This ensures comfort and stability during use.
Attach the Pedals
Next, screw the pedals back into place. Use a pedal wrench or Allen wrench for this step. Start with the left pedal, then move to the right pedal. Tighten them securely to ensure they don’t come loose during use.
Reassembling the Handlebars and Screen
The final step involves reattaching the handlebars and screen. This step requires extra care due to the delicate nature of these components.
Install the Handlebars
First, position the handlebars back onto the frame. Insert the screws and tighten them with an Allen wrench. Ensure the handlebars are tight and stable. This will ensure that they don’t move during your workout.
Reattach the Screen
Finally, position the screen back onto the handlebars. Use a Phillips head screwdriver to secure the screen. Make sure all cables are properly connected. Turn on the screen to check if it functions correctly. This completes the reassembly of your Peloton bike.
Tips for a Smooth Moving Experience
A few additional tips can make moving your Peloton bike even easier. Firstly, enlisting help can simplify the process. Moving larger components is easier with assistance. Secondly, keeping parts organized is essential. Use zip ties to bundle cables and label every component. This enhances efficiency during reassembly. Finally, protecting parts with soft cloths and padding can prevent damage. This reduces the risk of scratches and dents.
Cost-Effective Moving
Moving can be expensive, but there are ways to reduce costs. Renting a moving truck might be cheaper than hiring movers. Using household items for padding can save money too. Towels and blankets work well for this purpose. Planning your move during off-peak times can also lower costs. Many moving companies offer discounts during weekdays.
Communicating with Moving Services
If you decide to hire movers, clear communication is crucial. Inform them about the Peloton bike and its value. Provide specific instructions for handling delicate parts. This ensures that movers take extra care. Always confirm your booking and services included. This prevents misunderstandings on moving day.
Conclusion
To conclude, disassembling your Peloton bike for moving is manageable with the right approach. Preparation is key, from gathering tools to clearing your workspace. Carefully disassemble the handlebars and screen first. This allows easier access to other parts. Proceed with removing the seat and pedals. Then tackle the flywheel and frame. Labeling and organizing parts make reassembly simpler. Reassemble the bike in reverse order at your new location. Taking the time to do this correctly ensures smooth operation. Lastly, employing cost-effective moving tips and clear communication makes the entire process smoother. With this guide, you can move your Peloton bike with confidence.


