Traveling with a bike can seem daunting for both novice and experienced cyclists. However, with the right preparation and understanding, it can be a seamless experience. In this guide, we explore everything you need to know about how to fly with a bike. From packing your bike correctly to navigating airline regulations, we’ve got you covered.
Preparing Your Bike for Air Travel
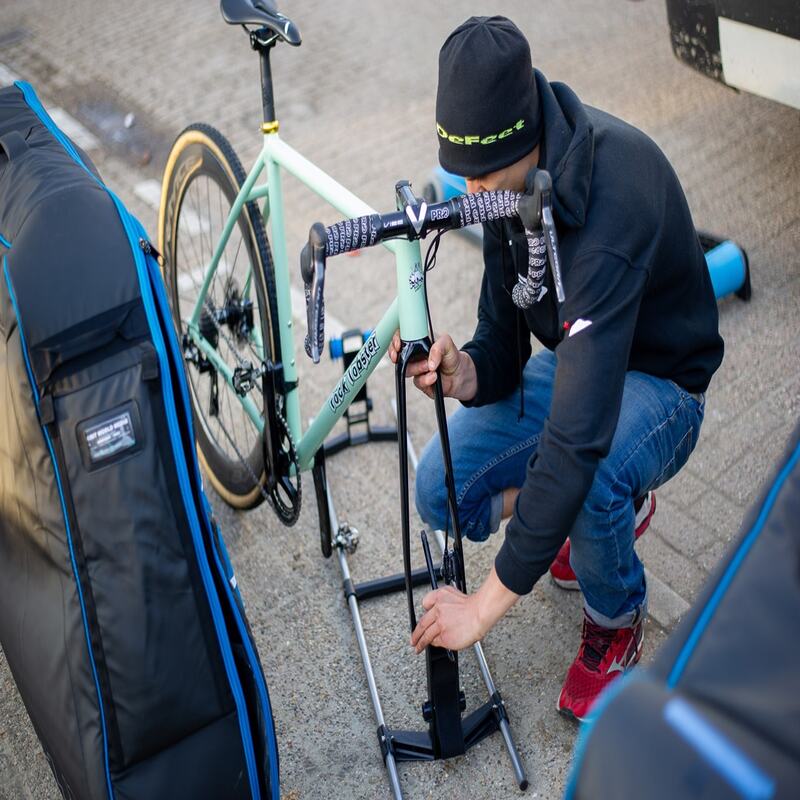
Dismantling Your Bike
Before you even think about packing your bike, you’ll need to dismantle it. Start by removing the wheels using a quick-release lever or axle nut as required. Next, take off the pedals; you may need a pedal wrench. Finally, turn the handlebars sideways or detach them altogether, depending on your bike case. Always refer to your bike manual for specific instructions.
Removing the wheels helps the bike to fit snugly in its case. This minimizes the risk of damage during transit. Pedals can cause the bike to snag or damage the bike case. Handlebar adjustments make the bike more compact.
Securing Fragile Components
After dismantling, you should focus on securing the fragile components. Wrap the derailleur, chain, and other small parts in bubble wrap or foam. Bundle them together and place them in a separate compartment within your bike case.
Protecting fragile parts is crucial. These components are more likely to suffer damage if not adequately cushioned. Bubble wrap absorbs shocks, reducing the risk of breakage during handling. This step is essential for maintaining bike integrity.
Choosing the Right Bike Case
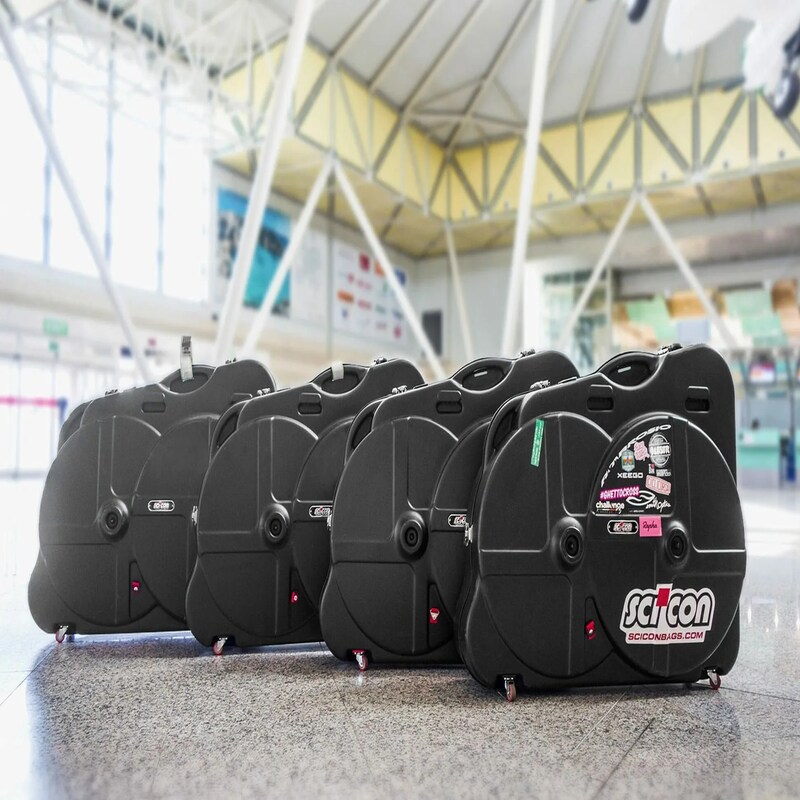
Hard vs. Soft Bike Cases
Choosing the right bike case can make or break your travel experience. Hard cases offer the best protection but are bulkier and heavier. Soft cases are lighter but provide less protection. Consider your travel needs and airline restrictions before making a choice.
Hard cases are ideal for serious cyclists who travel frequently. They offer the highest level of protection but at a cost. Soft cases, on the other hand, are more convenient for occasional travelers. Some cyclists even prefer using padded bags, striking a balance between protection and portability.
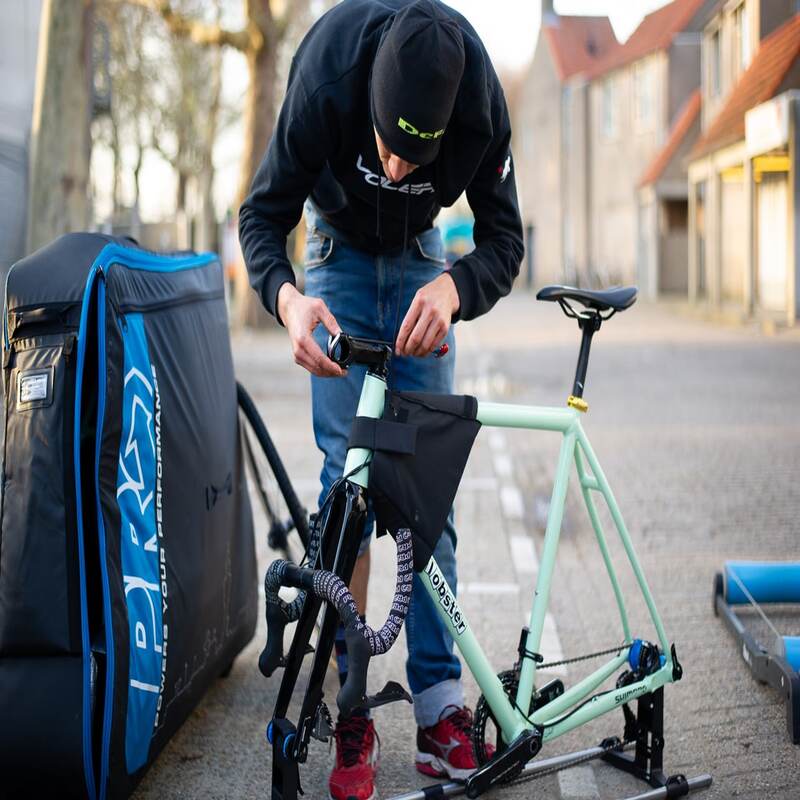
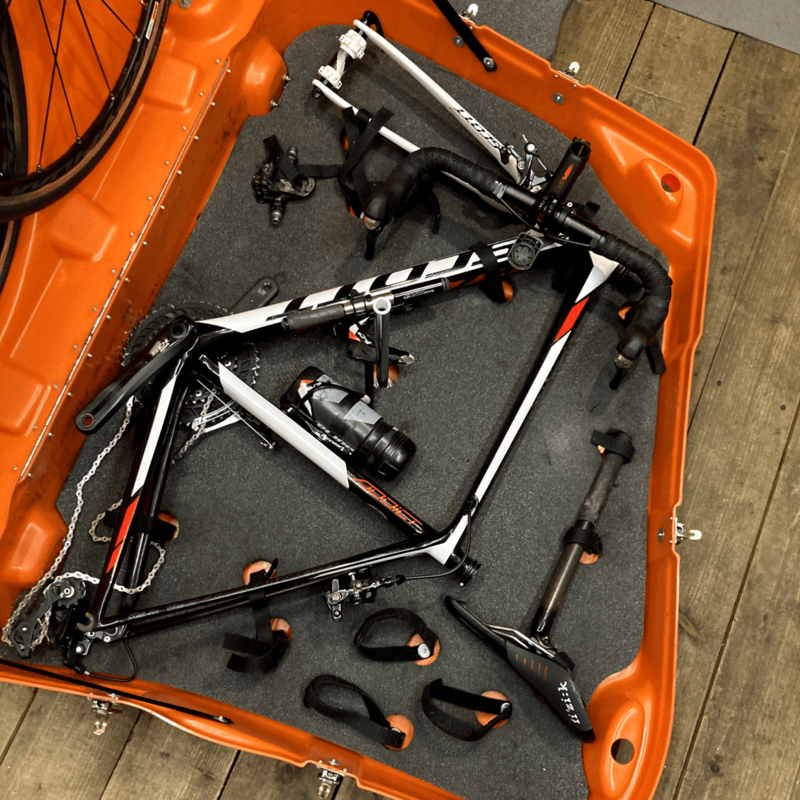
Packing Efficiently
Once you’ve chosen your bike case, the next step is efficient packing. Use foam padding or bubble wrap around the frame and other large parts. Secure the wheels in designated slots and fill any voids with soft materials like clothing to prevent movement.
Packing efficiently reduces the risk of damage and makes the bike easier to handle. Utilize all available space to avoid shifting during transit. Ensure that all components are securely fastened. Label your bike case with your contact information as an added precaution.
Airline Regulations and Costs
Checking Airline Policies
Different airlines have varying regulations for flying with a bike. It’s vital to review your airline’s specific guidelines. Some airlines require advance notice, while others have weight and size restrictions. Be prepared to pay additional fees.
Understanding airline policies can save you unnecessary hassle. Some airlines treat bikes as standard luggage, while others consider them oversized. Knowing the regulations helps you prepare adequately and avoid extra costs. Ensure you comply with all requirements to avoid last-minute surprises.
Booking and Check-In
When booking your flight, notify the airline if you plan to bring a bike. Check-in might take longer, so arrive at the airport early. Verify if you need to sign any waivers or complete additional documentation.
Early notification ensures that the airline is prepared. Arriving early gives you ample time to handle any unexpected issues. Extra documentation might be required for international flights. Completing these steps ahead of time expedites the check-in process.
On the Flight
Keeping Track of Your Bike
Once your bike is checked in, it’s important to keep track of it. Save any receipts or tracking numbers provided by the airline. If possible, monitor the bike through any tracking services offered.
Keeping track of your bike ensures that you know its location. This can be especially useful in case of delays or losses. Tracking helps reassure you about the bike’s safety. Save all related documents for reference.
Seating and Legroom
While you won’t have direct access to your bike during the flight, consider your comfort. Choose a seat with ample legroom, especially if you have to carry extra gear or essentials with you.
Comfort is essential, especially on long flights. Extra legroom can make the journey more enjoyable. This is particularly crucial if you need quick access to important items. Always plan for your own comfort during the flight.
Unpacking and Reassembling Your Bike
Arrival at Your Destination
Upon arriving at your destination, head straight to the oversized luggage area. Most likely, your bike will be there. Carefully inspect the case for any visible damage before leaving the airport.
Checking for damage is crucial. Immediate inspection allows you to report any issues promptly. Don’t leave the airport without verifying the bike’s condition. This helps in claiming any insurance or dealing with the airline.
Reassembling Your Bike
Once you’ve safely retrieved your bike, the final step is reassembling it. Start by reattaching the handlebars and wheels. Install the pedals next and make sure everything is secure. Conduct a brief test ride to ensure that everything is in working order.
Reassembling needs to be done meticulously. Make sure all parts are correctly fitted. A test ride helps identify any issues that need immediate fixing. Ensure that the bike is in top shape before you start your journey.
Tips and Tricks for Smooth Travel
Accommodation and Storage
Once you’ve successfully reassembled your bike, you’ll need to think about accommodation and storage. Choose bike-friendly lodging options, ideally those offering secure storage.
Bike-friendly lodgings provide peace of mind. Secure storage protects your bike from theft and damage. Additionally, some accommodations offer maintenance facilities. Research your options before booking.
Local Transportation
Consider local transportation options if you need to travel further. Some locations might have bike-share programs, suitable for less strenuous activities. Alternatively, look for public transportation that allows bike carriage.
Knowing your local transport options can save time and effort. Bike-share programs are convenient for short trips. Ensure that you have a plan for longer distances. Convenience and security should be top priorities.
Emergencies and Repairs
Preparing a Repair Kit
It’s crucial to prepare for emergencies. Pack a small repair kit with essential tools like tire patches, a pump, and a multitool. Keep this kit in your carry-on if possible.
A repair kit ensures you’re ready for minor issues. Tire patches can fix punctures quickly. A multitool is versatile and useful for various repairs. Always be prepared for the unexpected.
Knowing Local Services
Research local bike shops and repair services in your destination area. This is essential for more serious repairs that you can’t handle yourself.
Knowing local services can save you in emergencies. Local shops might offer specialized repairs. This ensures that you’re never stranded. Make a note of a few reliable service providers.
Conclusion
Flying with a bike may initially seem challenging, but with proper preparation, it becomes manageable. From dismantling and packing your bike to understanding airline regulations, every step is critical. Always stay informed and prepared to ensure a stress-free journey. Whether you’re an occasional traveler or a serious cyclist, this comprehensive guide aims to make your experience as seamless as possible. Secure your wheels, and let’s hit the skies with confidence!