Changing bike pedals is a simple yet essential skill for any cyclist. Whether you are upgrading to a new set, replacing worn-out pedals, or switching between clipless and flat pedals, knowing how to change bike pedals can enhance your cycling experience and safety. Consequently, having the right tools and following a systematic approach ensures the process is smooth and efficient. Therefore, this comprehensive guide provides step-by-step instructions on how to change bike pedals, explores common issues, offers maintenance tips, and discusses when to seek professional help. By understanding these aspects, you can confidently change your bike pedals and enjoy a better ride.
Preparing for the Pedal Change
Proper preparation is the key to a successful pedal change. Understanding the initial steps and ensuring you have the necessary tools and knowledge will make the process easier. Therefore, exploring the preparatory steps is essential.
Gathering Necessary Tools
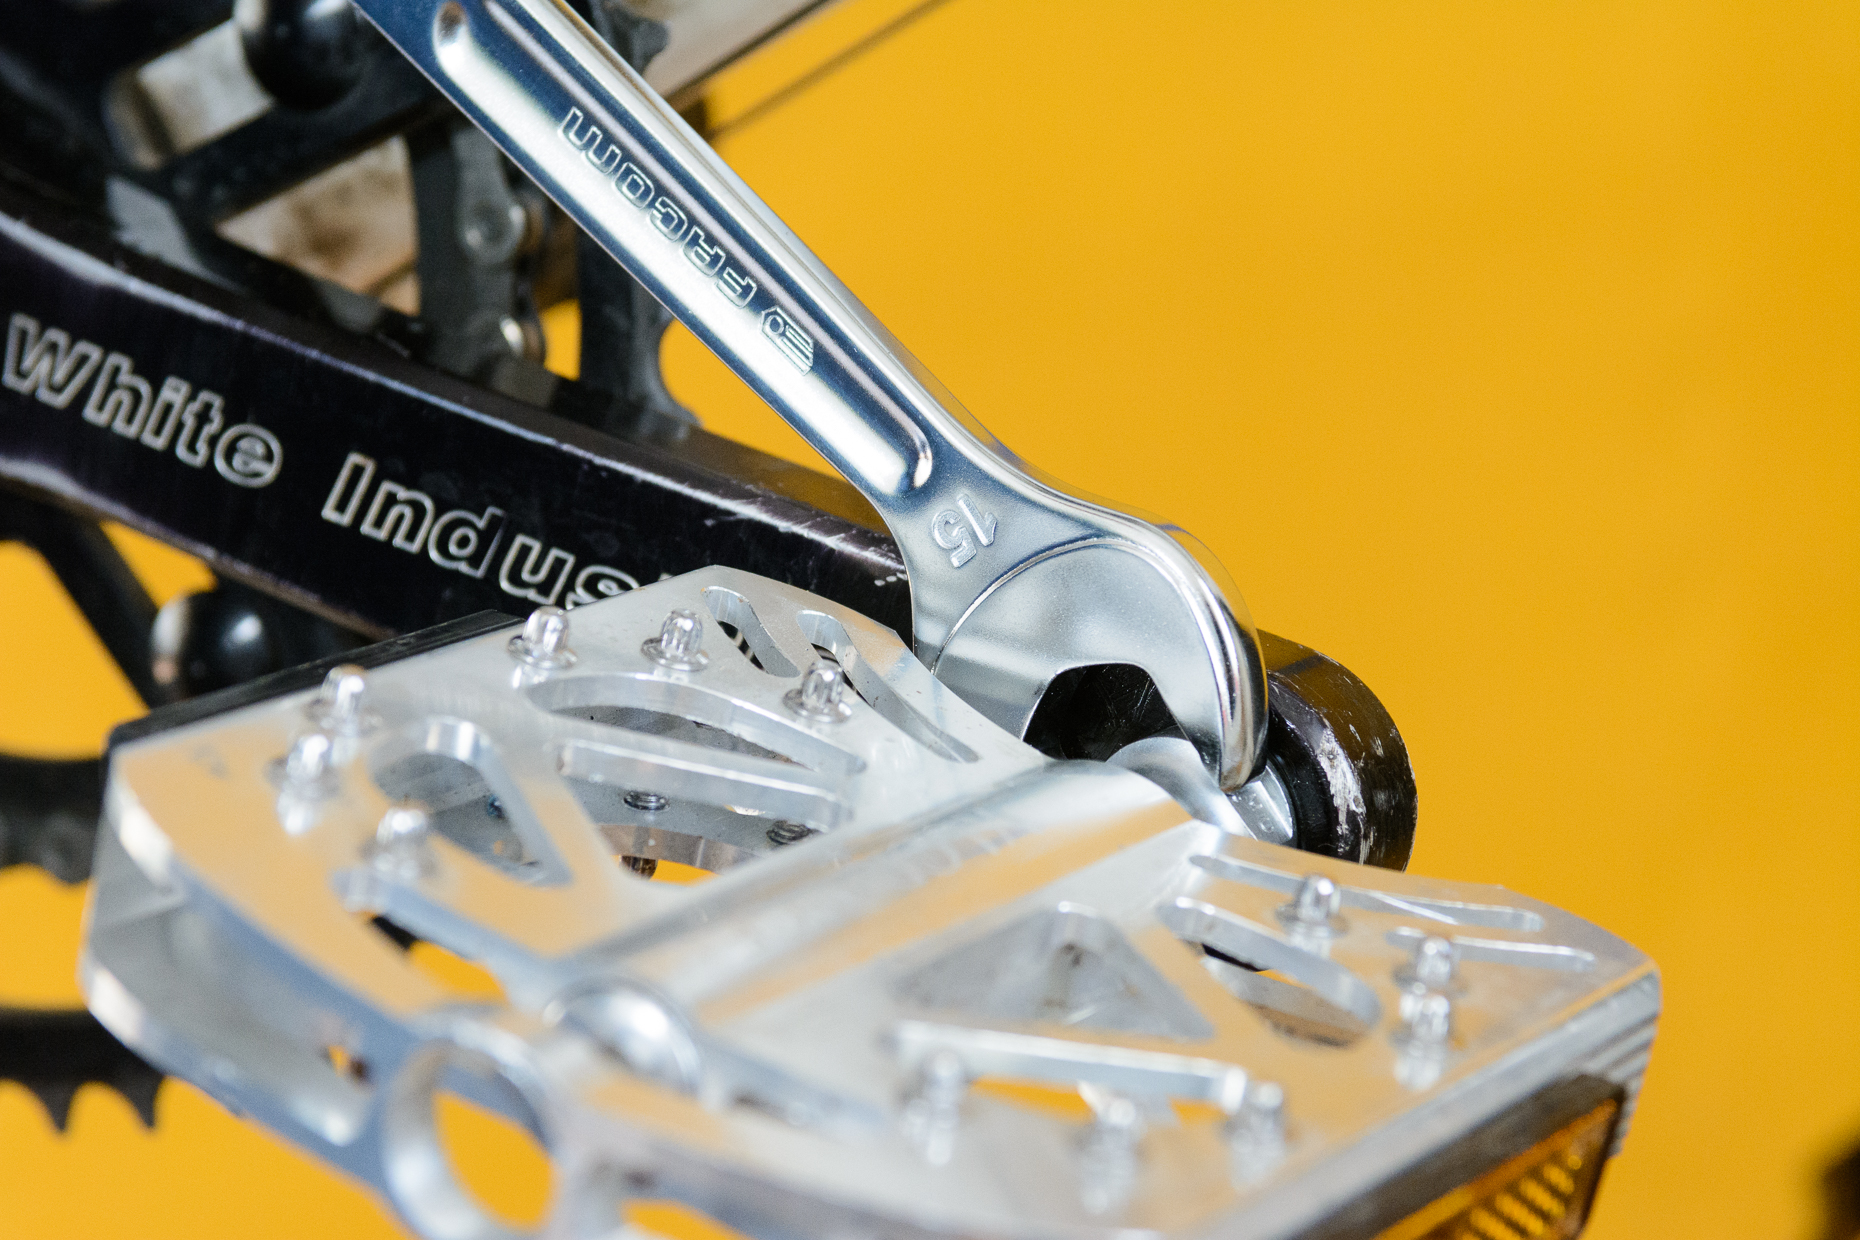
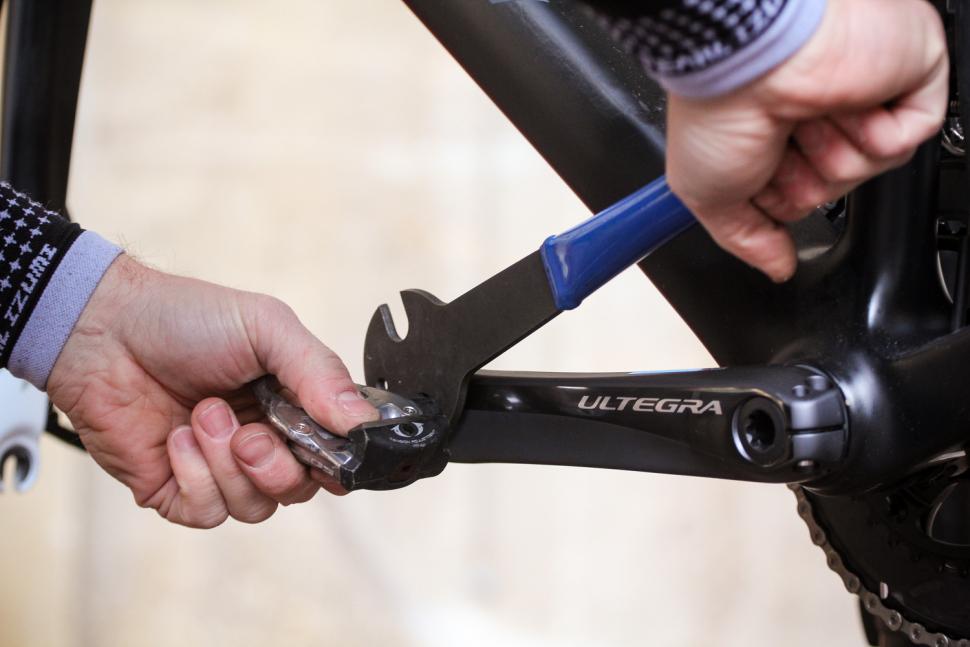
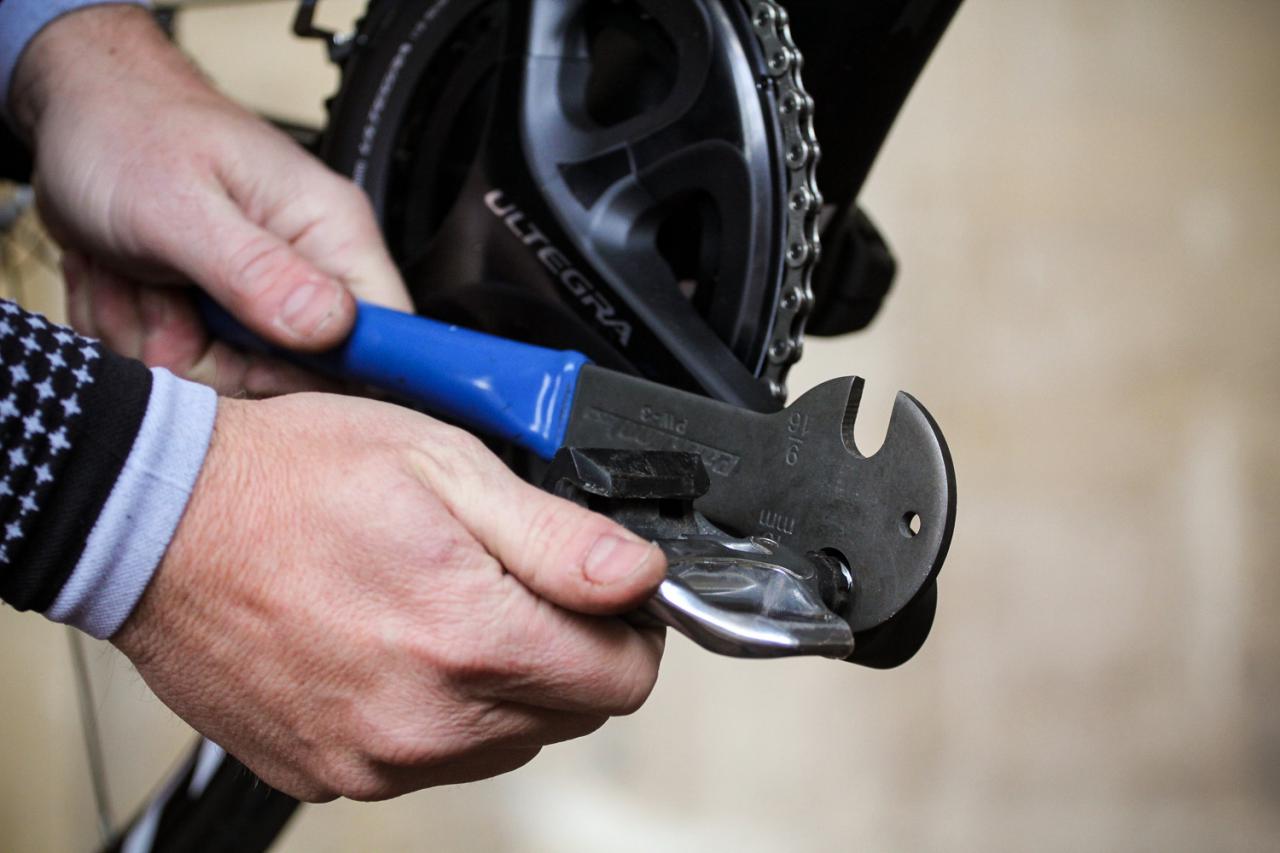
Before starting the pedal change, gather the necessary tools. Commonly required tools include a pedal wrench or a hex wrench (usually 6mm or 8mm), bicycle grease, and a clean rag. The type of wrench needed depends on your pedal design. While most pedals require a pedal wrench, some modern designs use a hex wrench that engages at the crank arm’s back. Having the right tools on hand allows you to work efficiently and avoid unnecessary complications. By gathering all necessary tools in advance, you streamline the pedal changing process and prevent potential delays. Therefore, recognizing the importance of preparation is crucial.
Understanding Pedal Threads
Bicycle pedals have specific threading, with the right pedal having a standard right-hand thread (tightens clockwise, loosens counterclockwise) and the left pedal featuring a reverse left-hand thread (tightens counterclockwise, loosens clockwise). Understanding this key detail ensures you remove and install your pedals correctly without damaging the crank arms or the pedals themselves. Before you start, familiarize yourself with the threading direction by consulting your bike’s manual or observing the markings on your pedals. By understanding pedal threading, you ensure smooth removal and installation, avoiding potential issues. Therefore, recognizing the importance of thread direction is crucial for a successful pedal change.
Removing the Old Pedals
Removing the old pedals from your bike involves a systematic approach to ensure the process is smooth and damage-free. Following these steps guarantees proper pedal removal. Therefore, exploring the removal process is critical.
Positioning the Bike
Begin by positioning your bike securely for pedal removal. Using a bike stand is ideal, as it provides stability and allows for easy access. Alternatively, you can lean the bike against a sturdy wall or flip it upside down, ensuring the handlebars and seat are supported. Secure positioning prevents the bike from moving, making it easier to apply the necessary force to remove the pedals. By ensuring your bike is stable, you create a safe and efficient workspace. Therefore, recognizing the importance of positioning is essential.
Loosening and Removing the Pedals
To remove the right pedal, position the wrench on the pedal axle and turn it counterclockwise. Apply steady pressure until the pedal loosens, then continue turning to remove it completely. For the left pedal, position the wrench and turn it clockwise, following the reverse threading pattern. Again, apply steady pressure until the pedal loosens and can be fully unscrewed. Once removed, clean the pedal threads with a rag to remove any old grease or debris. By following these steps, you effectively remove the old pedals, preparing for the installation of new ones. Therefore, understanding the removal process ensures a successful transition.
Installing New Pedals
Installing new pedals on your bike involves careful attention to detail to ensure they function correctly and safely. Following these steps guarantees proper installation. Therefore, exploring the installation process is essential.
Applying Grease to Pedal Threads
Before installing the new pedals, apply a thin layer of bicycle grease to the pedal threads. Greasing the threads helps prevent corrosion, makes future removal easier, and ensures a secure fit. Use a small amount of grease and spread it evenly across the threads. This simple step can save you significant effort and potential damage in the future. By applying grease to the pedal threads, you prepare them for smooth and secure installation. Therefore, recognizing the importance of this step is crucial for maintaining your bike.
Securing the New Pedals
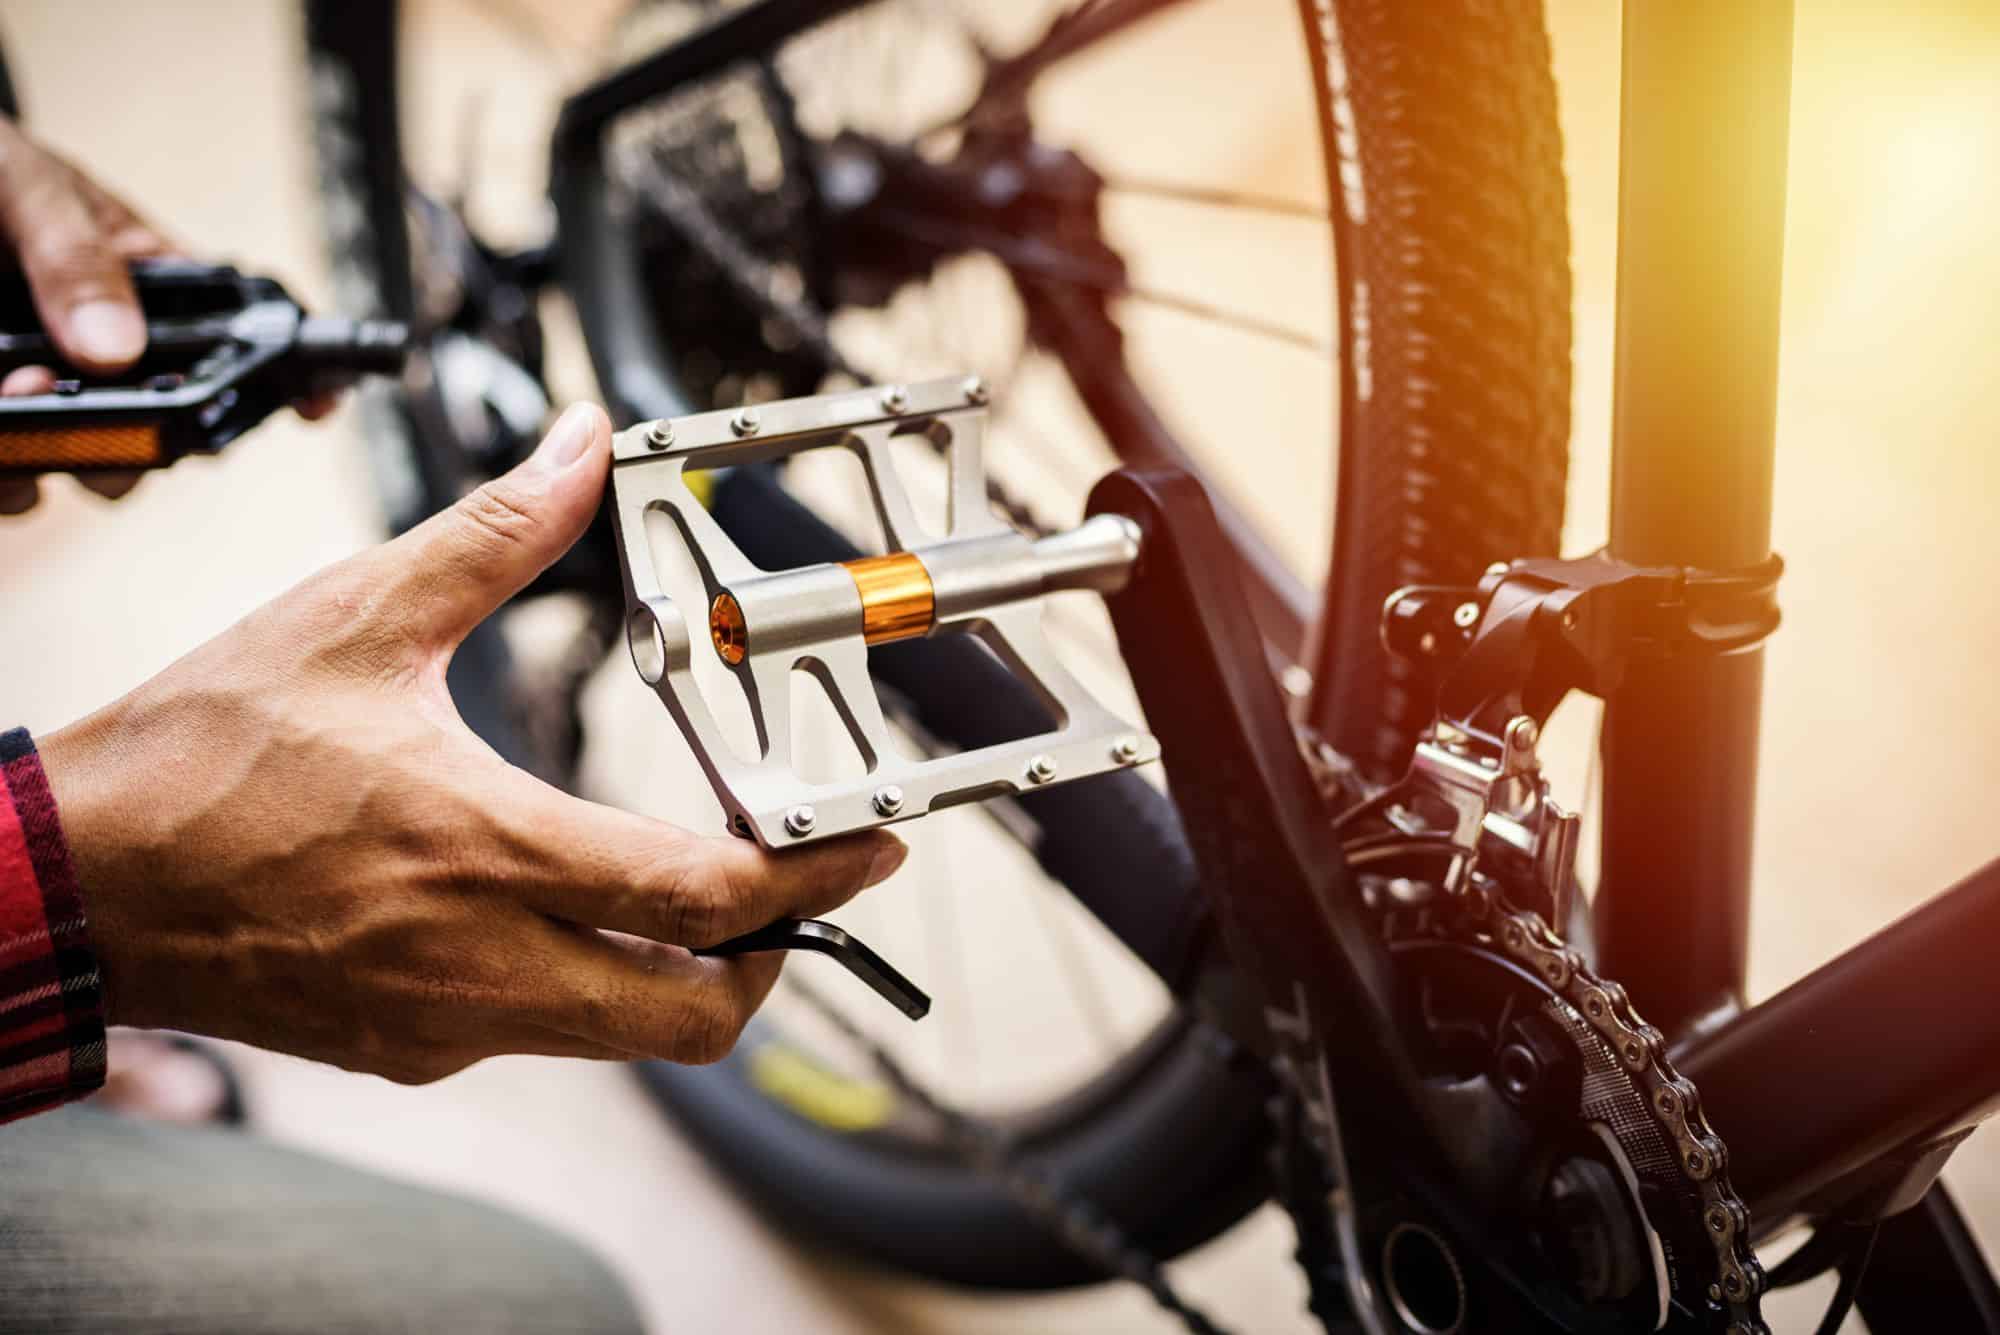
To install the right pedal, align the pedal threads with the crank arm and turn it clockwise by hand until it is snug. Once hand-tightened, use the pedal wrench or hex wrench to secure the pedal firmly, making sure it is properly seated. Repeat the process for the left pedal, aligning the threads and turning it counterclockwise. Again, use the wrench to ensure a secure fit. Avoid overtightening, as this can damage the threads or crank arms. By following these steps, you successfully install the new pedals, ensuring they are secure and functional. Therefore, understanding the installation process is essential for a smooth ride.
Troubleshooting Common Issues
Despite following the steps meticulously, you may encounter issues during the pedal changing process. Understanding common problems and their solutions ensures smooth installation. Therefore, exploring troubleshooting tips is essential.
Difficulty in Loosening Pedals
A common issue is difficulty in loosening the old pedals, often due to rust or over-tightening. If you encounter resistance, apply penetrating oil to the pedal threads and let it sit for several minutes to loosen the rust or debris. Use a longer wrench to gain more leverage, applying steady and controlled force. Avoid sudden or excessive force, as this can strip the threads or damage the crank arms. By addressing loosening difficulties, you ensure safe and effective pedal removal. Therefore, recognizing solutions to this issue is important.
Pedals Not Threading Correctly
If the new pedals do not thread correctly, it could be due to cross-threading or misalignment. Start by ensuring the pedals and crank arm threads are clean and properly aligned. Hand-thread the pedals gently to avoid cross-threading, ensuring they turn smoothly before using the wrench. If resistance is felt early on, back off and realign the threads. Cross-threading can severely damage the crank arms, necessitating costly repairs. By ensuring proper threading, you avoid potential damage and ensure a secure fit. Therefore, recognizing the importance of careful threading is essential.
Maintenance and Care Tips
Regular maintenance and proper care of your bike pedals ensure their longevity and reliable performance. Understanding these maintenance practices helps prevent issues and extends the pedals’ lifespan. Therefore, exploring maintenance and care tips is essential.
Regular Inspections and Cleaning
Conduct regular inspections and cleaning of your bike pedals to identify potential issues early and maintain their functionality. Check for signs of wear, damage, or corrosion on the pedal body, axle, and cleats (if applicable). Clean the pedals with a soft brush and mild cleaner to remove dirt and debris, paying attention to the moving parts. Periodically reapply grease to the pedal threads to prevent corrosion and ensure easy removal in the future. By performing routine inspections and cleaning, you maintain the pedals’ performance and lifespan. Therefore, recognizing the need for regular care is essential.
Replacing Worn Cleats and Components
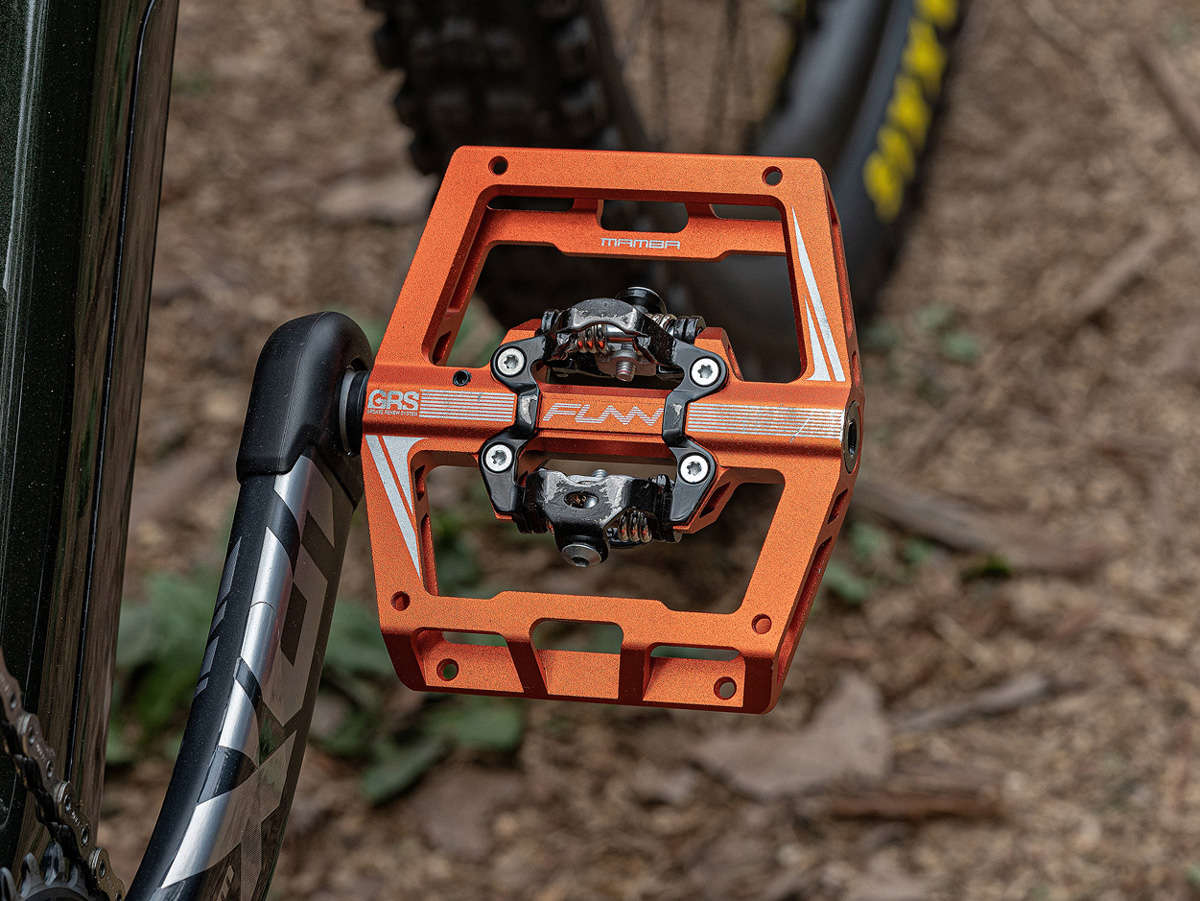
For clipless pedals, regularly inspect the cleats on your cycling shoes for wear and replace them as needed. Worn cleats can affect pedal engagement and release, compromising safety and performance. Additionally, check the pedal springs and bearings for smooth operation and replace them if they show signs of wear or damage. Keeping the pedal components in good condition ensures reliable performance and enhances your cycling experience. By maintaining and replacing worn parts, you prolong the life of your pedals and improve safety. Therefore, recognizing the importance of component maintenance is crucial.
When to Seek Professional Help
While many pedal-related tasks can be handled by DIY enthusiasts, some situations require professional assistance. Knowing when to seek help ensures the pedals’ functionality and safety. Therefore, exploring scenarios warranting professional help is crucial.
Persistent Installation Issues
If you encounter persistent issues during pedal installation, such as cross-threading, stripped threads, or excessive resistance, it may be time to seek professional help. Professionals have the expertise and specialized tools to address these issues effectively, preventing potential damage to your bike. Attempting to force or fix persistent problems without the right knowledge can lead to costly repairs. By recognizing when to seek help, you ensure the pedals are installed correctly and safely. Therefore, understanding the need for professional intervention highlights the importance of expert support.
Upgrading to Specialized Pedals
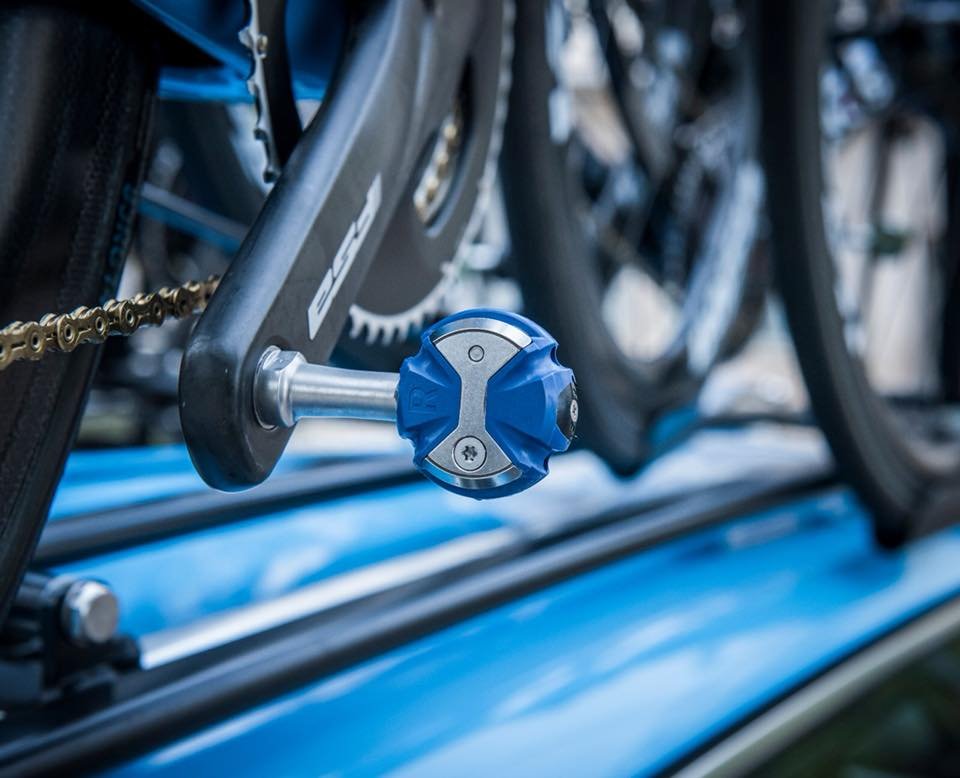
When considering an upgrade to specialized pedals, such as power meter pedals or those designed for specific cycling disciplines, consulting a professional can provide valuable insights and recommendations. Professionals can assess your cycling needs and suggest suitable models and components. They ensure proper installation and integration with your bike, enhancing overall performance. Upgrading to specialized pedals may require specific tools and expertise to ensure optimal functionality. By seeking professional advice for upgrades, you make informed decisions that enhance your cycling experience. Therefore, understanding the value of professional guidance in upgrades is crucial.
Common Misconceptions About Changing Bike Pedals
Addressing common misconceptions about changing bike pedals provides clarity and fosters a better understanding of the process. Dispelling these myths ensures accurate knowledge. Therefore, exploring common misconceptions is important.
Misconception: Changing Pedals is Too Complex
A common misconception is that changing bike pedals is too complex for the average cyclist. In reality, with the right tools and a systematic approach, changing pedals is a straightforward process. Understanding the threading direction and following clear instructions makes the task manageable for most cyclists. By dispelling this myth, you recognize the accessibility and ease of changing pedals. Therefore, understanding the simplicity of the process encourages more cyclists to perform their own maintenance.
Misconception: Any Wrench Will Work
Another misconception is that any wrench can be used to change bike pedals. While it may be tempting to use any available tool, using the specific pedal or hex wrench designed for bike pedals ensures a secure fit and prevents damage. Bicycle-specific wrenches provide better leverage and are crafted to fit pedal axles precisely. By understanding the importance of using the right tools, you avoid potential issues and ensure a successful pedal change. Therefore, dispelling this myth emphasizes the importance of proper tools.
Conclusion: Mastering the Art of Changing Bike Pedals
Changing bike pedals is an essential skill that enhances your cycling experience and bike maintenance capabilities. Proper preparation and understanding of the necessary tools and pedal threading ensure a smooth and efficient process.
Following a detailed, step-by-step approach to removing and installing pedals guarantees correct and secure fittings. Troubleshooting common issues promptly addresses potential problems, ensuring the pedals function effectively.
Regular maintenance and proper care extend the pedals’ lifespan and reliability, maintaining their performance. Recognizing when to seek professional help for persistent installation issues or specialized pedal upgrades enhances your overall cycling experience.
Addressing common misconceptions about changing bike pedals provides clarity and encourages more cyclists to perform their own maintenance. By embracing these aspects, you can confidently change your bike pedals and ensure a smooth and enjoyable ride.
Therefore, whether you are a seasoned cyclist or a newcomer, mastering the art of changing bike pedals enhances your bike maintenance skills and cycling experience. Enjoy the freedom, performance, and security that come with properly installed and maintained pedals, knowing you have taken the necessary steps to ensure a great ride!