Getting Started: Choosing Your Frame
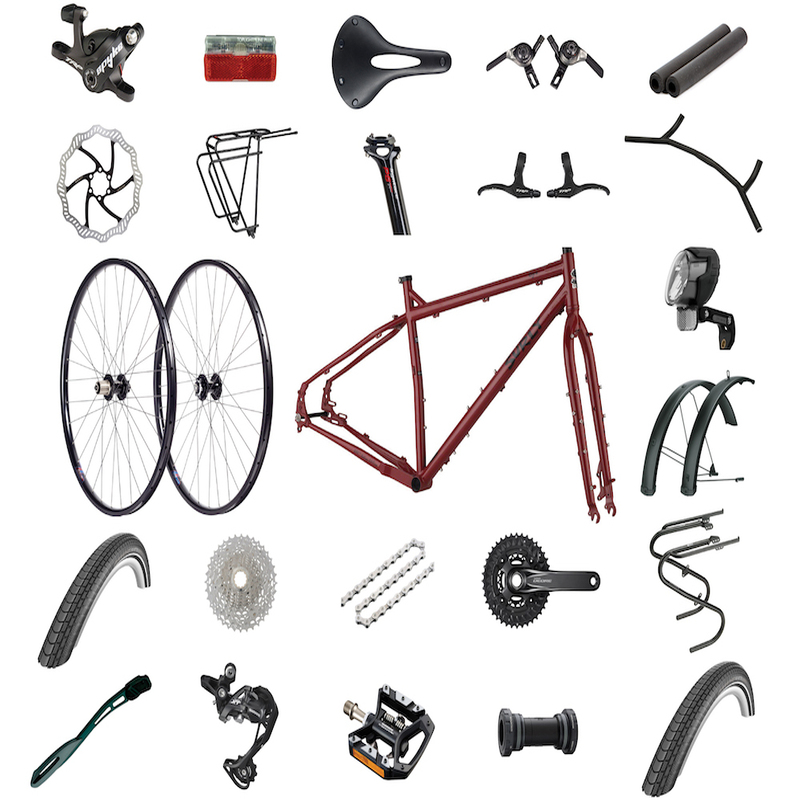
Choosing the right frame is the first, and perhaps most critical, step in assembling your dream bike. The frame is the backbone of your bike, and each detail will influence your overall riding experience. Here are key considerations when selecting a frame:
- Size and Fit: Ensure the frame is the correct size for your body. A poor fit can lead to discomfort and inefficiency.
- Material: Frames are typically made from steel, aluminum, carbon fiber, or titanium. Each material offers different benefits in terms of weight, stiffness, durability, and cost.
- Geometry: This affects how the bike handles and should match the type of riding you intend to do. Road, mountain, and hybrid bikes have different geometries.
- Mounting Options: Check for mounting points for accessories such as racks, fenders, and water bottle cages if you need them.
- Frame Standards: Be aware of various standards such as bottom bracket type and rear dropout spacing that will impact the compatibility with other components.
Your choice will set the stage for the rest of the build, so take your time to research and pick a frame that reflects your vision for the final bike. Remember to check for compatibility with components like the bottom bracket and steerer tube diameter; these details will be crucial later in the assembly process.

Understanding Components Compatibility
When assembling your dream bike, compatibility between various components is crucial. Each part must fit together seamlessly to ensure smooth operation. Here, we’ll look at key compatibility aspects including the bottom bracket, steerer tube, and tire and rim.
Bottom Bracket Standards
The bottom bracket is the pivot point for your crankset and connects it to the bike frame. There are two main types, threaded and press-fit. Threaded bottom brackets are common and come in a standard size, usually English threaded or BSA. They’re easier to install with just the right wrench. Press-fit bottom brackets come in many standards like BB30, PF30, and BB90. They require specific tools, often a bearing press, for installation. Always check your frame’s specs before buying to ensure the right fit.
Steerer Tube Diameter
The steerer tube diameter determines how the fork will fit into your bike’s head tube. Older models generally have straight steerer tubes, while newer bikes mostly have tapered varieties. Sizes vary, so match the fork’s steerer tube diameter with your frame’s head tube to avoid issues.
Tire and Rim Compatibility
Choose a tire and rim that complement each other, especially if you want a tubeless setup. Ensure both the rim and tire are tubeless-ready for a proper fit. Also, check the rim size to match the tires you intend to use, which ensures a secure and safe ride.
In summary, double-checking component compatibility is a step you can’t skip. Make sure your chosen parts will work together. This attentiveness will pay off in a custom bike that feels and performs as you intended.
Procuring Bike Parts
Securing the right parts is crucial for building your dream bike. It’s important to find high-quality, compatible components that suit your riding style and preferences.
Deciding on Your Drivetrain
Your drivetrain is a vital bike component, transmitting power from your legs to the wheels. Consider these factors:
- Type: Choose between a gear hub or derailleur system based on your needs.
- Gearing: Select a setup with the right number of gears. Think about the terrain you’ll ride on.
- Quality: Higher-quality components offer smoother shifting and longer life.
- Compatibility: Ensure that all drivetrain elements work together. Check product specifications.
Selecting the Right Wheels and Tires
Wheels and tires affect your bike’s performance. Keep in mind:
- Wheel Size: Match to your bike’s frame and intended riding style.
- Tire Type: Off-road requires wider, grippier tires. Road biking needs slimmer, faster tires.
- Tubeless Options: Consider tubeless tires for fewer flats and better control.
- Durability: Look for strong wheels that can handle your riding environment.
Brakes and Brake Mounts: What You Need to Know
Stopping power is essential. Choose brakes carefully:
- Brake Type: Rim or disc brakes? Discs offer better performance in varied conditions.
- Compatibility: Make sure brakes fit your bike’s frame and fork mounts.
- Materials: Better materials mean more reliable stopping.
- Maintenance: Consider how often you’ll need to maintain your brakes.
Remember, matching each part to the rest of your build is key. And always check the compatibility with your bike frame to ensure a safe and satisfying ride.

The Assembly Process
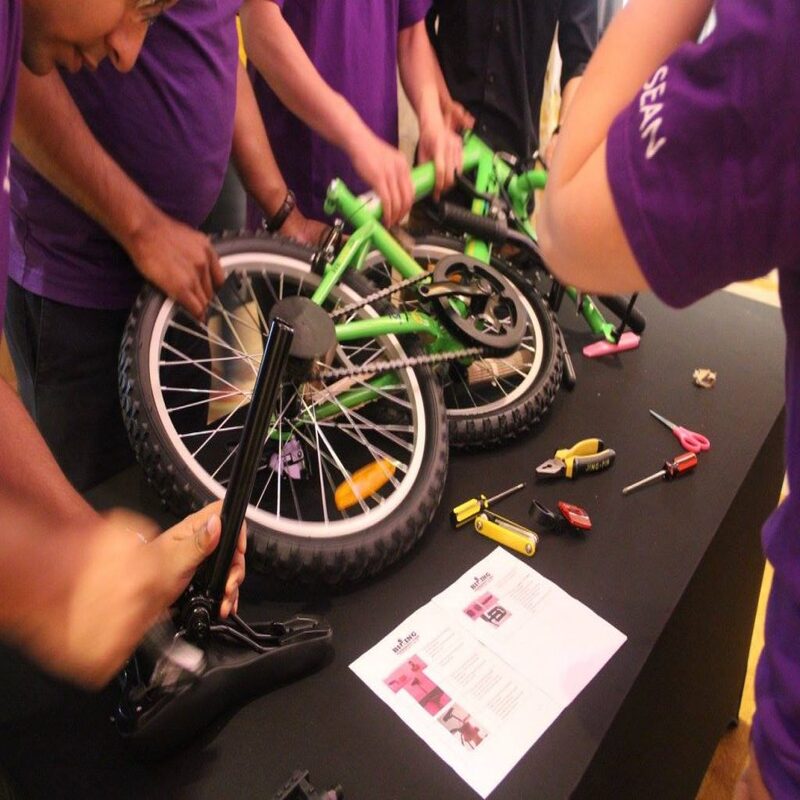
After selecting your frame and ensuring all components are compatible, it’s time to start assembling your dream bike. The assembly process is an exciting phase where you see your vision come to life. Let’s break down the key steps for a successful build.
Installing the Bottom Bracket and Crankset
Start with the heart of the bike’s motion – the bottom bracket and crankset. First, determine if your frame uses a threaded or press-fit bottom bracket based on the bottom bracket standards mentioned previously. Apply the appropriate grease or thread-locking compound. For threaded models, use a bottom bracket wrench to secure it in place. Press-fit versions may require a bearing press. Once the bottom bracket is in, you can attach the crankset, ensuring it is compatible with your chosen drivetrain.
Assembling Steering Components: Fork, Stem, and Handlebars
The steering components contribute to the bike’s handling and comfort. Begin by installing the headset into the frame – it may come pre-installed on some frames. Next, insert the fork through the head tube and secure the stem. Measure twice before cutting the steerer tube to the right length. Finally, attach the handlebars, adjusting them to your comfort. Keep in mind the steerer tube diameter you’ve chosen for proper fitment.
Setting Up the Wheels and Tires
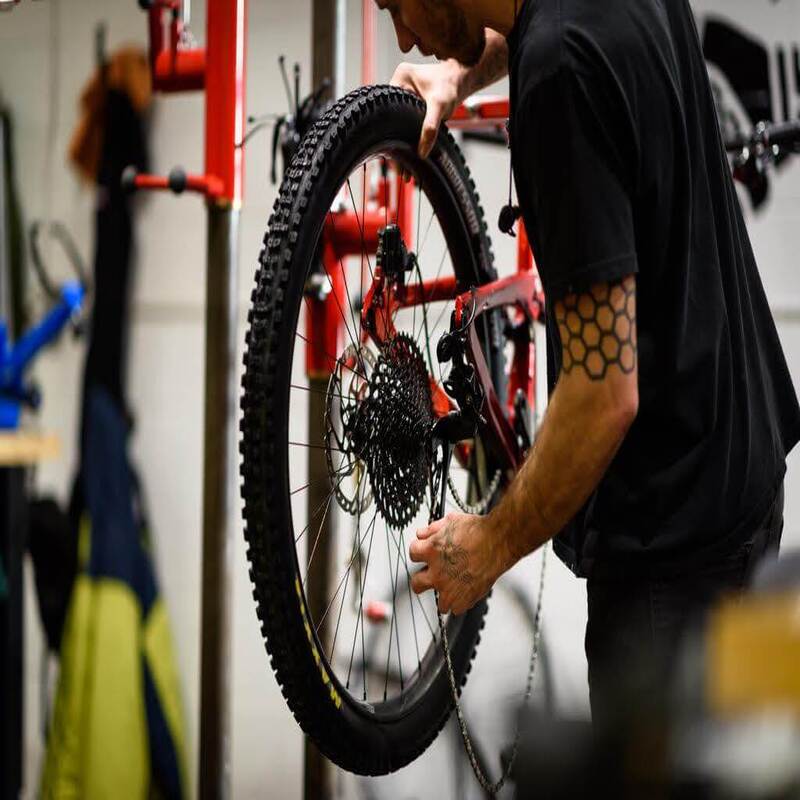
Now, focus on the bike’s points of contact with the ground. Choose wheels that match the frame’s size and tire compatibility. If you’re going tubeless, ensure both the rims and tires are tubeless-ready. Mount the tires, install the rotors if using disc brakes, and then attach the wheels to the frame. Double-check that the brake types align with the frame and fork mounts.
Stay organized, use the right tools and take your time with each step. This process will not only give you a custom bike but also a deeper understanding of its mechanics.
Fine-Tuning Your Bike
Once you’ve assembled your bike, fine-tuning each component ensures a smooth ride. Taking the time to adjust your bike’s features will pay off in performance.
Adjusting Derailleurs for Smooth Shifting
Derailleurs are key for gear changes. Follow these steps for smooth shifting:
- Check Derailleur Alignment: Make sure it’s parallel to the gears.
- Set Limit Screws: These control how far the derailleur moves.
- Adjust Cable Tension: This helps with accurate gear shifts.
- Test Shift: Cycle through gears to ensure smooth transitions.
Proper derailleur adjustment will improve your biking experience. Spending time here can prevent chain skipping and gear missteps.
Dialing in Brakes for Optimal Performance
Brakes are vital for safety. To dial in brakes for the best performance, do the following:
- Check Brake Pads: Make sure they are not worn down.
- Align Brake Pads: Position them to hit the rim or disc evenly.
- Adjust Brake Cable Tension: This gives the right pull when braking.
- Test Brake Response: Ensure strong and even stopping power.
Adjusting your brakes carefully will lead to reliable stopping. It’s essential for your safety while riding.
Fine-tuning your bike can feel complex, but patience is key. Take your time to adjust each part correctly. Remember, if you run into trouble, seek out advice from local bike shops or online forums. With your bike fine-tuned, you’re ready for smoother and safer rides.

The Finishing Touches
After assembling your bike, it’s time to add the final touches.
Mounting the Saddle and Seatpost
Start by selecting a seatpost that matches your frame’s specifications. Apply grease or carbon assembly paste to prevent seizing. Slide the seatpost into the frame, adjust to the correct height, and tighten it securely with a hex wrench. Attach your chosen saddle to the seatpost, aligning it properly for a comfortable ride. Make sure it’s level and tight.
Choosing and Installing Handlebar Grips or Tape
Choose grips or tape that offer comfort and match your style. For grips, slide them onto the handlebars and secure them with the clamps or end plugs. If you’re using tape, start at the bar ends, wrap tightly and evenly, and secure the ends with adhesive tape.
Applying the Final Checks and Safety Inspections
Walk through a checklist for safety. Check all bolts with a torque wrench to ensure they’re properly tightened. Spin the wheels to look for any wobbles and ensure brakes are responsive. Shift through all gears to verify smooth transitions. Finally, take a test ride to ensure everything feels right. Make adjustments if needed.
Your dream bike is now ready. Enjoy the accomplishment of building it and have a great ride!
DIY vs. Online Custom Builds: Pros and Cons
Deciding between a DIY bike build or a custom online build involves weighing the pros and cons. Both have benefits depending on your experience, budget, and the level of customization you desire.
Benefits of Building Your Bike at Home
Building your bike at home can be highly rewarding. Here are some advantages:
- Full Control: Pick every component to match your exact needs.
- Cost Savings: Save money by hunting deals and using existing parts.
- Learning Experience: Gain a deep understanding of bike mechanics and maintenance.
- Satisfaction: Feel the pride that comes with creating something with your own hands.
When you build at home, you learn how each part works together. This knowledge is useful for future repairs or upgrades.
Advantages of Custom Online Builds
Custom online builds offer their own set of advantages:
- Convenience: Select parts online and have experts assemble the bike.
- Time-Saving: Avoid the lengthy process of part selection and assembly.
- Professional Assembly: Receive a bike built by skilled mechanics.
- Assurance: Benefit from warranties and customer support services.
For those not familiar with bike assembly, online builds can remove the complexity. You still get a personalized bike, but without the need for technical skills.
In summary, DIY builds are great for hands-on cyclists who enjoy a challenge. Online builds suit those who prefer a hassle-free process with professional support. Consider your preferences and choose the best option for you.
Embracing the Challenge and Next Steps
Building your own bike is an exciting journey. It starts with a vision and ends with a ride tailored just for you. But remember, this process can be complex. Here’s how to embrace the challenge and take the next steps.
Start with a Clear Plan
Map out your bike build before buying parts. Decide on components that fit your needs and budget. This saves time and money.
Gather Your Tools
Collect the right tools for the job. Look for a bike stand, hex wrenches, and cable cutters. Having the correct tools makes assembly easier.
Take Your Time
Don’t rush the build. Go slow, follow instructions, and double-check your work. Patience leads to a better-built bike.
Seek Knowledge
If you’re unsure about a step, seek advice. Watch online tutorials or ask more experienced builders. Learning from others can help you overcome hurdles.
Enjoy the Process
Building a bike should be fun, not just a task. Take pride in each step and enjoy the progress. The personal connection to your bike will grow.
Safety First
Once your bike is together, do a thorough check. Ensure all parts are secure and function as they should. Safety is the top priority.
Adjust and Adapt
After your first ride, you may need to tweak things. Adjust the saddle height or handlebar angle for comfort. Over time, you’ll find the perfect setup.
Tell friends or fellow cyclists about your build. Share your knowledge and encourage others to try.
Embrace the challenge of building your bike. With planning, patience, and a bit of elbow grease, you’ll create a bike that’s truly yours. Enjoy the ride ahead!


