
Changing a dirt bike tire may seem daunting at first. However, with the right knowledge and tools, it’s quite manageable. Whether you need to replace a worn-out tire or fix a flat, this article will guide you through the entire process. Understanding each step will enhance your skills and confidence. Therefore, let’s dive in and learn how to effectively change a dirt bike tire.
Understanding Your Bike’s Tires
Importance of Tire Choice
Tires are crucial for performance. They affect traction, stability, and control. Choosing the right tire can significantly enhance your riding experience. Factors such as terrain, weather, and riding style play a role in tire selection. For instance, softer tires provide better grip on rocky trails. Conversely, harder tires are suitable for smoother surfaces. Importantly, reading the manufacturer’s recommendations can help you make an informed choice.
Tire Types and Specifications
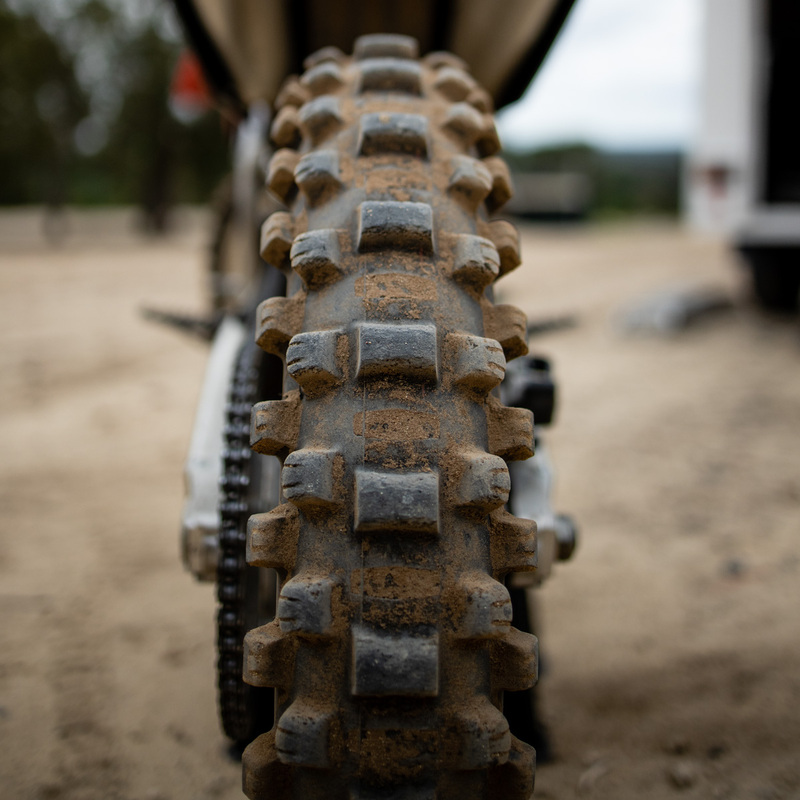
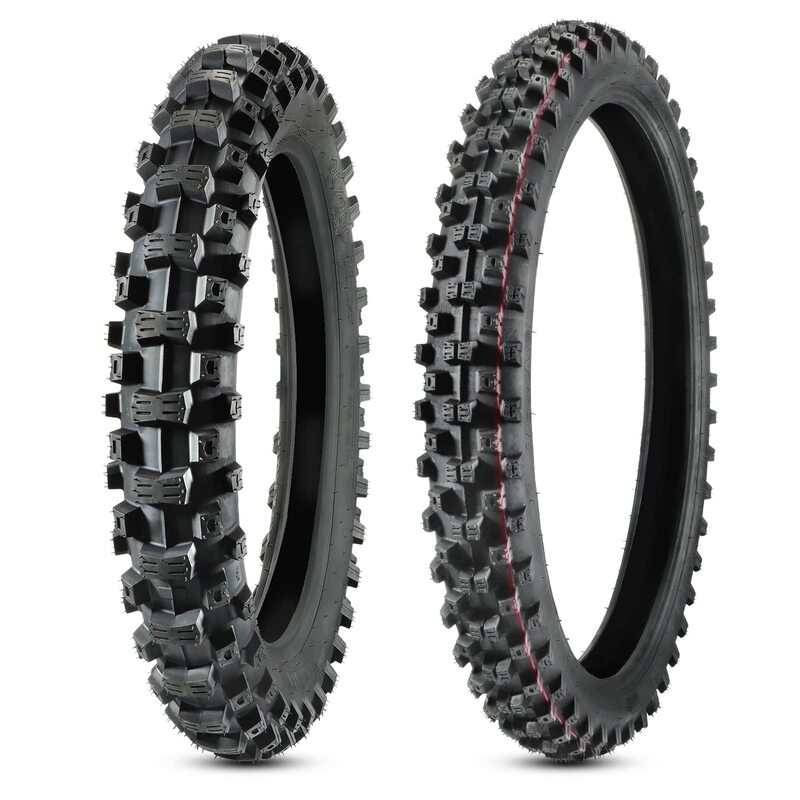
There are two main types of dirt bike tires: knobby and slick. Knobby tires are ideal for off-road conditions. They feature raised rubber knobs that improve grip on loose surfaces. On the other hand, slick tires are designed for hard-packed terrain. Understanding these types will help you determine what suits your riding needs. You must also consider tire size. The size affects handling and comfort. Proper tire pressure is equally vital; incorrect pressure can lead to poor performance and damage.
Preparing to Change the Tire
Gather Necessary Tools
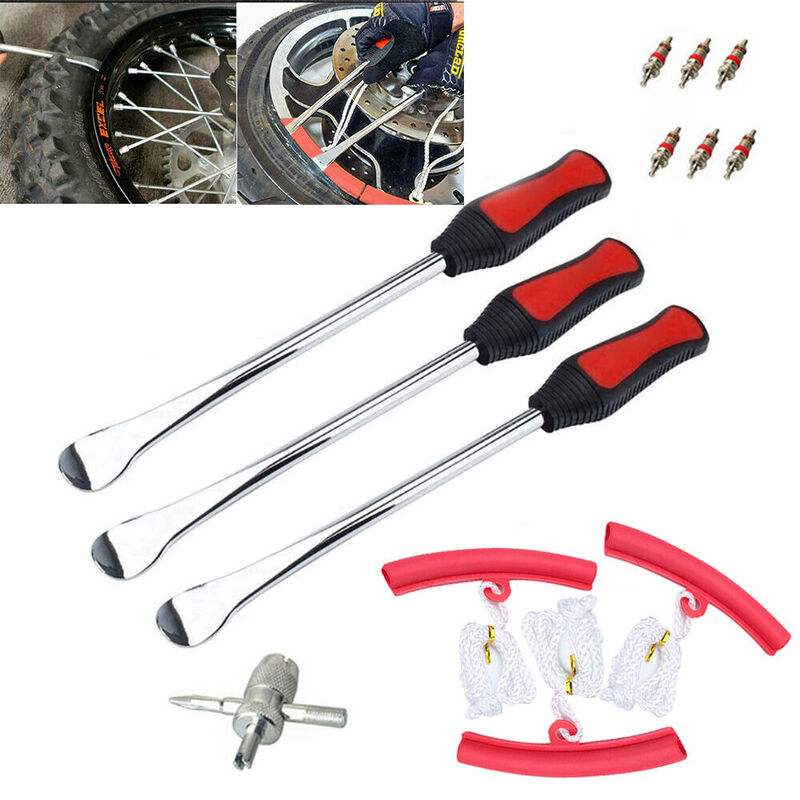
Before changing your dirt bike tire, gather essential tools. You will need tire levers, a tire iron, a bead breaker, and a pump. Additionally, having a clean, flat working surface is crucial. You may also need a wrench and a torque wrench for proper tightening. Organizing these tools will streamline the process. Preparing your workspace ensures efficiency. Finally, safety goggles can prevent debris from harming your eyes while you work.
Safety First
Safety is paramount when changing a tire. Ensure your bike is stable by securing it on a stand. This will prevent any unwanted movement. Wearing gloves can protect your hands from sharp edges and tools. Furthermore, it’s wise to have a first-aid kit nearby. In case of minor injuries, this can be incredibly helpful. Maintaining a clean workspace minimizes hazards. Always double-check that you have the correct tools before starting.
Removing the Old Tire
Loosening the Axle Nut
To begin changing the tire, first loosen the axle nut. Using your wrench, carefully turn the nut counterclockwise. A firm grip is essential, but avoid excessive force. If the nut is too tight, consider using penetrating oil. Apply it generously and let it sit for a few minutes. Once loosened, remove the nut entirely. Next, slide the axle out. This step can differ depending on your bike model, so consulting the manual is advisable.
Detaching the Wheel from the Bike
Now that the axle nut is loose, it’s time to detach the wheel. Carefully lift the wheel off the forks or swingarm, depending on your bike’s design. This step can require some effort, especially if the wheel is stuck. Gently wiggle the wheel while pulling to ease it free. Once detached, lay it flat on a clean surface. This is where the fun begins; you’re ready to take on the tire change!
Breaking the Tire Bead
Using a Bead Breaker
Breaking the tire bead is one of the most critical steps. A tire bead is essentially the part of the tire that sits against the rim. You’ll need a bead breaker for this task. Position the bead breaker against the tire sidewall. Apply steady pressure until you hear a pop, indicating the bead has broken free. You may need to repeat this for the opposite side of the tire. Patience is key; rushing can lead to damage.
Manual Method for Tough Beads
If you don’t have a bead breaker, don’t worry! You can manually break the bead. First, locate a sturdy flat surface. Then, position the tire’s bead on the edge of the surface. Once in place, apply pressure by standing on the tire. This method provides enough force to break the bead without extra tools. Make sure your weight is evenly distributed to avoid injury. Once the bead is free, you’ll be ready for the next step.
Removing the Old Tire
Using Tire Levers
Now you’ll need tire levers to remove the old tire. Start by inserting a tire lever under the tire bead. Gently pry upwards to lift the tire over the rim. A second lever can be inserted a few inches away from the first. By leveraging both, you can work the tire off the rim gradually. Take your time with this process, ensuring no damage is done to the rim. Gradually, the tire will come off with minimal effort.
Inspecting the Rim and Tire
After removing the tire, inspect both the rim and the old tire. Look for any damages, such as cracks or dents, on the rim. Ensure there are no irregularities; these could affect the new tire’s performance. For the tire, check for excessive wear. Tread loss, punctures, or breaks are signs that it needs replacement. Understanding the condition of both parts is essential. This will guide you in making informed decisions during your tire-changing journey.
Installing the New Tire
Positioning the New Tire
Now it’s time to install the new tire. Start by ensuring that the tire is oriented correctly. There should be directional arrows indicating the intended rotation. Align the tire with the rim’s valve stem for optimal positioning. Carefully slide the tire bead over the edge of the rim. Push down firmly and begin working the tire onto the rim. Patience is essential; don’t rush, as it may lead to damage.
Securing the Tire Bead
Once the new tire is positioned, you need to secure the bead. Grab your tire levers again and apply them carefully. Push the tire inwards to ensure it’s snug against the rim. Doing so will minimize the chance of air loss once inflated. Work your way around the tire, checking for any bulges or gaps. It’s crucial that the bead sits evenly. A well-secured bead is necessary for a safe ride.
Inflating the Tire
Checking Recommended Pressure
Before inflating, check the recommended tire pressure. This information can usually be found in your bike’s manual or on the sidewall of the tire. Correct pressure ensures optimal performance and safety. Over-inflating can lead to tire blowouts, while under-inflating affects handling. Using a reliable pressure gauge will help you achieve accurate results. Take your time; accurate inflation is key.
Inflating the New Tire
Once you’ve verified the pressure, it’s time to inflate the tire. Connect your pump or compressor to the valve stem. Begin inflating slowly, monitoring the pressure gauge. Stop once you reach the recommended psi. Be cautious; excessive pressure can cause damage. After achieving the desired pressure, remove the pump securely. Finally, replace the valve cap to prevent dirt and debris from entering.
Reinstalling the Wheel
Aligning the Wheel with Forks or Swingarm
With the new tire inflated, it’s time to reattach the wheel. Position the wheel in line with the forks or swingarm. Ensure that it sits evenly; this is crucial for proper alignment. Gently slide the axle back through the wheel and secure it in place. This step may require some wiggling to get everything positioned correctly. Double-check to ensure that everything aligns perfectly before moving on.
Tightening the Axle Nut
Once the wheel is in position, you’ll need to tighten the axle nut. Using your torque wrench, apply the manufacturer’s recommended torque settings. This ensures that your tire will stay secure while riding. It’s essential not to over-tighten, as this can lead to damage. After tightening, double-check the stability of the wheel. A well-secured wheel is crucial for a safe riding experience.
Final Checks
Inspecting the Installation
Before hitting the trails, conduct a final inspection. Check the tire’s alignment, making sure it spins freely. There should be no rubbing against the brake caliper or fork. Additionally, check your brakes to ensure they function properly. Taking a few moments for this inspection can save you from potential problems. Riding with an ill-fitted tire can lead to serious accidents.
Test Ride for Confidence
The best way to confirm everything is working is a test ride. Take it slowly around your yard or driveway. Pay attention to how the bike feels. Listen for any unusual noises that might indicate issues. If everything feels right, you’re ready to tackle those dirt trails. This final step builds your confidence in the installation. Riding with assurance is paramount in enhancing your experience.
Maintenance Tips for Prolonged Tire Life
Regular Inspections
Once you’ve changed your tire, regular maintenance is crucial. Routinely inspect your tires for wear and tear. Check the tread depth and look for any signs of damage. This step can prevent unexpected flat tires during rides. Make it a habit; regular inspections ensure prolonged tire life.
Maintaining Correct Tire Pressure
Another vital maintenance step is monitoring tire pressure. Changes in temperature can affect pressure significantly. Check the pressure regularly, especially before longer rides. Keeping your tires inflated to the correct psi enhances safety and performance. Regular monitoring is essential in avoiding unnecessary issues.
Conclusion
Changing a dirt bike tire may initially seem challenging. However, following these detailed steps simplifies the process. With practice and the right tools, you can efficiently change tires yourself. This skill not only enhances your riding experience but also builds confidence. Remember, safety and efficiency are paramount throughout the process. So, whether you’re replacing a tire or fixing a flat, you now have the tools and knowledge to tackle it. Happy riding!


