Introduction to Bike Building
Making a bike can be an exciting and fulfilling project. It offers an excellent opportunity to understand the mechanics behind this simple yet efficient mode of transport. Moreover, crafting your own bike from scratch gives you the freedom to customize it according to your individual needs. This article aims to guide you through each part of the bike assembly process in a systematic manner. By the end of this guide, you’ll have a comprehensive understanding of the materials, tools, and techniques required to build your own bike.
Why Build Your Own Bike?
There are numerous reasons to consider building a bike yourself. Firstly, building your bike allows for customization. You get to choose the frame size, handlebar type, and even the colors. Secondly, it could be more cost-effective. Although initial costs might seem high, they often result in long-term savings. Furthermore, building a bike enhances your mechanical skills. You’ll gain insights into the working of gears, brakes, and other components. Lastly, it’s an enjoyable learning experience. If you enjoy tinkering and assembling items, you’ll find this project extremely satisfying.
Overview of Bike Components
Before diving into the step-by-step process, it’s essential to know the key components of a bike. A conventional bike comprises several parts. The frame is arguably the most critical part, providing structure and stability. Forks are attached to the front of the frame and hold the front wheel. Handlebars are connected to the forks for steering. The drivetrain includes components like the chain, cassette, and derailleurs. These parts work together to transfer your pedaling energy to the wheels. Wheels, brakes, and a saddle are also vital. Each of these components must be selected carefully for optimal performance and safety.
Planning and Gathering Materials
Choosing the Right Frame
The frame is the heart of your bike. Therefore, selecting the right frame is crucial. Frames are generally made from materials like aluminum, steel, titanium, or carbon fiber. Each material has its pros and cons. For instance, aluminum is lightweight but less durable. Steel is heavier but offers better durability and comfort. Titanium combines strength and lightness but is expensive. Carbon fiber is extremely light but also costly. Furthermore, the frame size must match your height and riding style. You should also pay attention to the geometry, as it affects handling and comfort.
Selecting Tools and Additional Components
After choosing the frame, the next step involves gathering the required tools and components. You’ll need a set of Allen wrenches, screwdrivers, and a chain breaker tool. Additionally, a torque wrench is essential for tightening bolts to the correct specifications. Don’t forget to have a tire pump and tire levers handy. For the remaining components, you need to choose wheels, a saddle, handlebars, and pedals. Moreover, you should select the right drivetrain and braking system that match your riding style and terrain. Make sure all components are compatible with the frame you’ve selected.
Assembling the Frame and Fork
Mounting the Frame
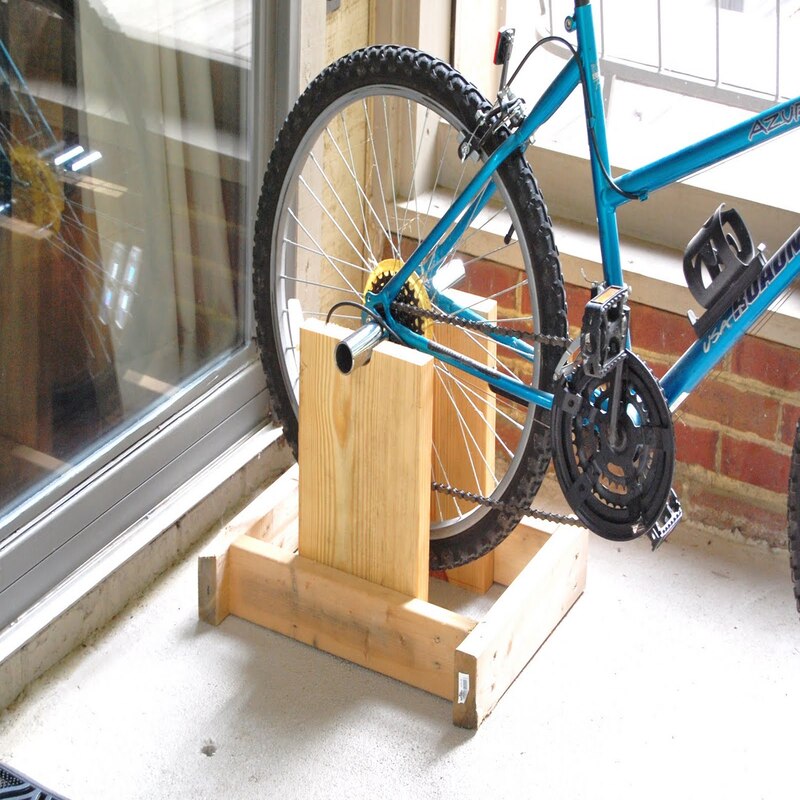
Begin the assembly by mounting the frame on a bike stand. This holds the frame steady and allows easy access to various parts. Using your torque wrench, attach the bottom bracket to the frame. Make sure it is securely fastened. Following that, attach the seat post and temporarily insert the saddle. You can adjust the saddle height later for comfort. Next, insert the fork into the headset. This might require some lubrication to ensure smooth movement. Finally, tighten all bolts using the torque wrench. Make sure everything is securely attached.
Installing the Fork
Installing the fork is a crucial step that demands precision. Begin by inserting the steerer tube into the head tube of your frame. Ensure that it fits snugly. Next, place a few spacers over the steerer tube. Add the stem and handlebar. Tighten the headset cap lightly to hold everything in place. Now, proceed to check the alignment of the fork. It should be perfectly centered and straight. Use your torque wrench to secure the headset cap and stem bolts. Finally, install the front wheel onto the fork and secure it with the quick-release skewer.
Adding Drivetrain and Brakes
Setting Up the Drivetrain
The drivetrain is one of the most intricate parts of the bike. It comprises several components that need careful installation. Begin by mounting the crankset to the bottom bracket. Tighten it securely to ensure smooth pedaling. Next, install the front and rear derailleurs. Attach the derailleurs to the frame using bolts. Route the chains through the derailleur pulleys. Make sure the chain runs smoothly over the chainrings and cassette. Finally, install the shifters on the handlebars. Connect the shifters to the derailleurs using the shift cables. Adjust the cable tension to ensure precise shifting.
Installing the Brake System
A reliable brake system is crucial for safety. Therefore, its installation must be spot-on. First, decide on the type of brakes you want. You can choose between disc brakes or rim brakes. For disc brakes, start by mounting the brake calipers to the fork and frame. Ensure they are centered over the rotors. For rim brakes, attach the brake calipers to the designated mounts on the frame and fork. Next, route the brake cables through the levers and calipers. Adjust the tension to ensure responsive braking. Finally, test the brakes by squeezing the levers. Make necessary adjustments to eliminate any slack.
Completing the Wheels and Tires
Choosing and Installing Wheels
Selecting the right wheels is vital for overall performance. You can choose between clincher, tubular, or tubeless wheels. Clincher wheels are the most common and user-friendly. Tubular wheels are lighter but harder to install. Tubeless wheels offer a smoother ride but require more maintenance. Once you’ve selected your wheels, begin by installing them on the bike. Insert the quick-release skewers through the wheel hubs and secure them to the frame and fork. Make sure the wheels are aligned properly. Tighten the quick-release levers securely to avoid any wobbling.
Mounting Tires and Tubes
Next, move on to mounting the tires and tubes. First, insert one side of the tire bead into the wheel rim. Then, partially inflate the inner tube and insert it into the tire. Carefully tuck the other side of the tire bead into the rim. Use tire levers if necessary. Fully inflate the tire using a tire pump. Ensure the tire sits evenly on the rim without any bulges. Finally, attach the wheels to the frame and fork using the quick-release skewers. Spin the wheels to check for any imbalances. Make necessary adjustments for a smooth rotation.
Final Adjustments and Testing
Adjusting Saddle and Handlebars
Comfort is key when it comes to riding a bike. Therefore, fine-tuning the saddle and handlebars is crucial. Start by adjusting the saddle height. When seated, your leg should be slightly bent at the knee. Next, adjust the saddle angle. It should be level or slightly tilted backward for comfort. Following that, fine-tune the handlebar height. This affects your posture and comfort levels. For a relaxed riding position, raise the handlebars. For a more aggressive posture, lower them. Lastly, check the alignment of the saddle and handlebars. They should be perfectly centered and aligned with the bike frame.
Performing a Test Ride
Before taking your bike for a long ride, a test ride is crucial. Start by riding on a flat, open space. Pay attention to how the bike feels. Test the brakes by coming to a complete stop. Make sure they respond promptly. Shift through all gears to check the drivetrain. Ensure smooth and precise shifting. Listen for any unusual noises or vibrations. These could indicate loose bolts or misaligned components. Lastly, check the overall stability and handling. If everything feels good, your bike is ready for regular use. Otherwise, make the necessary adjustments before hitting the road.
Conclusion
Building a bike from scratch is a rewarding project. It requires patience, precision, and a keen eye for detail. However, the effort pays off in the form of a customized bike tailored to your needs. Understanding each component and its installation process gives you a better grasp of bike mechanics. This knowledge is invaluable for future repairs and upgrades. Ultimately, riding a bike that you built yourself offers unmatched satisfaction. So, gather your tools and materials, follow this guide, and embark on the exciting journey of building your own bike. Happy biking!