
Calibrating your Peloton bike is essential for ensuring accurate resistance levels and an optimal riding experience. Proper calibration aligns the bike’s software with its hardware to reflect precise metrics on your performance, such as speed, distance, and power output. Over time, wear and tear or initial misalignment can cause discrepancies between the displayed resistance level and the actual resistance. Consequently, regular calibration is necessary to maintain the integrity of your workouts. Therefore, this guide provides a step-by-step approach to calibrating your Peloton bike, along with tips for troubleshooting common issues.
Importance of Proper Calibration
Proper calibration of your Peloton bike is crucial for several reasons. Understanding the importance helps you appreciate the value of spending time to calibrate your bike. Therefore, exploring the significance of proper calibration ensures you get the most out of your Peloton experience.
Accurate Performance Metrics
One primary reason for calibrating your Peloton bike is to ensure accurate performance metrics. Accurate metrics such as speed, distance, and power output are essential for tracking your progress and achieving your fitness goals. Calibration aligns the bike’s software and hardware, ensuring that the resistance levels displayed on the screen match the actual resistance you experience during your workout. Without proper calibration, the metrics may be misleading, undermining your efforts and progress. Therefore, accurate calibration is vital for reliable performance tracking.
Consistent and Effective Workouts
Another critical reason for calibrating your Peloton bike is to ensure consistent and effective workouts. Proper calibration ensures that the resistance levels are consistent across different sessions, providing a reliable baseline for your training. This consistency is crucial for maintaining the effectiveness of your workouts and achieving your fitness goals. With accurate resistance levels, you can trust that your effort and power output are correctly reflected, allowing you to push yourself effectively. Therefore, proper calibration is essential for consistent and effective workouts.
Preparing for Calibration
Before you start calibrating your Peloton bike, it’s essential to prepare adequately. Proper preparation ensures a smooth calibration process and accurate results. Therefore, understanding the preparatory steps is crucial for successful calibration.
Gathering Necessary Tools
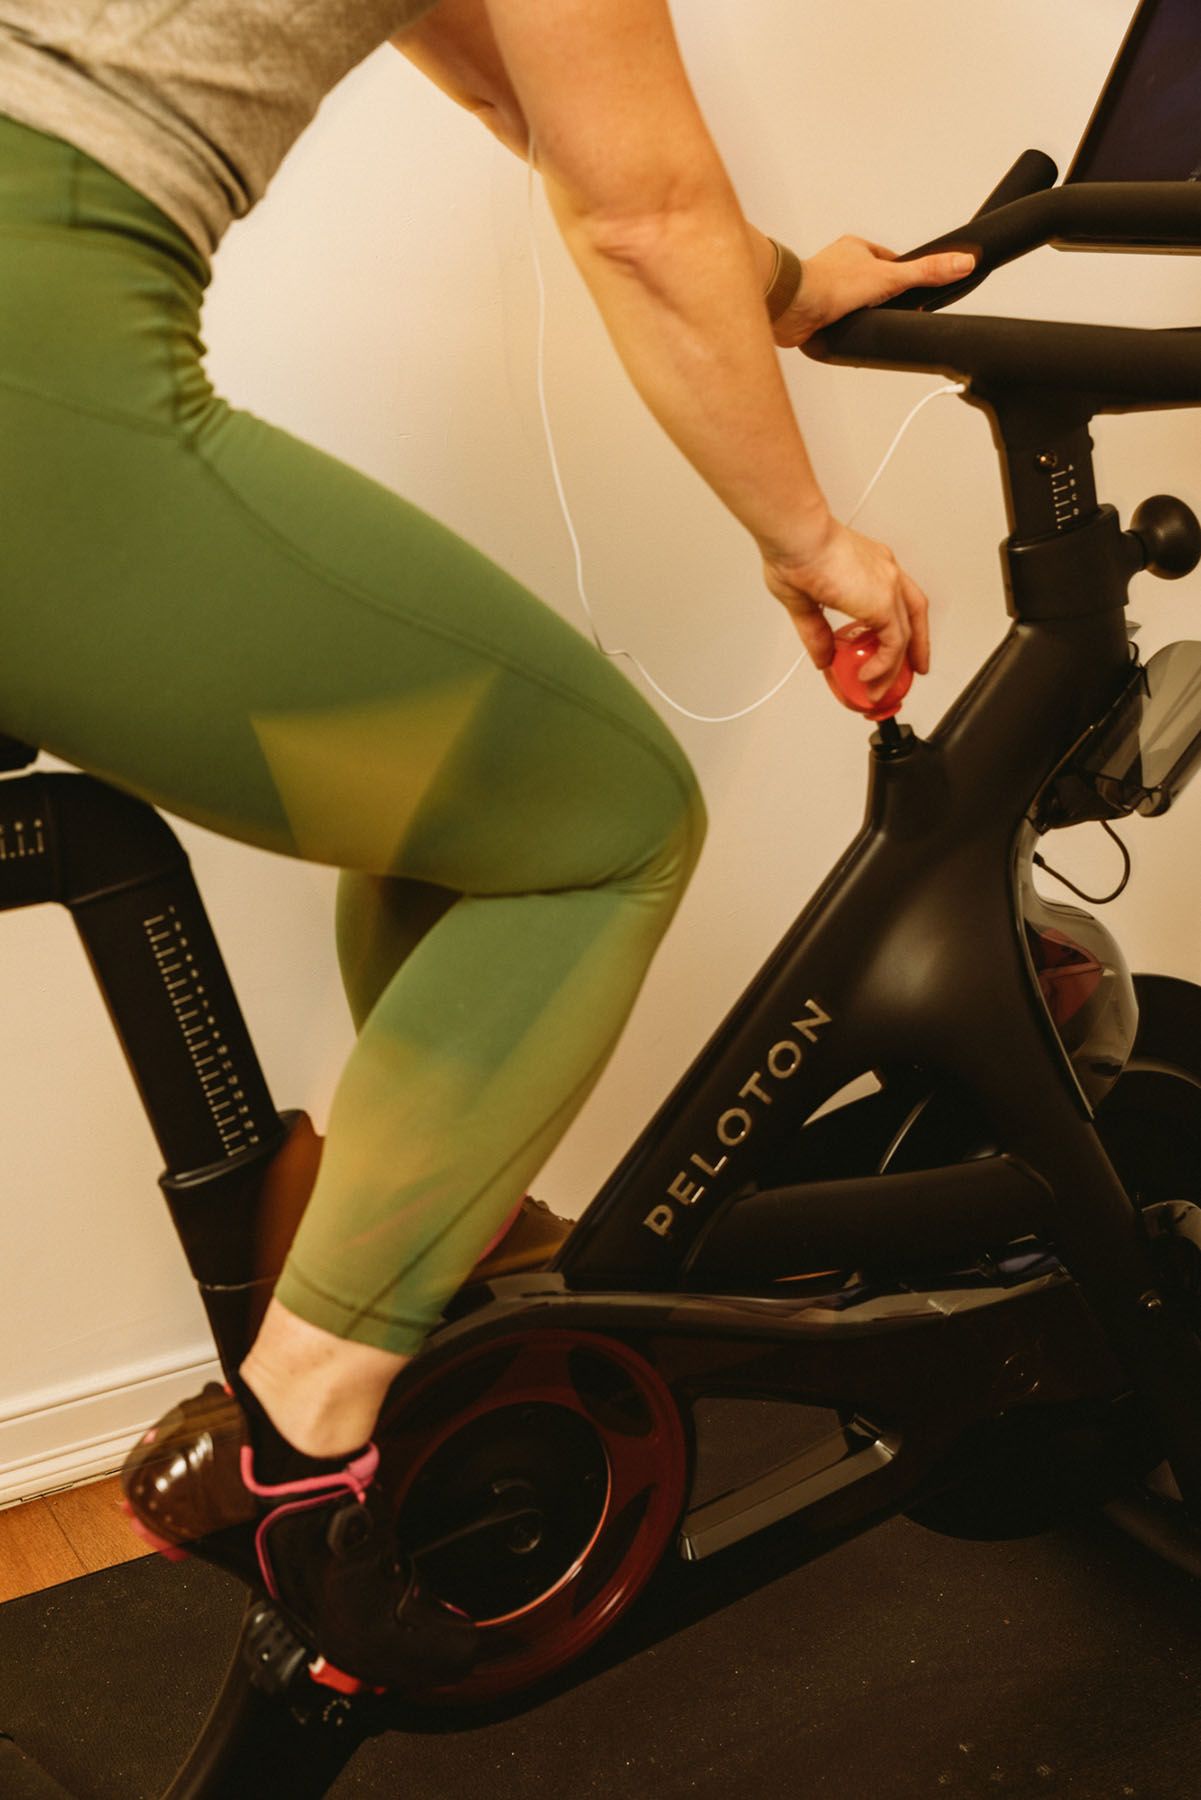
The first step in preparing for calibration is to gather all the necessary tools. For Peloton bike calibration, you will need two calibration tools: a wedge and a cylindrical tool. These tools are typically included with your Peloton bike purchase. Additionally, have a clean, flat surface to perform the calibration on and ensure you have the bike’s power cord connected and the screen turned on. Having these tools and a suitable workspace ready ensures you can complete the calibration process efficiently. Therefore, gathering the necessary tools is a vital preparatory step.

Ensuring a Stable Environment
Before initiating the calibration process, ensure that your Peloton bike is in a stable environment. Place the bike on a flat surface to avoid any wobbling or instability that could affect the calibration accuracy. Ensure the bike is securely assembled, with all bolts and screws tightened. Additionally, make sure the area is well-lit and free from distractions, allowing you to focus on the calibration process. By preparing a stable environment, you can ensure that the calibration process is accurate and effective. Therefore, ensuring a stable environment is crucial for successful calibration.
Step-by-Step Calibration Process
Calibrating your Peloton bike involves a series of steps that need to be followed carefully. Each step is essential for achieving accurate calibration and optimal performance. Therefore, understanding the step-by-step process ensures precise and effective calibration.
Accessing Calibration Mode
The first step in the calibration process is to access the calibration mode on your Peloton bike. Start by turning on your bike and navigating to the settings menu on the touch screen. Tap on the three horizontal lines in the top-right corner to open the menu, then select “Device Settings.” Scroll down and select “Home Calibration.” Follow the on-screen instructions to enter calibration mode. This mode allows you to perform the necessary adjustments to align the resistance levels accurately. Therefore, accessing calibration mode is the initial step in the calibration process.
Using the Calibration Tools
Once you have entered calibration mode, you will need to use the calibration tools to adjust the bike’s resistance levels. First, place the wedge tool under the resistance knob to keep it from moving. Then, use the cylindrical tool to turn the resistance knob fully clockwise until it stops. This step ensures that the resistance is set to its maximum level. Next, follow the on-screen instructions to turn the resistance knob counterclockwise to the specified positions. The system will prompt you to turn the knob to different positions, and the sensors will record the resistance levels at each position. Therefore, using the calibration tools correctly is crucial for accurate calibration.
Troubleshooting Common Calibration Issues
Despite following the steps, you may encounter issues during the calibration process. Understanding common problems and their solutions can help you navigate these challenges effectively. Therefore, exploring troubleshooting techniques ensures you can resolve issues efficiently.
Inconsistent Resistance Levels
One common issue is experiencing inconsistent resistance levels after calibration. If you notice that the resistance levels do not feel accurate or consistent, repeat the calibration process. Ensure that you follow each step carefully and that the calibration tools are used correctly. Additionally, check for any debris or obstructions on the flywheel or resistance knob that could affect the calibration. Performing regular maintenance, such as cleaning the flywheel and resistance knob, can help prevent this issue. Therefore, addressing inconsistent resistance levels is crucial for accurate calibration.
Calibration Errors
Another common issue is encountering calibration errors during the process. If the system displays an error message or fails to complete the calibration, restart the calibration process. Ensure that the bike’s software is up to date, as outdated software can cause calibration issues. If the problem persists, consult the Peloton support team for assistance. They can provide guidance and troubleshoot any underlying issues that may be affecting the calibration. Therefore, addressing calibration errors promptly ensures a successful calibration process.
Maintaining Proper Calibration
Once you have successfully calibrated your Peloton bike, it’s essential to maintain proper calibration regularly. Implementing maintenance practices ensures long-term accuracy and performance. Therefore, exploring maintenance tips is important for preserving proper calibration.
Regular Calibration Checks
Performing regular calibration checks helps ensure that the resistance levels remain accurate over time. It’s recommended to calibrate your Peloton bike every few months or after significant use. Regularly checking the calibration helps identify any discrepancies early on and allows you to address them promptly. Additionally, if you notice any changes in resistance or performance, calibrate the bike to ensure accurate metrics. Regular calibration checks contribute to consistency and effectiveness in your workouts. Therefore, regularly calibrating your bike is essential for maintaining accurate resistance levels.
Routine Maintenance
Routine maintenance is crucial for preserving proper calibration and ensuring the bike’s overall performance. Clean the flywheel, resistance knob, and sensors regularly to prevent debris buildup that could affect calibration. Ensure that all bolts and screws are tightened to maintain the bike’s stability. Lubricate the moving parts as needed to ensure smooth operation. By maintaining the bike regularly, you can prevent potential calibration issues and prolong the bike’s lifespan. Therefore, routine maintenance is essential for preserving proper calibration and optimal performance.
Conclusion: Ensuring Optimal Performance with Accurate Calibration
Calibrating your Peloton bike is essential for ensuring accurate resistance levels, optimal performance, and an effective workout experience. By following a step-by-step approach and using the necessary calibration tools, you can align the bike’s software with its hardware to reflect precise metrics.
Understanding the importance of proper calibration, such as enhancing ride quality, maintaining safety, and tracking performance, underscores the value of taking the time to calibrate your bike. Addressing common calibration issues and implementing routine maintenance practices further ensures long-term accuracy and performance.
Therefore, taking the time to understand and implement these strategies ensures a better and more fulfilling cycling experience on your Peloton bike. Embrace these calibration techniques and enjoy the benefits of accurate metrics and consistent resistance levels for every ride. Happy cycling!


