Introduction to Bike Chain Maintenance
The Importance of a Tight Bike Chain
A properly tightened bike chain is crucial for ensuring a smooth and efficient cycling experience. The chain is responsible for transferring power from the pedals to the rear wheel. Therefore, maintaining the correct tension is essential for optimal bike performance. Understanding the importance of a tight bike chain helps prevent issues such as gear slippage, decreased efficiency, and potential accidents.
A loose bike chain can cause the pedals to skip or slip, leading to a loss of control. This can be particularly dangerous when navigating hilly or busy terrains. Additionally, a loose chain can cause increased wear on the drivetrain components, reducing the lifespan of parts such as the cassette, chainrings, and derailleurs. Over time, neglecting chain tension can lead to costly repairs and decreased performance.
Regularly checking and adjusting your bike chain tension ensures that you maintain optimal riding conditions. This guide will walk you through the steps of tightening a bike chain, providing you with the knowledge and confidence to perform this essential maintenance task. By keeping your bike chain properly tightened, you enhance your biking experience, improve safety, and prolong the life of your bicycle components.
In summary, a tight bike chain is crucial for both performance and safety. Regular maintenance helps prevent issues and ensures a more enjoyable and efficient ride. This guide will equip you with the necessary steps and tips to keep your bike chain in optimal condition.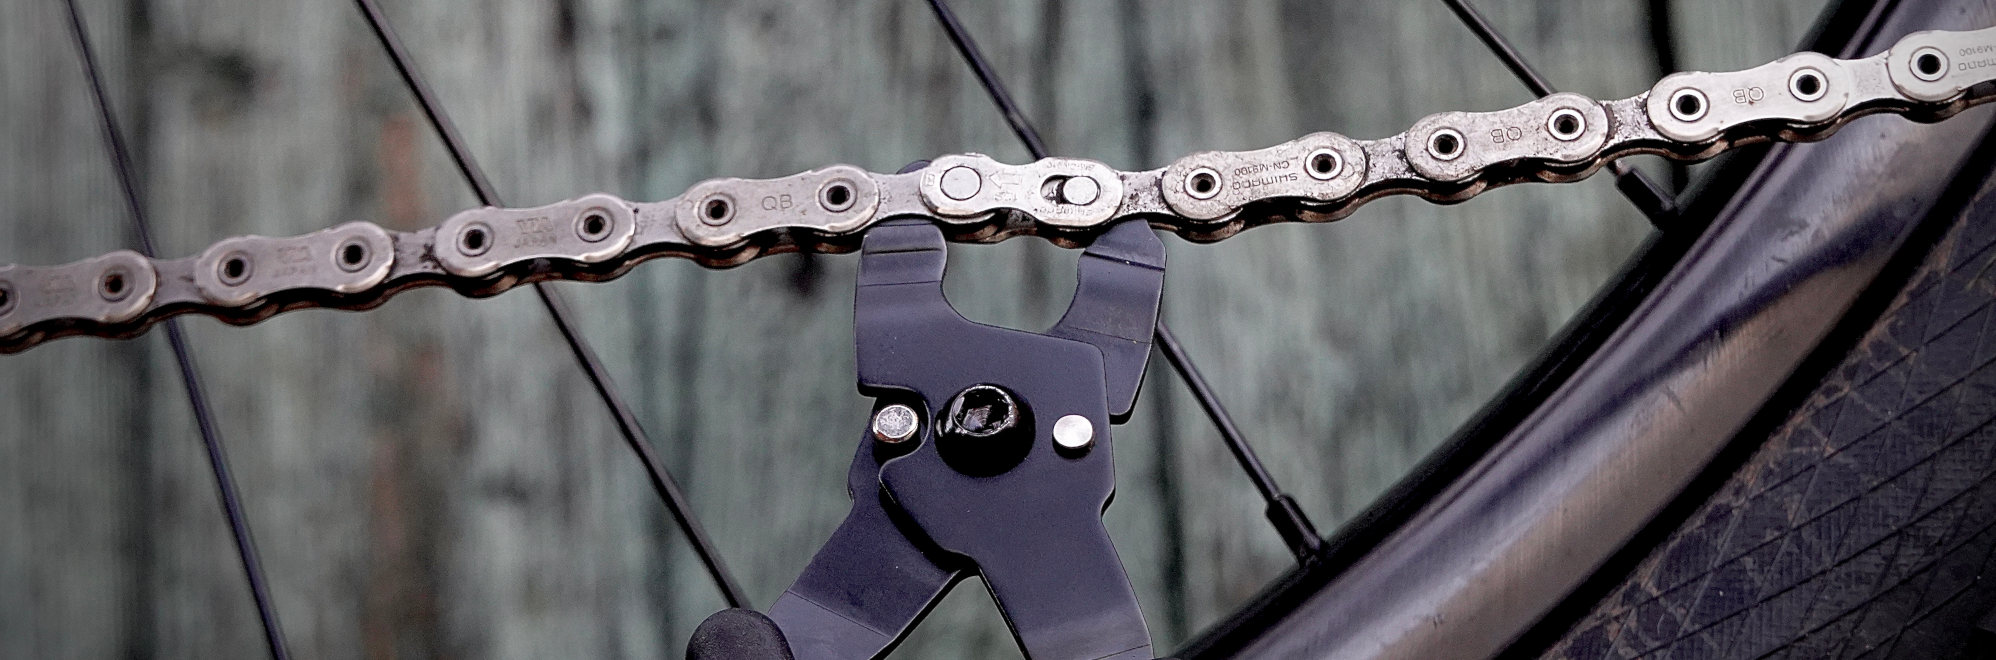
Diagnosing Chain Slack
Identifying Signs of a Loose Chain
Before you can tighten your bike chain, it’s important to diagnose whether it is indeed loose. Identifying signs of chain slack can help prevent damage and ensure timely maintenance. One of the most obvious signs is noticeable sagging in the chain. If you can see a pronounced dip or slack, it’s a clear indicator that the chain tension needs adjustment.
Another common symptom of a loose chain is skipping or slipping when pedaling. If your bike chain frequently jumps over the gears or slips under pressure, this could indicate insufficient tension. This issue often occurs during acceleration or when riding uphill, where more force is applied to the pedals. Additionally, unusual noises, such as clunking or rattling, can also signal a loose chain.
Physically checking the chain tension is another method to diagnose slack. Gently pull the chain up and down at its midpoint. If there’s more than half an inch of movement, it may be too loose. For fixie or single-speed bikes, the ideal chain tension allows only a slight vertical movement when gently pressed. However, this can vary slightly based on the specific bike model and design.
Consistently monitoring these signs helps you stay ahead of potential chain issues. Regular inspection ensures that you can address problems before they lead to more extensive damage. Understanding how to identify a loose chain is the first step towards proper maintenance and a smoother riding experience.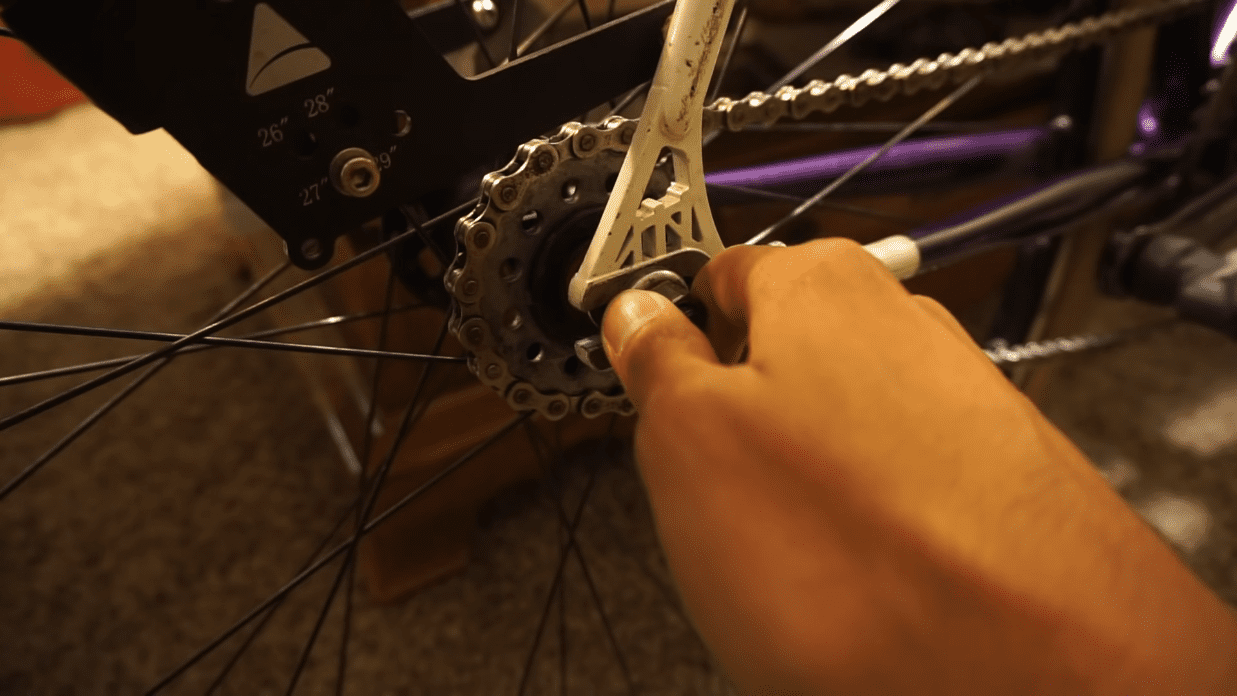
Common Causes of Chain Slack
Understanding the common causes of chain slack can help in both diagnosing and preventing issues with your bike chain. One primary cause is normal wear and tear. Over time, the chain’s pins, rollers, and plates wear down, causing the chain to stretch. This elongation results in a looser fit around the gears, leading to increased slack.
Improper installation is another common cause of chain slack. If the chain was not correctly tensioned during installation, it could become loose more quickly. Additionally, incorrect chain length plays a significant role. A chain that’s too long will naturally have more slack, while a chain that’s too short can put excess pressure on the derailleur and other components.
Frequent shifting under high load, such as during steep climbs or sprints, can also contribute to chain stretch. The added strain can accelerate wear on both the chain and drivetrain components, leading to slack. Furthermore, riding in harsh weather conditions, like rain or mud, can cause debris to accumulate, affecting chain tension and increasing wear.
Regular maintenance can help mitigate these causes by ensuring that your chain is in optimal condition. Regular cleaning, lubrication, and timely replacement can significantly reduce wear and prevent slack. By understanding the common causes of chain slack, you can take proactive steps to maintain the correct tension and prolong the life of your bike chain.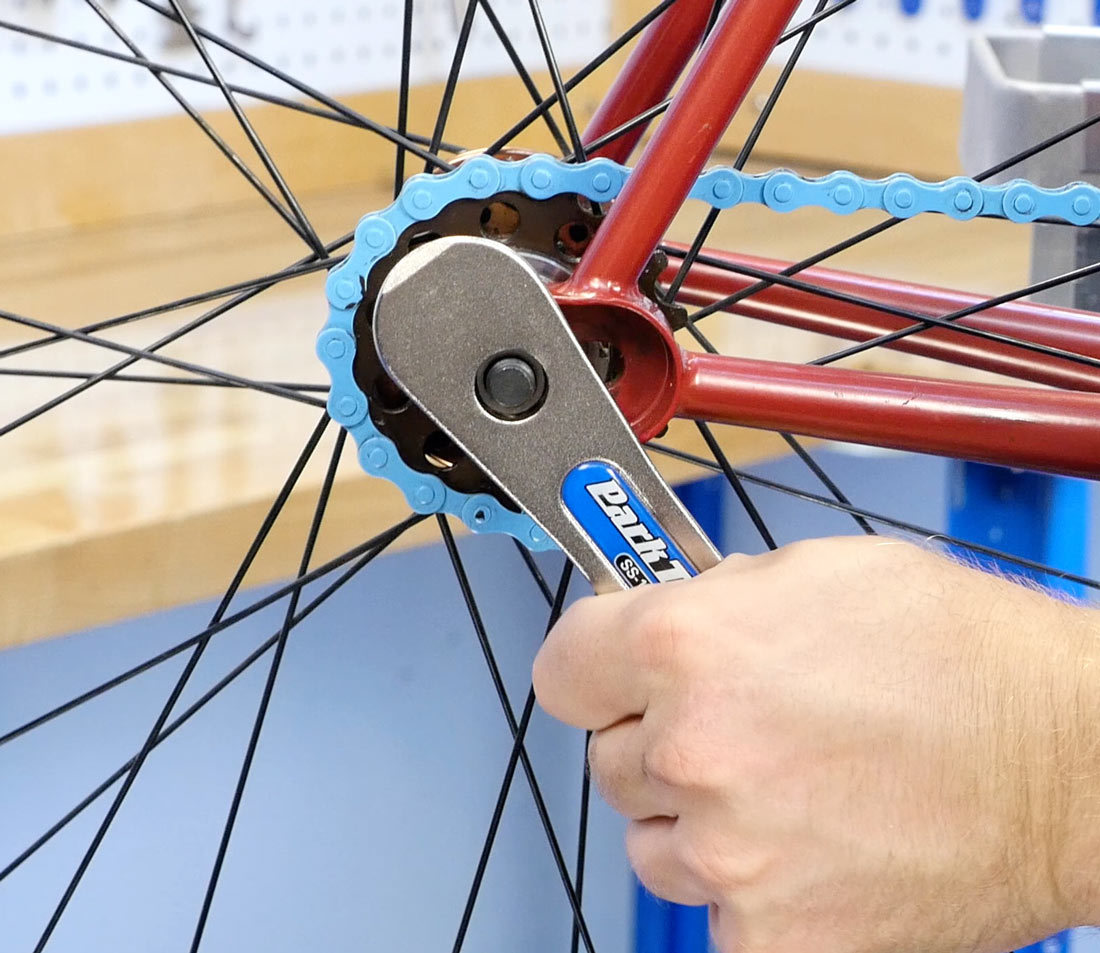
Step-by-Step Guide to Tightening a Bike Chain
Preparing the Bike for Adjustment
Before you begin adjusting the bike chain, it’s important to prepare the bike properly. Start by shifting the bike into its smallest chainring and smallest cog. This reduces tension on the chain, making it easier to work with. If your bike has a quick-release lever on the rear wheel, open it to facilitate movement. If not, use your wrench to loosen the axle nuts.
Next, elevate the bike using a bike stand or by flipping it upside down onto its seat and handlebars. Ensuring the bike is stable and secure prevents accidents and makes the adjustment process more manageable. Gather your tools and place them within easy reach to streamline the process.
Inspect the chain for any damage, wear, or debris that may affect its performance. Cleaning the chain with a rag and applying some lubricant can improve its condition and make adjustments smoother. Once your bike and tools are prepared, you can proceed to the adjustment process with confidence.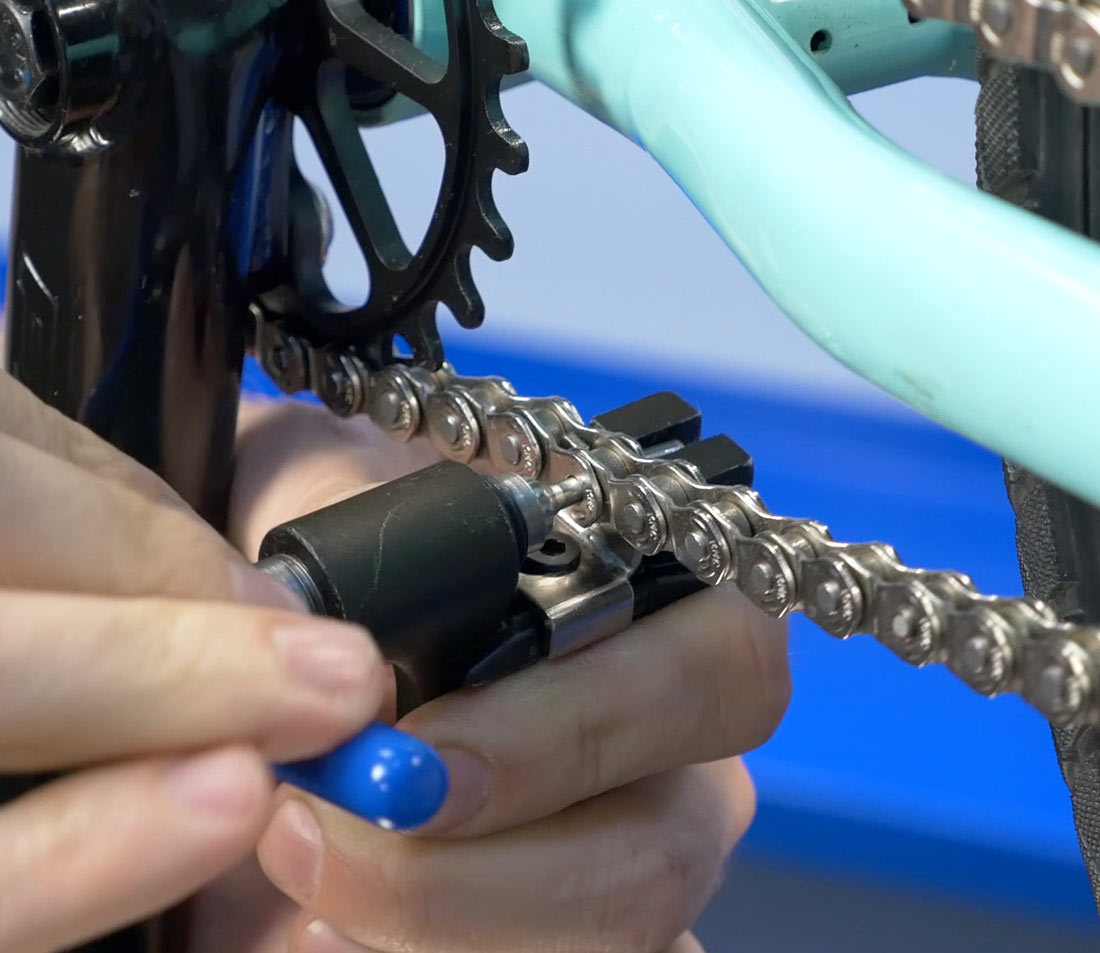
Adjusting the Rear Wheel and Chain Tension
With the bike prepared, the next step is to adjust the rear wheel and chain tension. Begin by loosening the axle nuts on both sides of the rear wheel using your wrench. Gently pull the rear wheel backward to increase tension in the chain. Use a ruler or your fingers to check the slack, ensuring that there’s only minimal vertical movement.
For track or single-speed bikes, use a chain tensioner tool if available. The tool keeps the wheel aligned and maintains consistent tension. Slowly tighten the axle nuts while keeping the wheel aligned with the bike frame. Make sure the chain is tight but not overly so, allowing for slight movement to prevent excess stress on the drivetrain.
Once the desired tension is achieved, ensure that the rear wheel is properly aligned with the bike frame. Misalignment can cause uneven wear and affect bike handling. Tighten the axle nuts securely, and double-check the chain tension to confirm it hasn’t changed during the process.
After adjusting, spin the rear wheel to ensure smooth movement and test the gears by turning the pedals. This step ensures that the chain runs smoothly and without resistance across the gears. Making small adjustments as needed guarantees that the chain is neither too tight nor too loose, achieving optimal performance.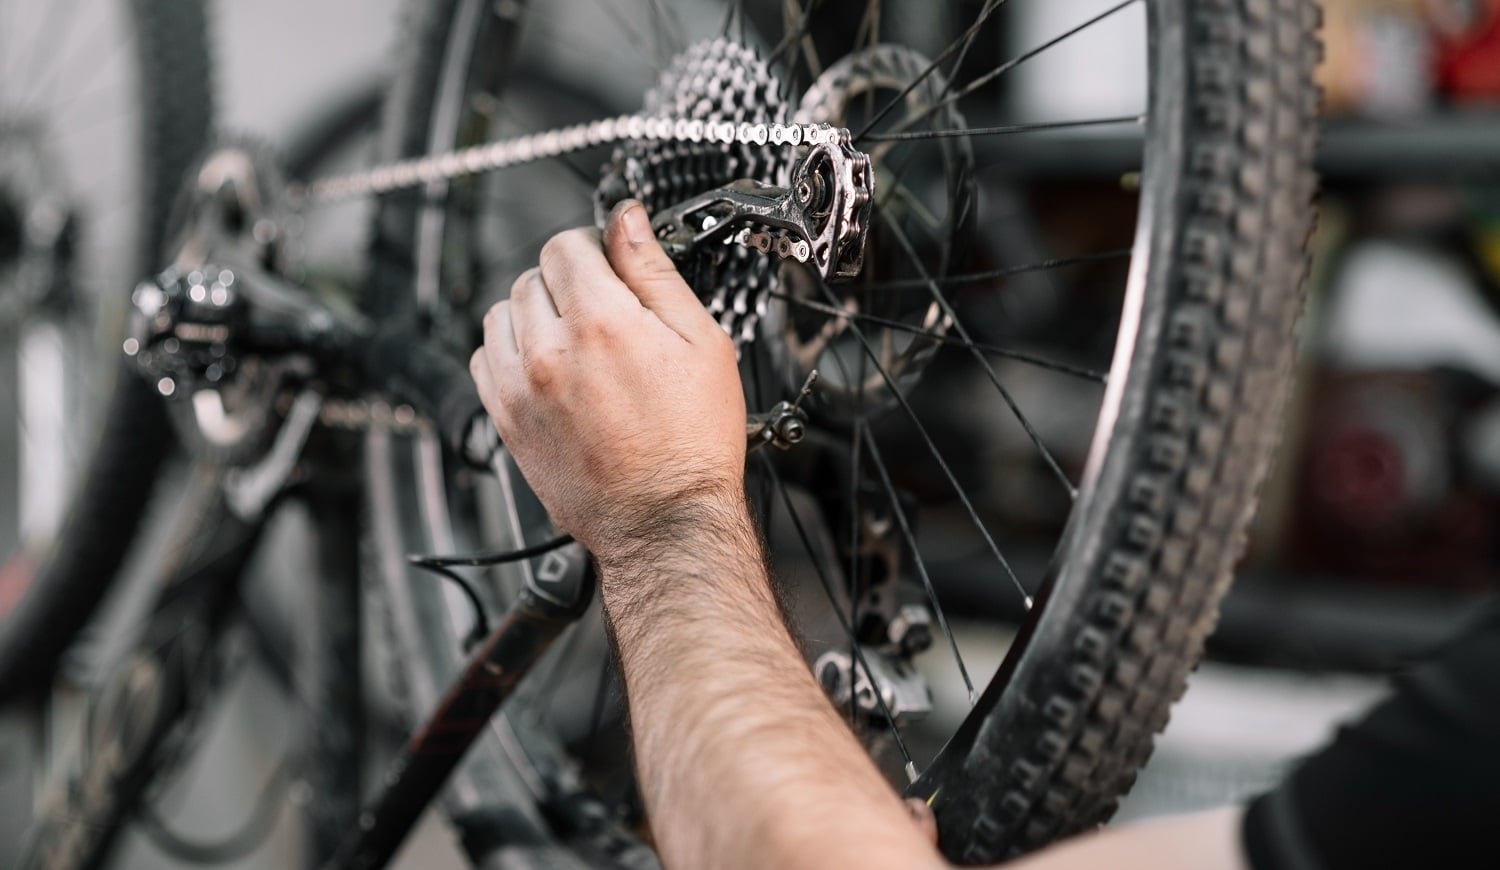
Testing and Final Adjustments
Once you’ve adjusted the chain tension, it’s crucial to test the bike for proper function. Start by lifting the rear wheel off the ground and spinning it manually to ensure it moves freely. Check for any unusual noises or resistance indicating improper tension or alignment. Next, shift through all the gears to ensure smooth transitions. Pay attention to any skipping or jumping, as this could indicate that further adjustments are necessary.
Take the bike for a short test ride, paying attention to how the chain feels while pedaling. Ensure that there’s no slipping or excessive noise, and that the chain remains in place during gear shifts. If you notice any issues, return to the adjustment steps to make minor tweaks.
Regularly inspect and maintain your bike chain to prevent future issues. Cleaning and lubricating the chain, along with using a chain checker tool, can help maintain proper tension and reduce wear. By following these steps and regularly maintaining your bike, you ensure optimal performance and a smooth riding experience.
Conclusion: Ensuring a Smooth Ride
Tightening a bike chain is an essential maintenance skill for any cyclist. Understanding how to diagnose chain slack, using the proper tools, and following a step-by-step adjustment process ensures you’re prepared for any chain-related problems. Regular maintenance, including cleaning, lubrication, and timely adjustments, extends the life of your chain and enhances your riding experience.
By taking the time to tighten and maintain your bike chain, you ensure a smoother, more efficient ride. This not only improves your performance but also enhances your overall enjoyment of cycling. Equipped with the knowledge and skills from this guide, you can confidently tackle any chain issues, keeping your bike in optimal condition for every adventure.